Supplier Portal
Supplier Portal
The Supplier Portal interface is a separate and separated section of the system. Access to this section does not require an account in the system. In order to log in to the section for a supplier, it is required to have information about the order, delivery, complaint token or a universal token of a given supplier. This information is most often sent via e-mail to the Provider. The message contains a token or a link to the system with already prepared login information.
| The supplier interface is always available at https://<main_system>/supplier. After selecting this address, the login window is displayed. |
Login takes place after entering the current token for the selected object or the general access token of the provider. The system detects from which area a given token comes from and directs the user to the appropriate section.
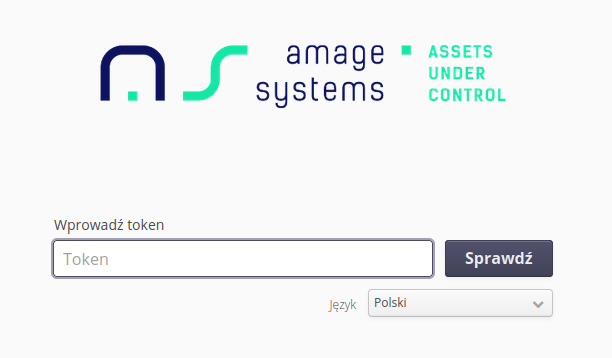
| The token is the main information used to access the provider interface. In the event that the token gets to unauthorized persons, these persons may enter information in the system regarding the given order. It is necessary to properly protect against the transfer of this information to unauthorized persons. |
In the login window, you can select the language of the Supplier Portal user interface.
After logging in, the system directs the user to the selected element that is associated with a given token. If the token is a supplier’s universal token, it is routed to a generic starter from which the supplier can declare the required documents himself. The general interface is described in the last section of the documentation.
The handling of individual objects is described in the following sections.
Orders
The system is constructed in such a way that orders from the system are automatically sent to the supplier after they have been accepted in the system. They are delivered with basic information in the content of the e-mail and with an attachment constituting the order itself, containing information about all the necessary details of the order. The content of the message can be customized in each instance of the system.
In order to perform their actions for this delivery, the Supplier may log into the system via the Supplier’s Portal. A link to it is usually sent in an e-mail. To log in to the portal, it is necessary to know the token that serves as the login key. After entering the token into the order login window, the Supplier user is redirected to the order view. There are also additional actions that allow you to perform automatic actions, e.g. order confirmation. They are available in the main documentation of the system and there is information on how to format links to the portal to automatically perform a given action.
After logging in with the order token, the order view is presented.
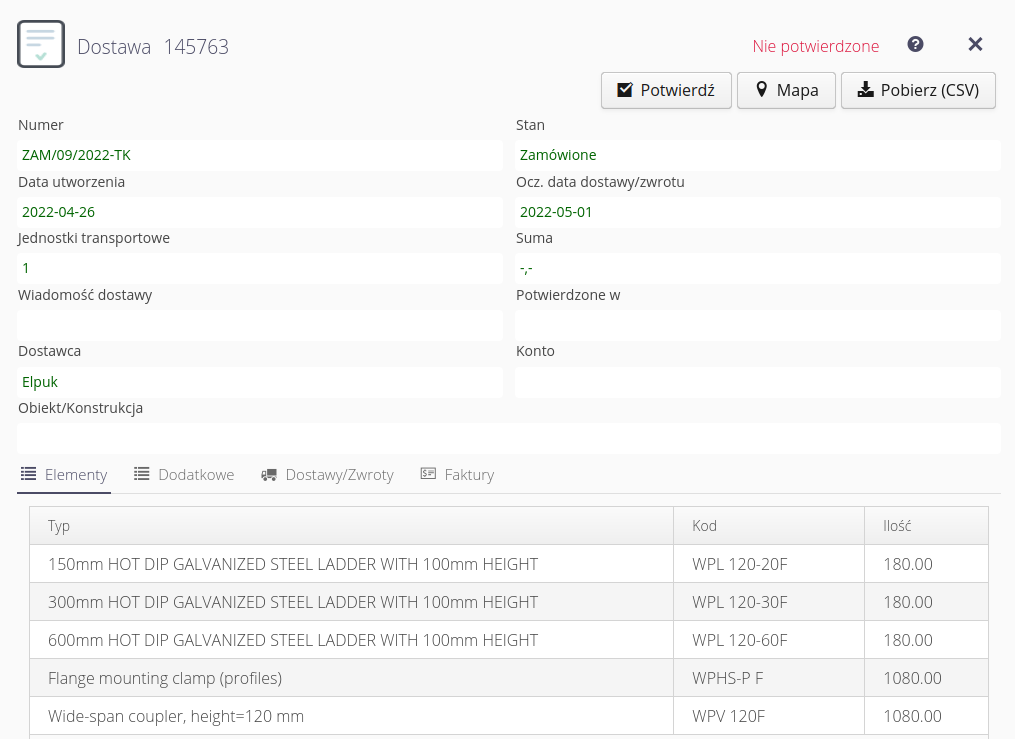
The window shows basic information about the order. In the case of the initial visit to the website, the Supplier’s user is required to enter information confirming the acceptance of the order and enter additional information regarding the deadlines for order fulfillment. At the bottom of the window, there is a list of the assortment that was included in the order, and in the second tab, the declared deliveries for this order. The supplier has the option of entering invoices and a new assortment here. The functions depend on the authorizations granted to a given contractor in the main system.
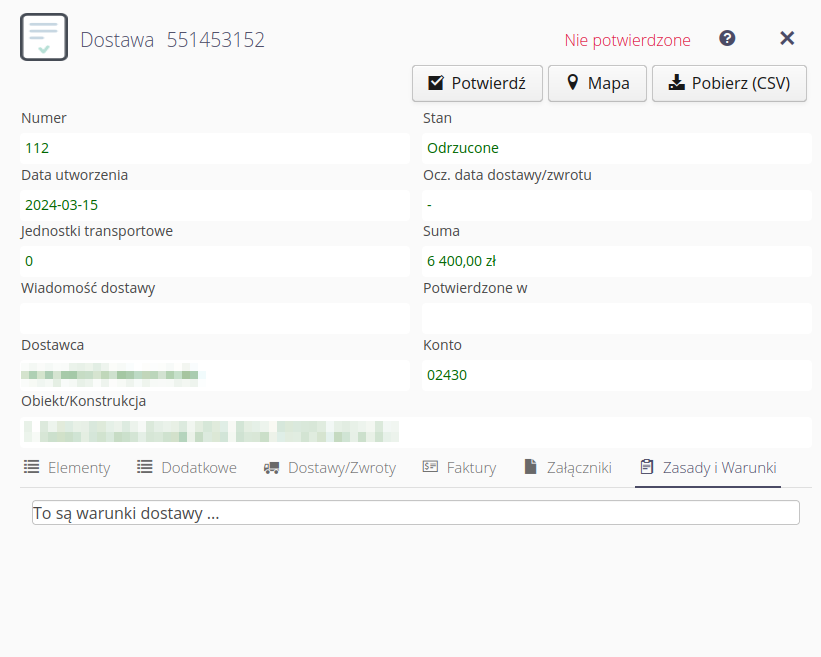
The order view also shows information about delivery conditions.
Order confirmation
If the message "Not confirmed" appears in the main order window in red font, the Supplier should confirm the given order. Selecting the action (button) 'Confirm' takes you to the confirmation dialog.
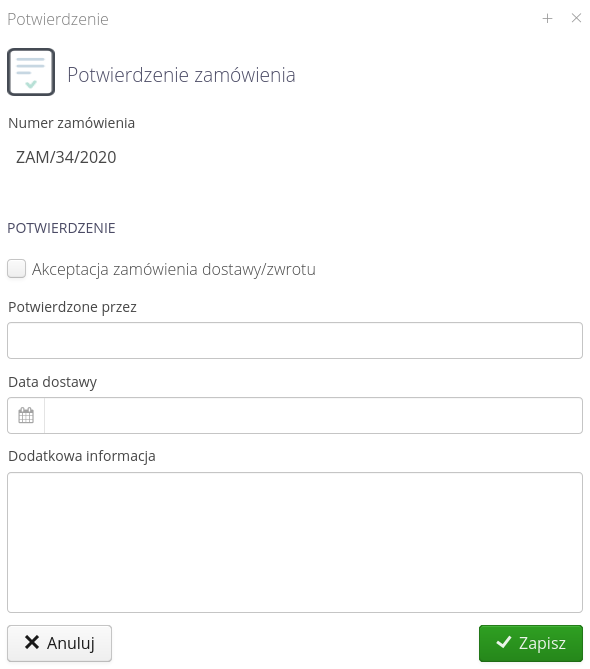
In the dialog, enter information about the acceptance of the order, the confirming person, the planned date of completion of all deliveries to the order and other data (additional information field). After confirming these data, the system coordinators and the person creating this order receive a message in the system about the approval. The status of the order also changes to 'Confirmed'.
To declare deliveries for this order, the supplier may choose:
-
Manually entering a delivery by adding it and entering all elements
-
Import of a delivery from a CSV file
| Order export and delivery import CSV file formats are available to development teams during implementation. |
Manual delivery entry or creation from order
In the order details in the delivery view, the user has the option of selecting the action of adding a delivery or importing it from an external file. The additional action 'Add item type' allows you to add a new assortment to the system if it was not there before.

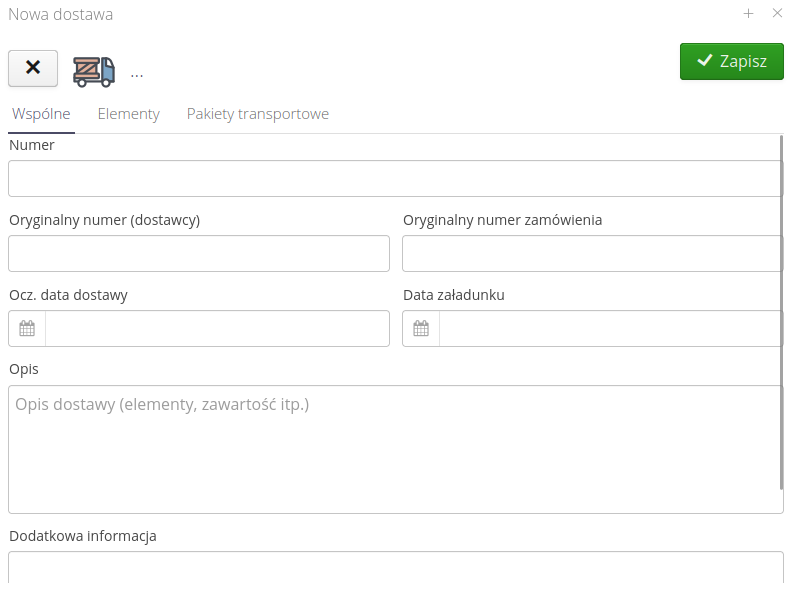
If you need to add information about the delivery in progress, select the 'Add delivery' button in the delivery list view. After selecting this button, the delivery adding window appears. In it, enter information about the delivery itself, i.e. number, dates, additional information and enter the assortment items to the delivery list.
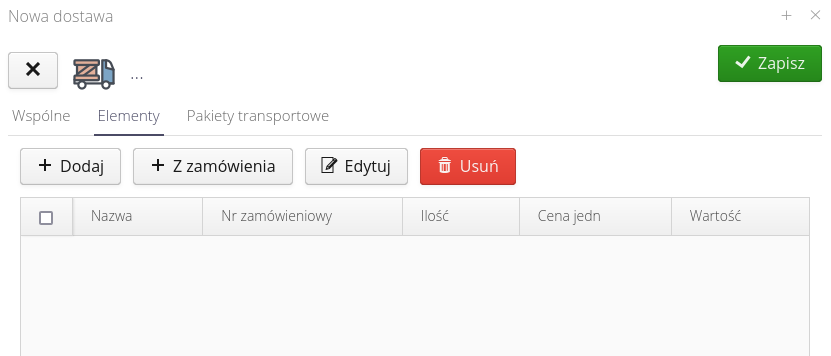
In the delivery elements view, you can add a new assortment, copy an assortment from an order, edit elements or remove selected elements from the list.
After selecting the 'Add item' action, a window for adding a new item from the assortment appears. Provide all necessary information and record all items.
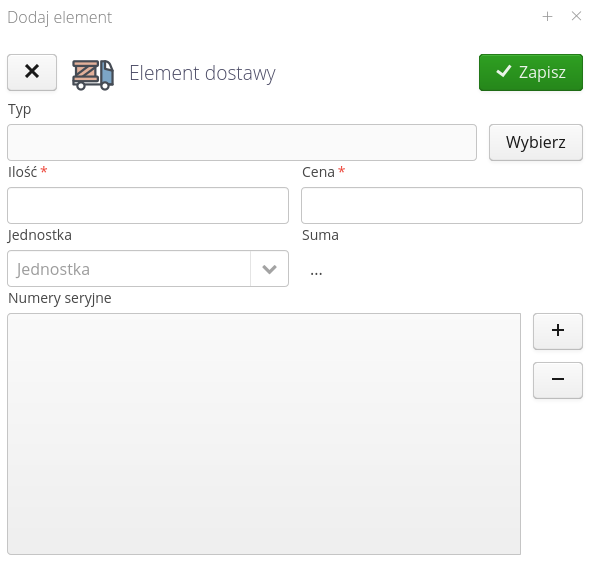
| Entering serial numbers applies to delivery items that require this information. In the system, after entering these numbers, it is possible to continue handling, e.g. entering resources on the basis of S/N and granting supervision automatically on the basis of delivery. |
The supplier may declare information regarding the delivery packages (packaging, courier, transport, vehicle, etc.) as part of the delivery. The list of declared packages can be viewed in the "Transport packages" tab.
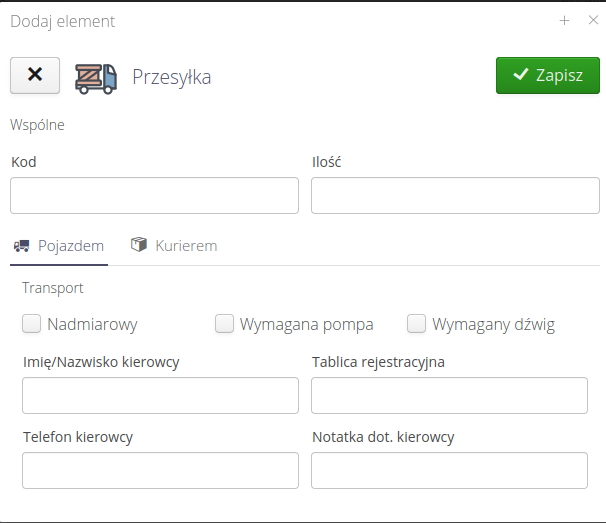
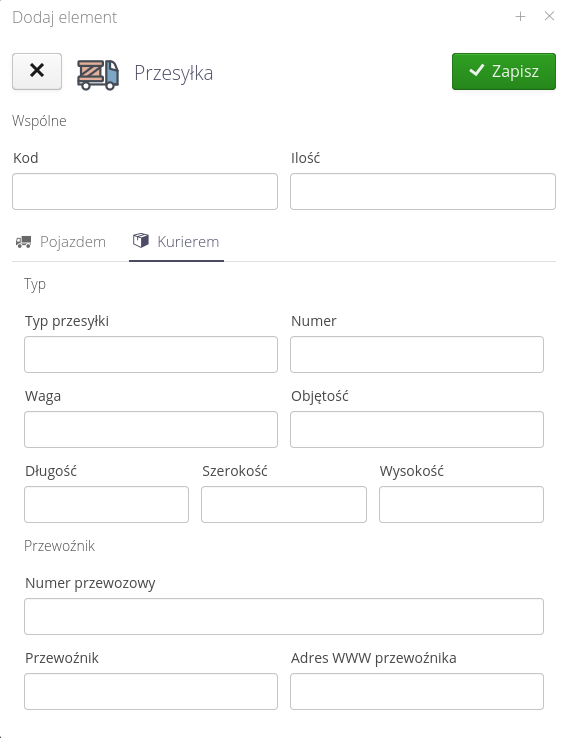
Adding a single package allows you to enter the type of shipment, weight, shipping code, carrier or road transport information such as driver details, dimensions/vehicle details, etc. All data in this definition is optional. It is also optional to provide the delivery data only if it is obvious and results from the process.
Import of delivery from CSV files
The system allows for easy addition of assortment items (and other delivery data) through the import action. By selecting the 'Import' button, a dialog box is displayed to the user with the option to specify the format of the imported data and the import file. The format and supported functionalities depend on the type of import.
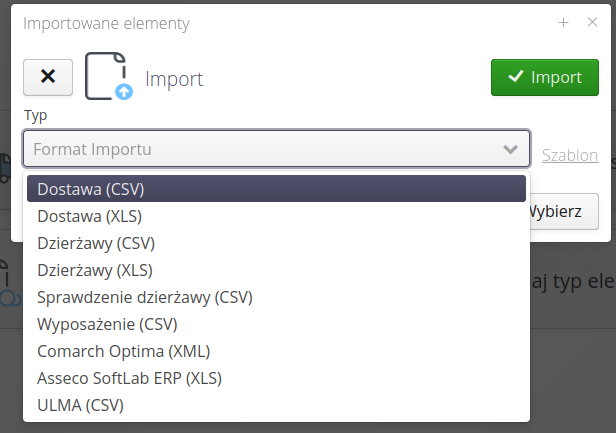
After import, the delivery data is filled in from this file. Delivery items and delivery packages (packages, pallets, etc.) are created. Once the delivery is saved, it is available in the main system and begins to carry out its procedure in accordance with the relevant sections of the complaint.
| Shipment import CSV/XML file formats are available to development teams during implementation. The system provides a set of predefined templates. |
Create a delivery from an order
The supplier’s user can also choose a simplified delivery entry by copying all elements from the order (and possibly deleting those that are not implemented in a given delivery). This is done by the 'From order' action in the view of adding a new delivery.
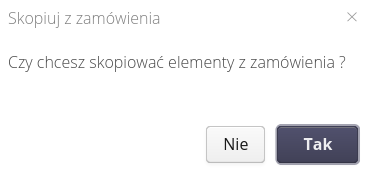
After confirming the action, all order elements are copied to the delivery panel. Complete the additional transport information/numbers and validate the operation.
Order data export
For simplicity, the system allows you to export order data to CSV format, which can then be loaded into the supplier’s commercial/warehouse system. This is done by the Download (CSV) button in the main order window.

| Order export CSV/XML file formats are available to development teams during implementation work. |
Adding an invoice
In the case of an active financial module, the system allows you to add an invoice to an order/delivery or an invoice not related to these objects (via the general interface). Adding an invoice to an order is done in the 'Invoices' tab

The interface and logic of adding an invoice is described in the last section of the documentation.
Deliveries and their handling
The system allows you to automatically send information about the delivery to the Supplier when creating a delivery. They are delivered with basic information in the content of the e-mail and with an attachment constituting the content of the delivery containing information on all the necessary details.
In order to perform their actions for this delivery, the Supplier may log into the system via the Supplier’s Portal. A link to it is usually sent in an e-mail. To log in to the portal, it is necessary to know the token that serves as the login key. After entering the token into the delivery login window, the Supplier user is redirected to a simplified delivery view.
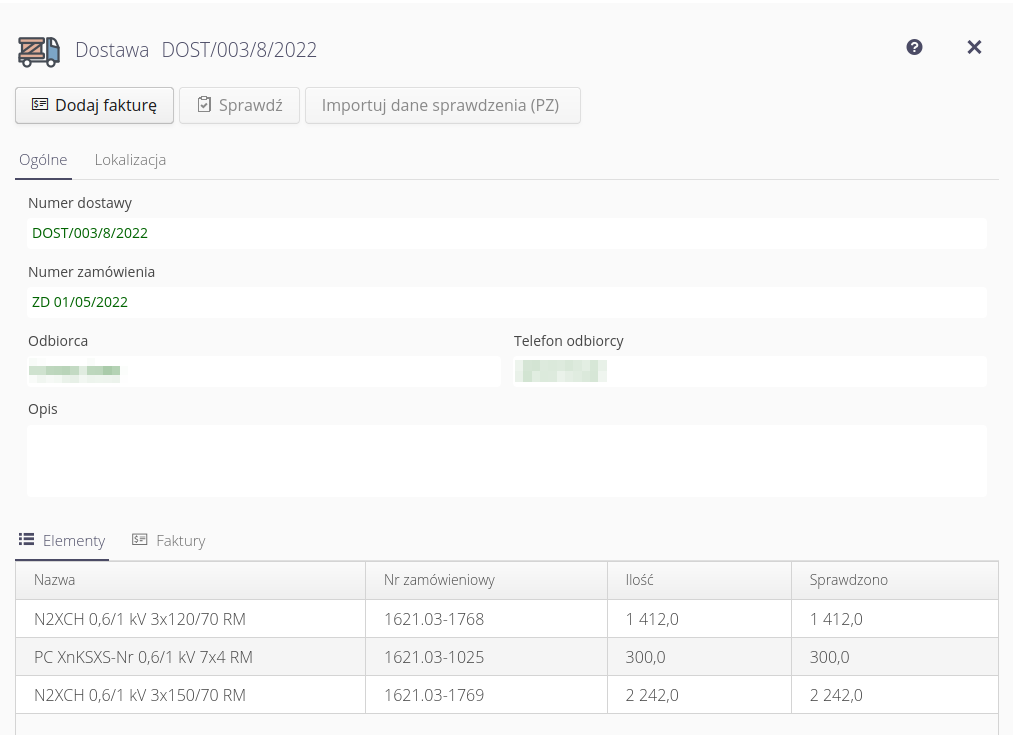
This view, designed mainly for mobile devices, presents information on the delivery/order numbers and the final location to which the transport should be delivered.
By selecting the 'Location' button, a window with information about the place of delivery and the location of the object is displayed. This data is presented as a red icon (facility location) and a green icon (place of delivery).
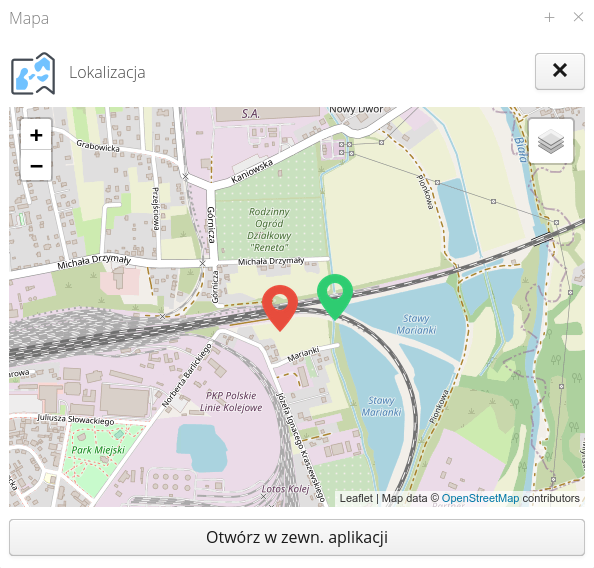
By selecting the "Open in external application" button, we are redirected to the default navigation application on the mobile device (or desktop application) with the procedure of navigating to the place of transport.
| The system uses default navigation applications for Android and iOS. |
Supplier return check
In the case of returns of small devices, it is possible that after the system configuration, the supplier can check the return himself. In this case, the 'Check' button is active. After selecting it, a window appears with the possibility of entering/correcting the downloaded set of tools. The supplier should:
-
check the number of devices and correct them if necessary
-
remove devices that are not returned
-
for returned devices, enter (or verify) serial numbers. This is accessed via the "Chain" button in each row of a minor item.
-
obtain electronic signatures of the realized return (signatures button)
-
optionally, take photos of the equipment being taken over
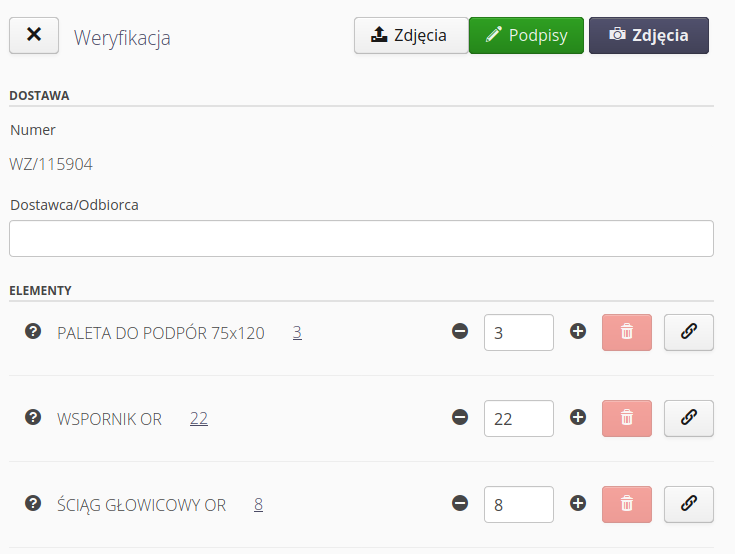
After the return is checked, information is generated in the system and a return document with all the information entered can be automatically sent to the supplier.
Complaints interface
In the case of creating a complaint for delivery, it is possible to send information about the complaint and a token to log into the system to the Supplier. The message is sent via the email channel to the address assigned to the given provider. Logging into the supplier’s portal is carried out in the same way using a token. After entering the complaint token, the supplier user is redirected to the complaint handling view.
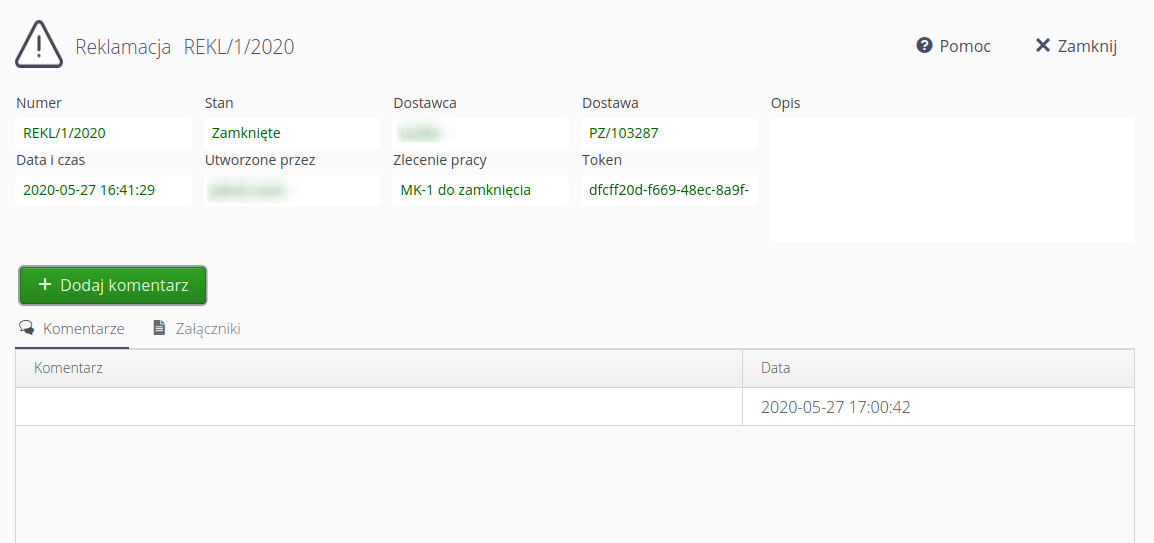
The complaint document (including photo documentation) and other documents attached by system managers or applicants are available in the 'Attachments' tab.
Here, the supplier has the opportunity to enter all information regarding the service, comment on the complaint and provide additional information through comments.
| Only system managers can change the status of the complaint (e.g. they can close it) |
Entering comments to the complaint
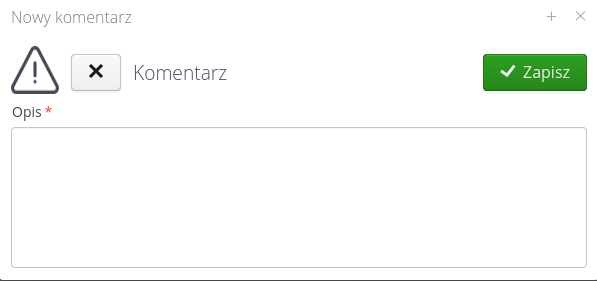
Comments are entered via the Add comment button. After selecting it, a dialog box appears with the possibility of entering information regarding a given complaint.
Adding an invoice
The invoice adding interface enables a simplified addition of an invoice to the system, i.e. adding general financial information and attachments in the form of an original invoice. The invoice general form allows you to specify the dates (invoice, collection, payment) and the invoice value, currency and exchange rate. The system is linked to the NBP system that determines the currency conversion rates for the selected day.
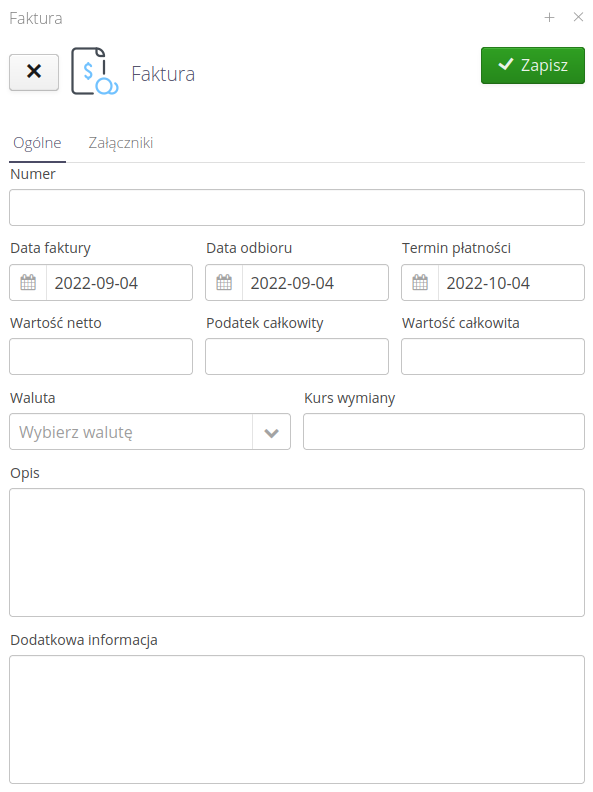
In the attachments section, you can add any number of elements - invoice, invoice specification, etc.
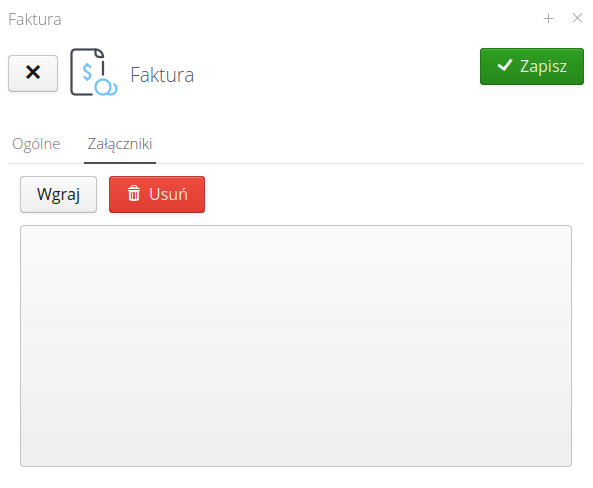
| The system will automatically link the invoice with the order or delivery when adding the invoice is done directly from the views of the given elements. |
Adding an item type
If the contractor has such permissions, he can add a new type of assortment to the system. This allows you to add an assortment yourself and specify basic information such as the base price, indexes, order numbers, etc.
The interface for adding a new type allows you to specify these elements.
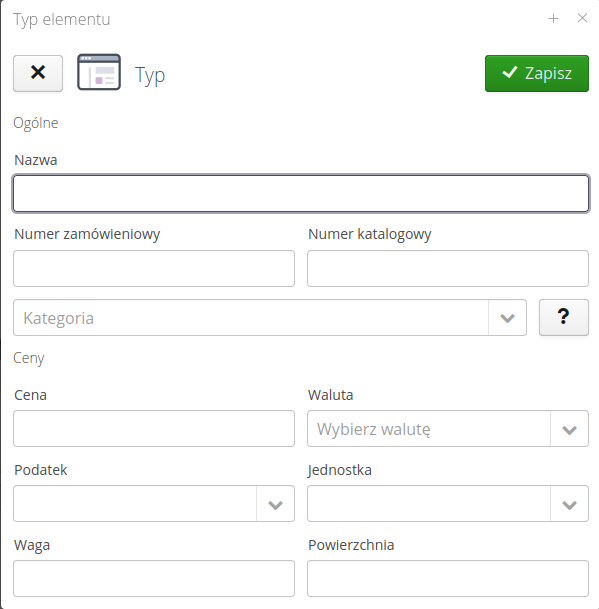
| The function is required when the contractor adds deliveries/invoices for items that do not yet exist in the system. |
The general interface of the portal
When we define the possibility of access to the Supplier Portal system for a given contractor through a general interface, we will enable him to declare documents directly through him, without the need to have previous documents in our system (e.g. orders). In order to grant such permissions, they must be performed in the main system in the "Contractors" section. After adding this option, we can send a token to selected email addresses along with a link to log in to the portal.
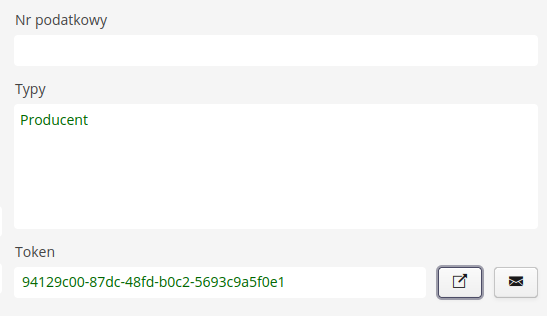
After selecting the login link and entering the token, the user is presented with a general view of the Supplier Portal interface with possible actions.
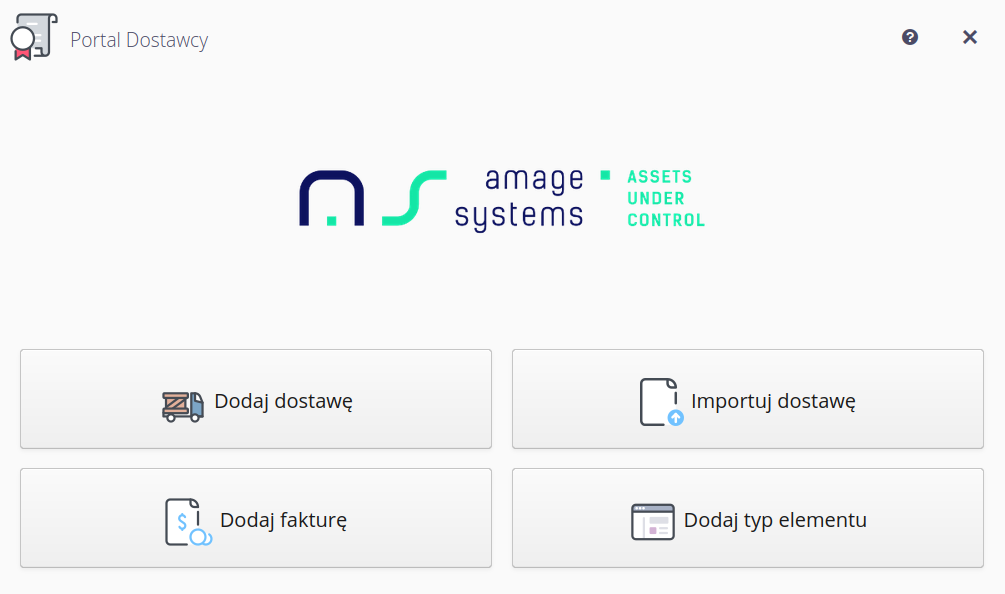
Depending on the permissions granted, the counterparty has the option of:
-
Adding a delivery (without a paired order) - the features of adding a delivery are described in its section for this area
-
Import delivery (as above)
-
Adding an invoice - described in a separate section
-
Adding a new type of item (assortment) - described in a separate section
| The visibility of shares depends on the authorizations granted to the selected contractor by system administrators. |