Inspections
Inspections
When the inspection module is launched, the inspections that have been added in the work order assigned to the logged-in user will be displayed.
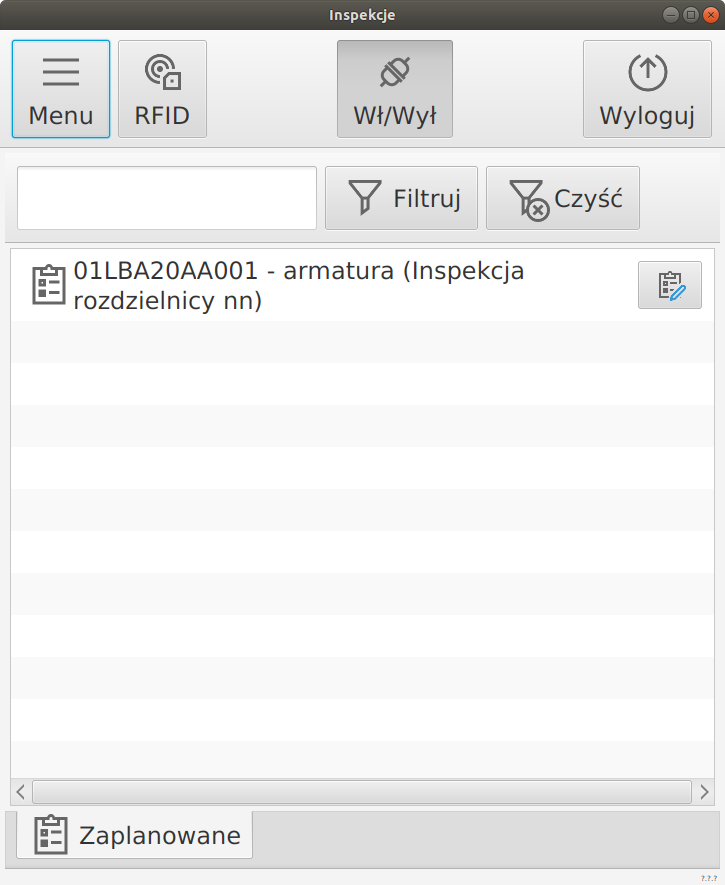
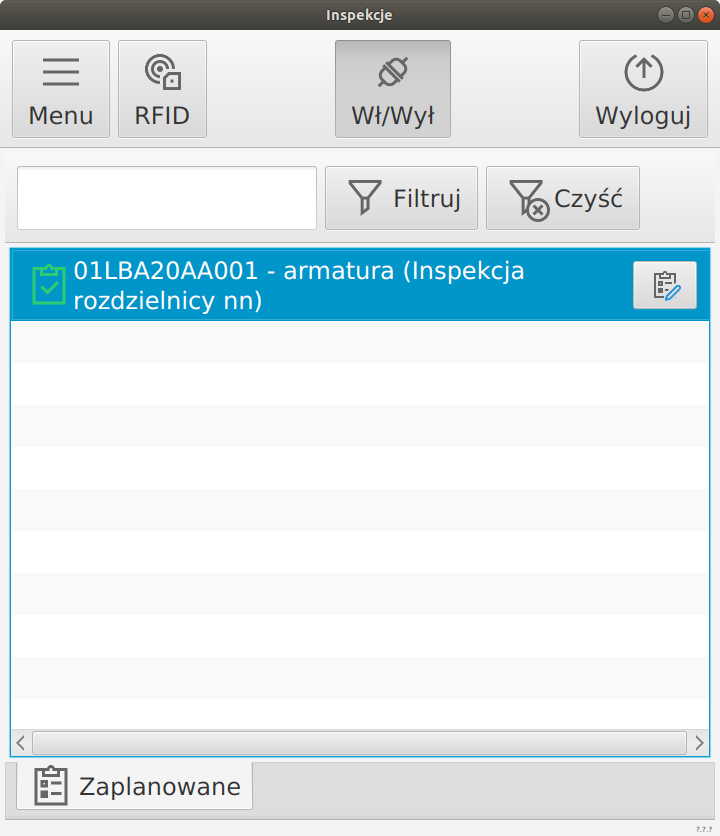
Each inspection has a status, which is indicated by the color of the icon:
-
Dark gray - A new inspection execution that has not yet been saved.
-
Orange - The required data is missing from the saved inspection execution.
-
Red - In the recorded execution of the inspection, certain data does not meet the required conditions resulting, for example, from the verification of the entered measurements.
-
Green - The completed inspection has all the required data that meets the required criteria.
Executing inspections
To perform inspections, click the button to its right, the user will be redirected to the view of a specific inspection execution.

After enabling the execution of the inspection, we can navigate through the inspection by selecting a specific tab. The user can preview the inspected object at any time during the inspection execution by pressing the "Show" button. This will open the window of the corresponding product, item or group of items.
Questions
The first tab is Questions.
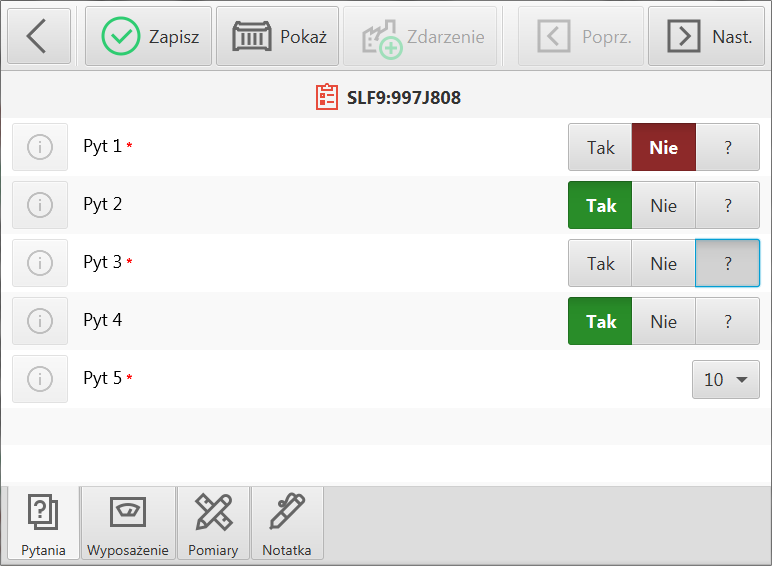
This tab displays all Questions that are assigned to the inspection template used by this inspection. If the question is of type Yes/No then analogous answers to it will be displayed, and additionally the answer ?
| If the answer ? is marked, the question will be treated as unanswered, while the recorded execution of the inspection will indicate the absence of specific data. |
A question that has been marked as required in the inspection template will be marked with a red asterisk.

The second type of question is Enumeration, the AMAGE FX application user has a list of answers to choose from, configured in the main application.

If a description has been added to the question, the user can see it by clicking on the icon next to the question content.

Equipment
Another tab is the equipment tab. Here the user should select the measurement apparatus used for the measurement. Adding equipment by the user is possible in two ways.
-
Manual addition
To add manually, select the "Plus" button

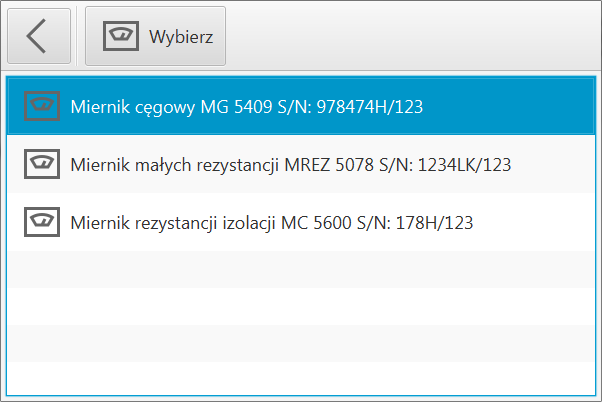
A list of available measuring devices will be displayed, after which the user must select the appropriate device.
-
Adding by scanning the code - If the equipment has an ID assigned to it, we can use the scan to automatically assign a specific device.
Any equipment added can be removed by the user after selecting it and then clicking on the "Minus" button.

Measurements
In this tab, the user completes the data on the measurements taken for a specific inspection.
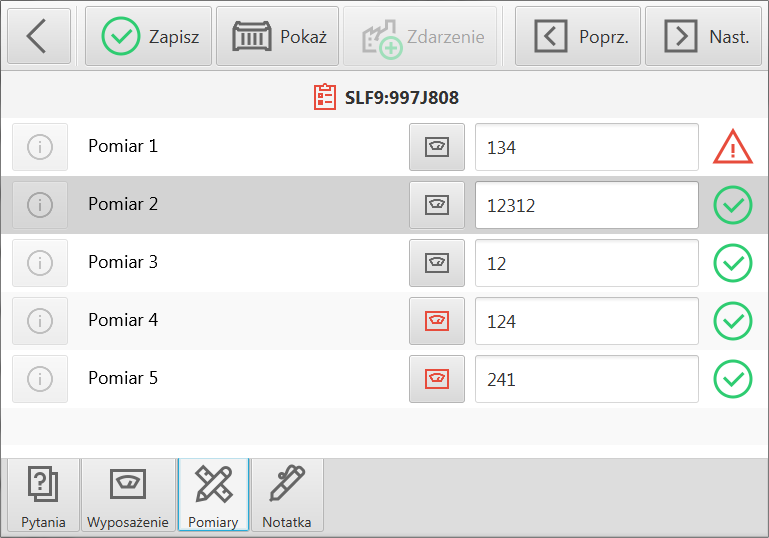
The measurement device used can be selected for each measurement. The available measurement devices are displayed based on the settings from the Equipment tab. If equipment has not been assigned for a measurement, the icon next to it is in red.

If a checking condition has been set for a specific measurement, the user will get information whether it meets the required criteria after entering the measurement result in the text field.

If a description has been added to the measurement, the user can see it by clicking on the icon next to the question content.

Tasks
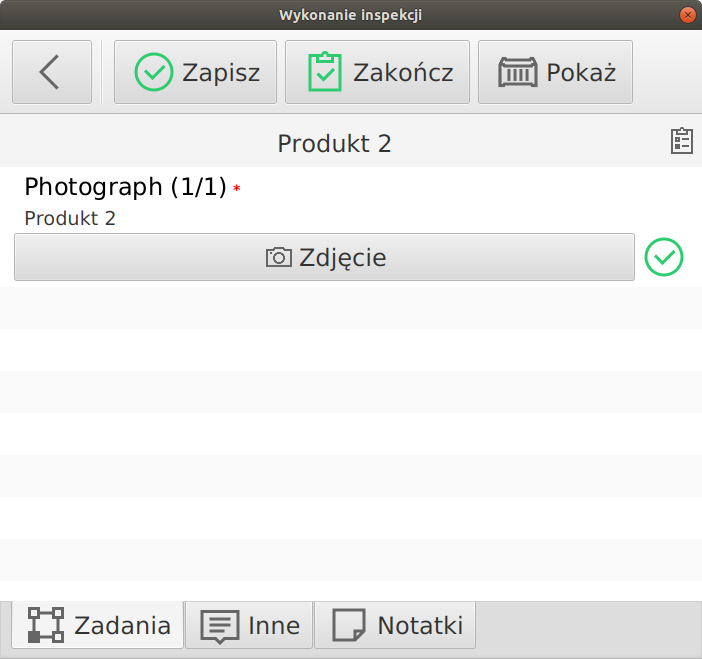
If the inspection template has defined tasks, an additional Tasks tab appears in the window. It allows you to perform the tasks defined in the template. The available tasks are:
-
Tag reading - reading of an identifier of a given type, e.g. RFID associated with the product/item/group that is the subject of the inspection.
-
Making a photo - taking a certain number of photos. Photos are added as photographic notes to make an inspection.
Commentary and captions
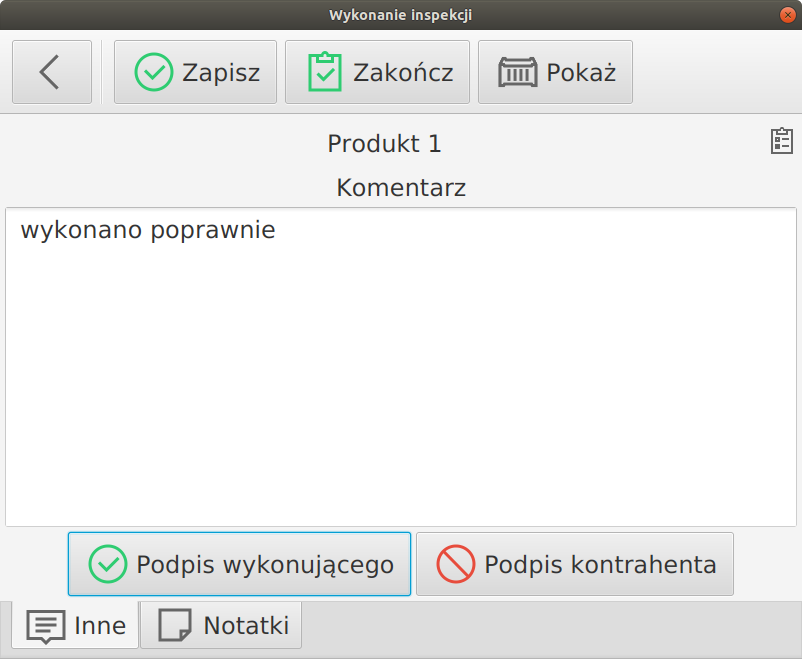
The commentary provides additional information during the execution of the inspection. It can be used to summarize the inspection or to store information necessary for further activities. It is also used for communication between the performer of the inspection and the inspector.
If the inspection template has been configured to require signatures of the persons performing the inspection or the client’s representative, the Executor’s Signature and/or Contractor’s Signature buttons will be additionally active.
After selecting the signatures, a window appears with the possibility to manually enter the signature in question.
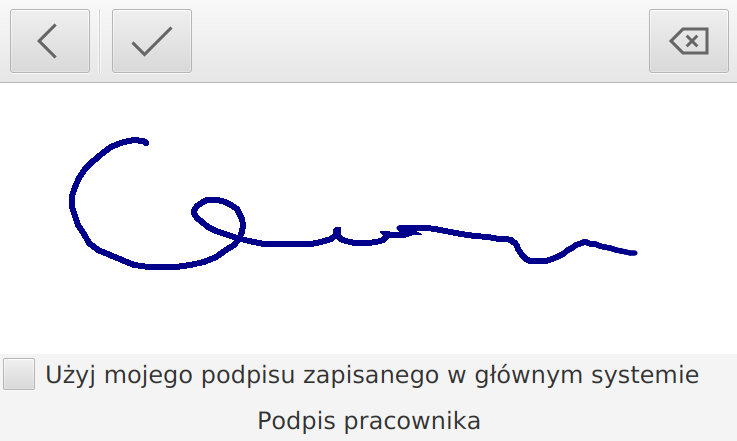
The user can, instead of entering his own signature in electronic form, choose by checking the option "Use my signature stored in the main system" to use the signature that is stored in the main system. Then this signature will be used during report generation.
| For the function to be usable, the user must log into the desktop system and upload his signature there in the form of a scan. There is no other way to save this data. For security reasons, such a signature is also not sent to mobile terminals. |
Saving data
The user can also perform two actions to complete the inspections:
-
Save - allows you to save temporary inspections (e.g., need to perform other actions). The application saves the information but does not mark the inspection as done correctly
-
Complete - the application checks whether all points marked as required to be entered in the inspection have been completed. If so, it automatically records in the inspection execution the information from the Comment field and marks the inspection as completed correctly. If any point marked as required is not completed then the application will not allow the inspection to be completed. In addition, the completeness of the required signatures is verified.