Resource structure
Resource structure
The resource structure allows you to view all resources that are entered in the system.
| A resource is any object that has its unique identification. It can be a device, a component, a component. The important thing is that the user wants to have a history of this particular object. This distinguishes a resource from a type. For example, the type is engine type A from manufacturer B. The resource is the specific engine serial number 123/2010 type A from manufacturer B. |
After selecting the 'Resources' link in the main menu, the user receives a list of all resources that are defined in his system instance. It can filter the list by Location, Product Group or search field that browses general information about the asset, e.g. name, serial number, inventory number. The user can also search for a specific resource by clicking the scan button. If the resource has an identifier assigned (1D, 2D, RFID code), then through this mechanism we can quickly find the resource without having to search for it in the list.
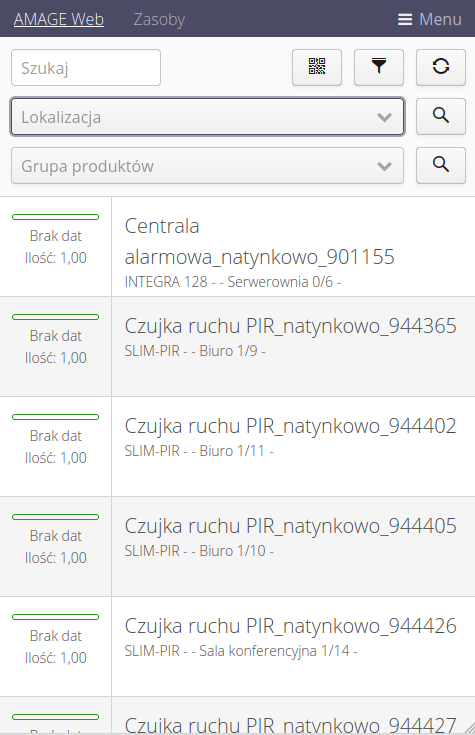
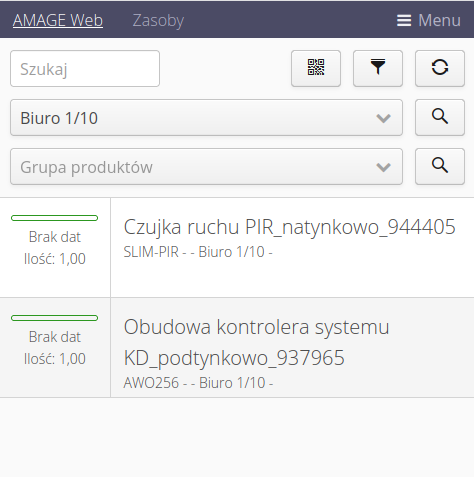
Using filters, we can limit the visibility of elements and filter data. By default, two filtering elements are visible - locations and product groups. Using them, we can select elements only from a given place.
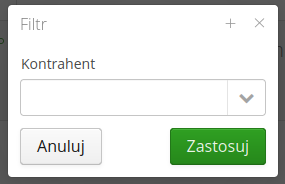
Additionally, under the "funnel" button there is a window with additional filters allowing for additional filtering parameters.
| The code and RFID tag scanner is always active in the view. When using the AMAGE Shell application, we can call up the scanner and scan codes that are assigned to a location or a specific device. The system recognizes both types of codes and, if a location code is detected, filters the view according to this location. For a device, it goes straight to the details of that device. |
When you select a resource, all information about that resource is displayed.
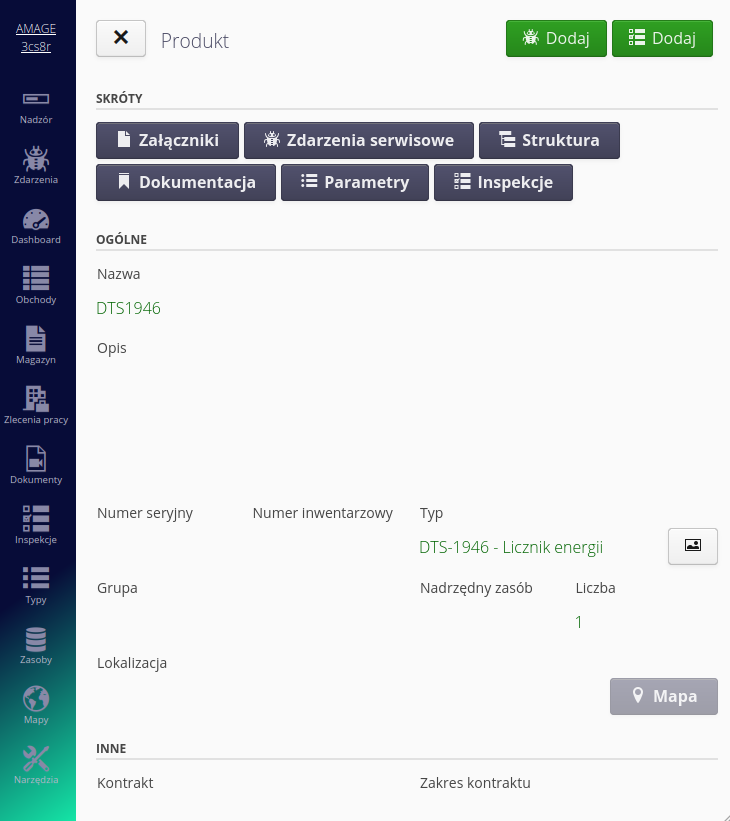
In the general section, information about names, types and serial numbers appears. When a resource is associated with a map, it is possible to go directly to the map module and display the location of the resource.
In direct actions, you can create a service request. Shortcuts allow you to access:
-
Attachments - attachments attached to the resource, e.g. documentation, photos, additional information
-
Service events - list of all service events assigned to a given resource (full history)
-
Structure - in the case of resources with a defined internal structure, you can go to displaying the structure (described below)
-
Documentation - go to the list of contextual documentation associated with a given resource (described below)
-
Parameters - list of parameters of a given resource
-
Inspections - a list of inspections assigned to a given resource
| The available buttons depend on the active functions for a given AMAGE instance. |
In the upper part of the view there are buttons to create new objects, such as a service event or inspection, directly related to a given resource. Additionally, there is a context menu button with additional actions.

The context menu allows you to perform actions related to a given resource that is used less frequently.
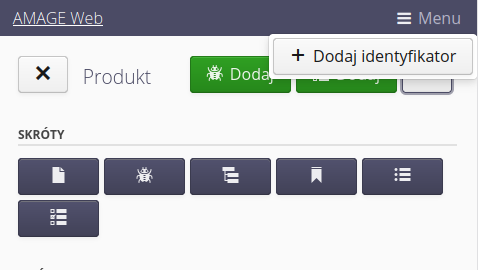
Available actions:
-
Add ID - allows you to add a new ID to a given resource. Sometimes we want to pair a new code printed on a label with a device or add an additional RFID tag as another identifying element. We can do this with this action.
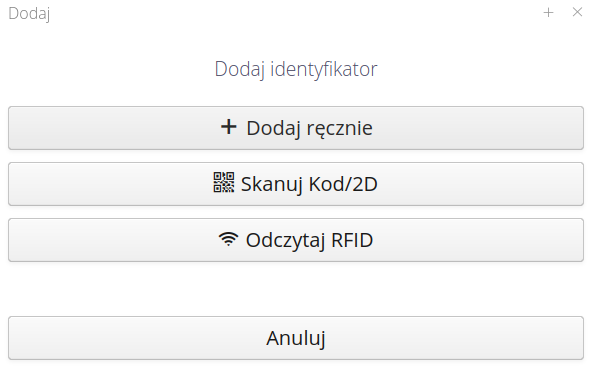
Adding an identifier displays an additional dialog box where we select the mechanism for adding the code - whether we add it manually, scan a bar/2D code or scan an RFID tag. After reading, a given identifier is assigned to the resource.
Adding a new resource
The user also has the option of creating a new resource (depending on permissions). In the resource list, after selecting the (+) button, the user can add a new resource.
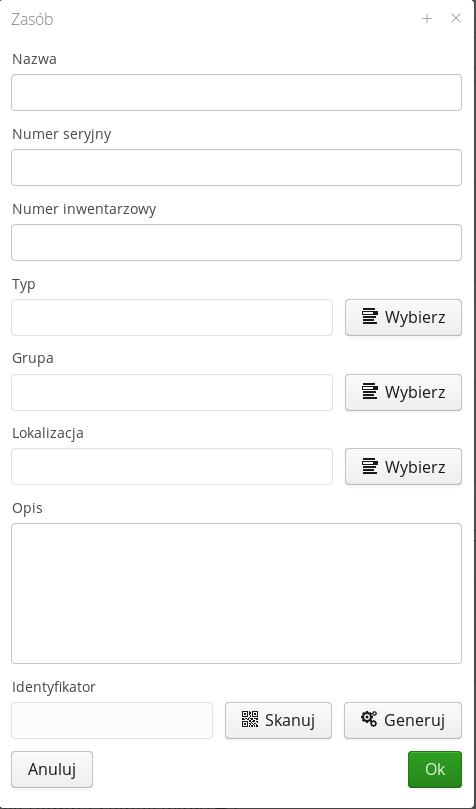
When creating a new resource, you can specify: Name of the resource, its serial number, inventory number, description. You can assign a given resource to a type and determine its location in the tree of groups and locations. You can also assign him an identifier in the form of barcodes or RFID tags. The 'Generate' button is used to generate an identifier compatible with the AMAGE system.
Division into sub-assets
If the configuration option enabling asset division is enabled in the system, an additional action allowing for triggering the division will appear in the asset details view.
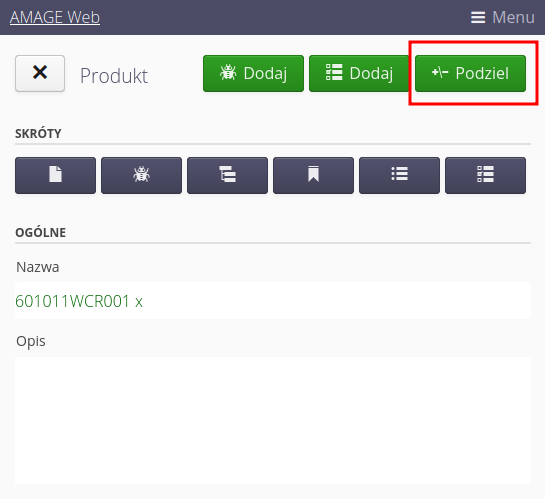
For details of the dialog box and splitting options, refer to the Desktop system manual.
The internal structure of the product
The AMAGE system allows you to define a detailed internal structure of the resource. These can be, for example, components of the frequency converter, components of the motor or the internal structure of the switchgear (panels, cassettes). In any place in the structure, the user can add additional elements (e.g. apparatus) with properties identical to the resource itself (name, serial number, type, identifiers, etc.). This allows for a very detailed mapping of the full structure of resources.
When the 'Structure' action is selected, the asset view shows a flat structure of the main element groups. For each group, it is possible to display information about itself 'Details', display elements attached to the group 'Elements' or go to the structure below 'Children'
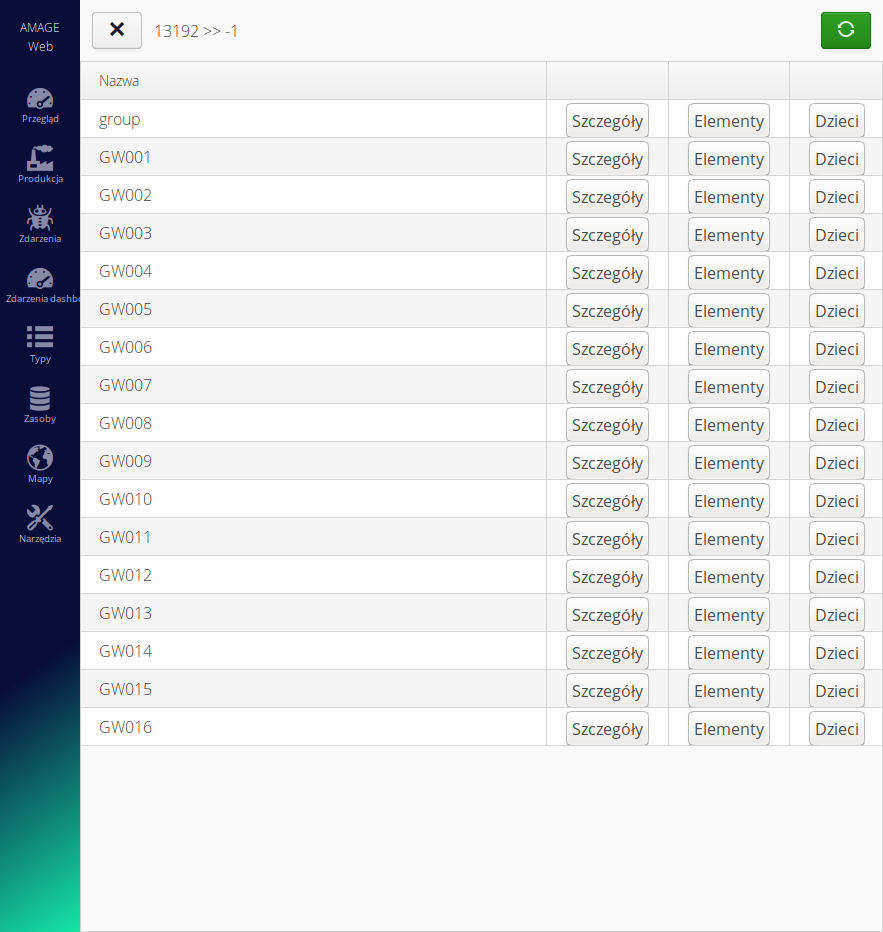
| The structure of element groups is tree-like, i.e. it is possible to divide the groups, e.g. into switchgear bays, and then, within a given bay, divide the structure into individual cassettes. And only in cassettes add cameras. |
After selecting the 'Elements' section, we go to the list of elements in a given group.
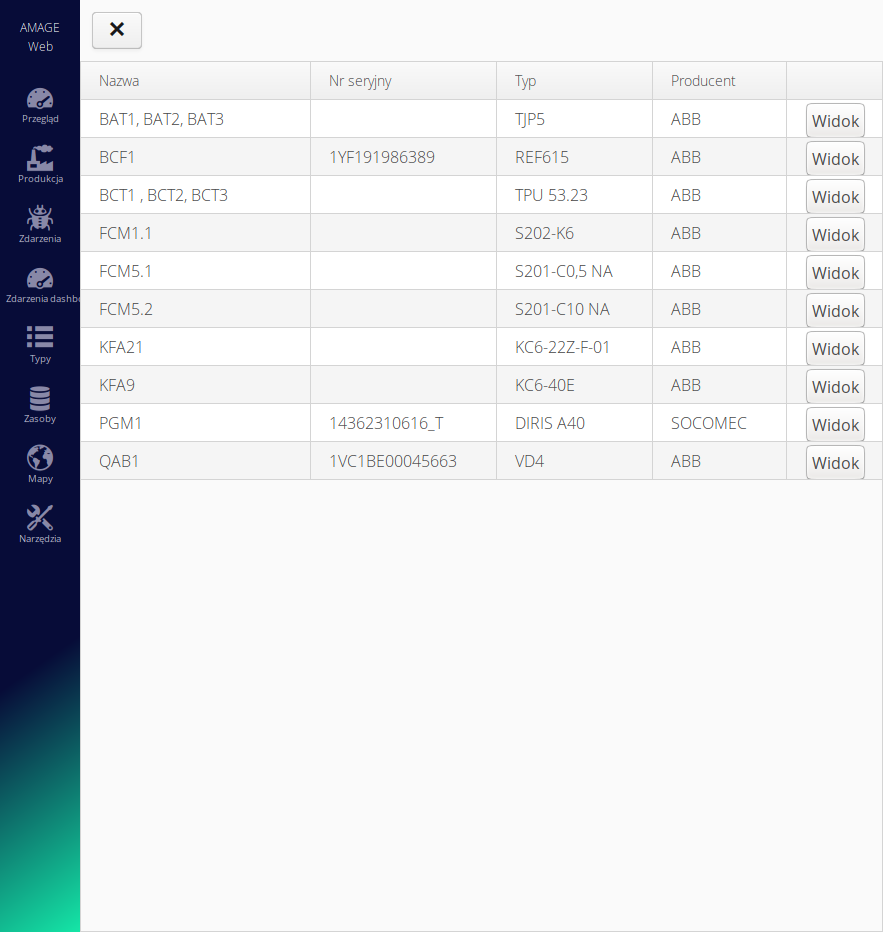
Each element in the basic view displays its name, serial number, type and manufacturer. The 'View' button allows you to go to the details of a given element - the view is identical to the resource view.
Parameters
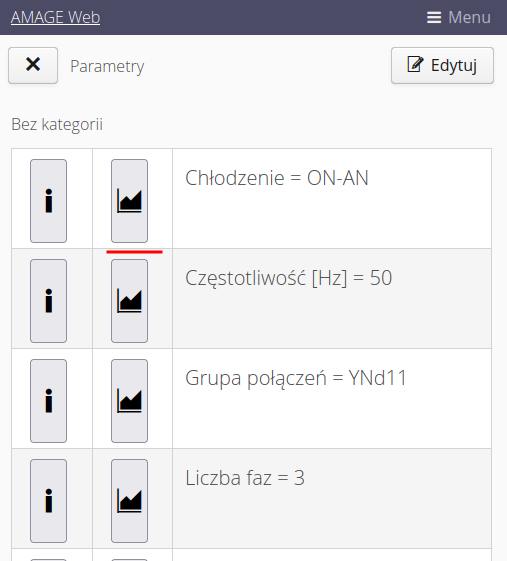
The parameters view shows all the parameters of a given resource. If the parameters are grouped into categories, this view also divides the list according to the categories.
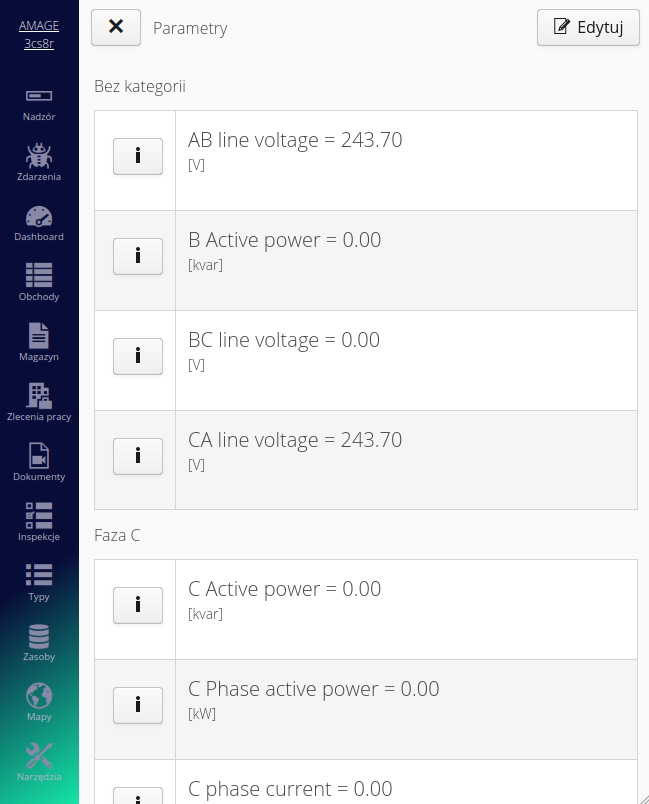
In this view, we also have the ability to edit parameters. Calling the Edit action brings up an additional window where each parameter can be entered.
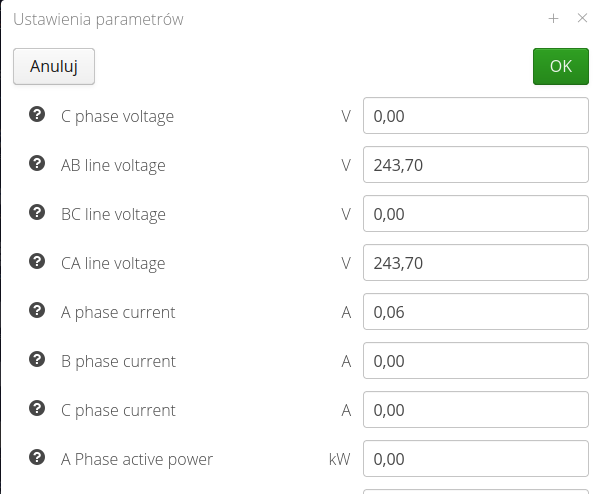
Once the data is approved, it is saved in the parameters. The changed parameters also receive a history entry indicating the time and person changing the value.
The parameter list also allows you to display historical charts of a given parameter. By selecting the Chart button you have access to the charts dialog box.
Contextual documentation
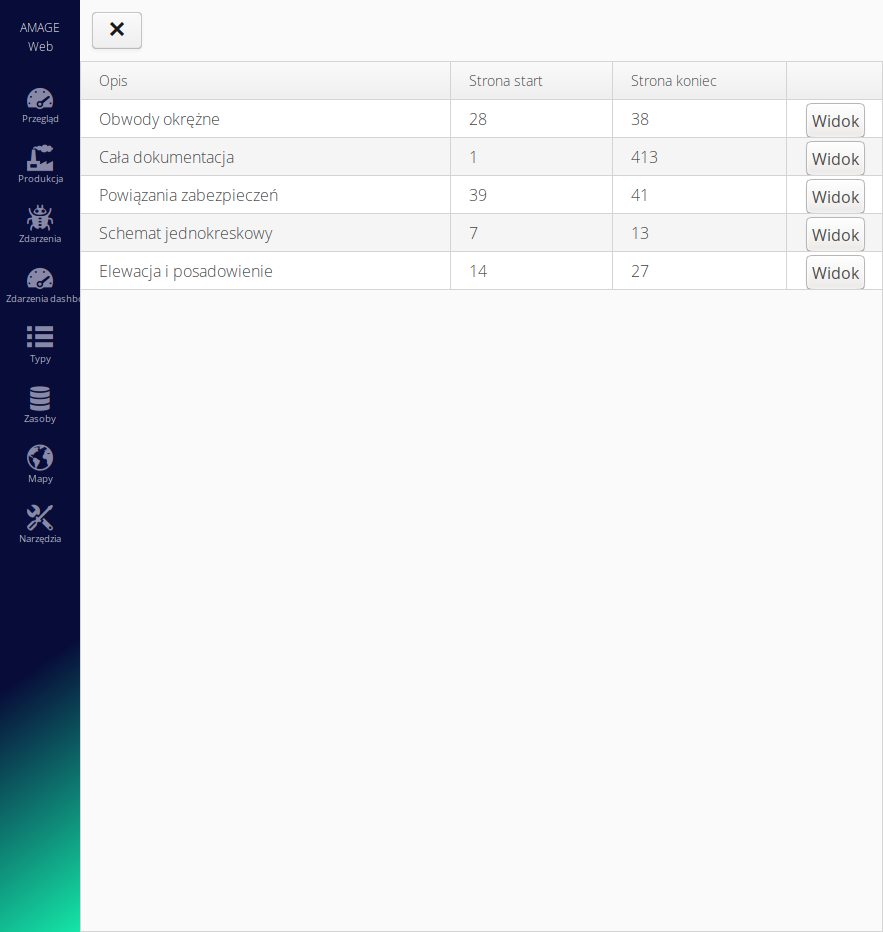
Selecting the 'Documentation' action in the shortcuts takes the user to the list of contextual documentation associated with a given resource. In the letter we receive the name and range of pages, within the documentation where the given range is located. The 'View' button displays the document with navigation to the starting point, i.e. if the 'Single Line Diagram' documentation is on page 7, the documentation will be opened on page 7.
| Contextual documentation entries can be entered manually, or the extended application’s documentation mapping mechanism can be used to intelligently browse through PDF documentation and create contextual documentation and page links. The mechanism is flexible and allows for a wide range of automatic creation of documentation indexes. |
Type list
The type window allows you to view all types of assortment defined in the system. After selecting the 'Types' section from the main menu, the user is presented with a list of all types defined in the system. Using the search and category fields, you can further limit the list of visible assortment.
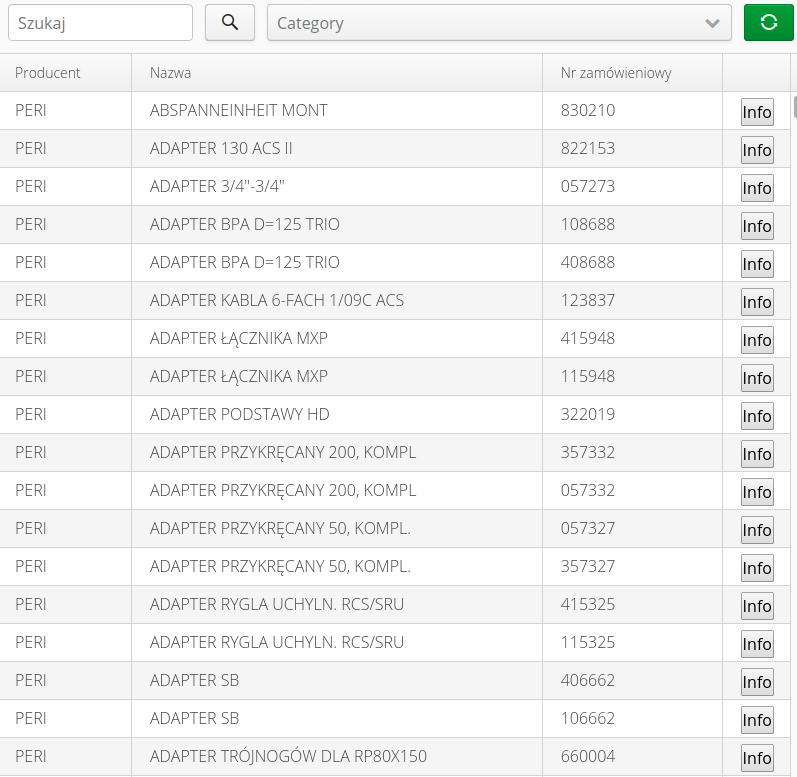
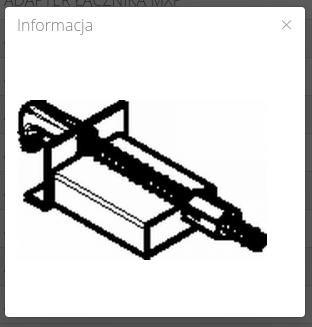
For each type, information about the manufacturer, name and order number is provided. If a given type has a picture, you can use the 'Info' button to display a picture of a given type of assortment.
| Type definition, categorization, and additional properties are available in the extended application. |
Maps and objects
The application has the ability to display information on geographic maps and on self-prepared primers (e.g. process plans, plant plans, construction plans). When you go from the main menu to the 'Maps' section, a basic map with a focal point defined in the main settings of the system will be loaded.
The user has the option:
-
selection of elements displayed from the item in the upper left corner. You can select the elements you want to place on the map
-
of the active primer (map) through the selector available on the map in the upper right corner.
After selecting objects, the application displays them all on the map. Selecting an object shows all the necessary information about it.
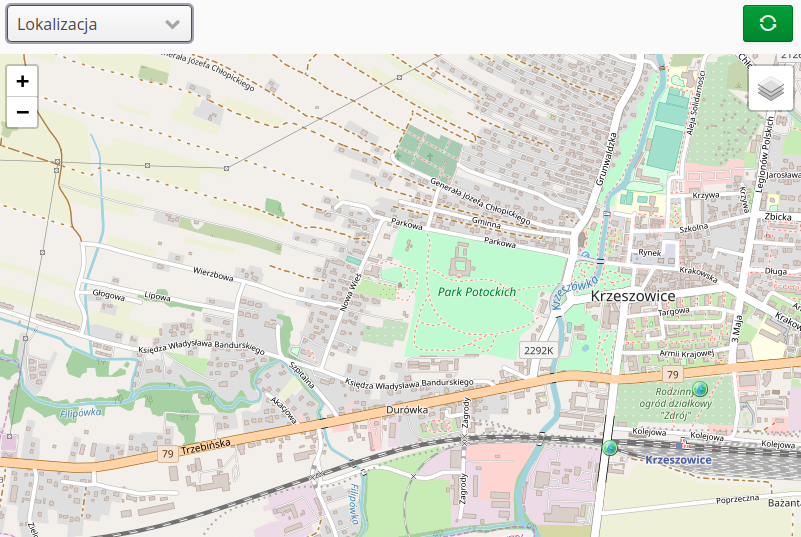
| If you use your own primers, they are generated at the appropriate zoom levels (zoom). If the current map zoom is greater than the zoom level available for a particular primer, that particular primer is not active. It is then necessary to reduce the map zoom until the primer is active in the list. |
| All primers work as TILES-type elements in TMS format. For details on creating your own primers, installing them on the server and making them available to users, please refer to the administrative documentation. |
Locations
In the resource list view, we can switch to the location view. Using the 'magnifying glass' button next to the location selection list, we go to the location view. It presents a list of locations in a hierarchical manner. If an element has subordinate locations, we can go to them using the button next to the given location. Going to a higher level is possible using the arrow button in the top menu (appears only in structures subordinate to the main one).
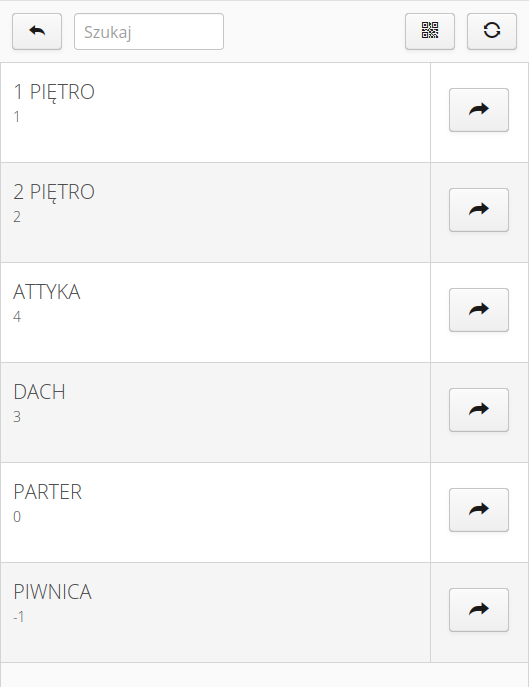
The barcode scanner is active in the view. After scanning the location code, we go to the details of this location. We can also go there by selecting the location name from the list.
In the location details we have access to direct actions such as adding a service request or inspection. Access to the context menu and access to shortcuts allows you to perform the main actions for the location.
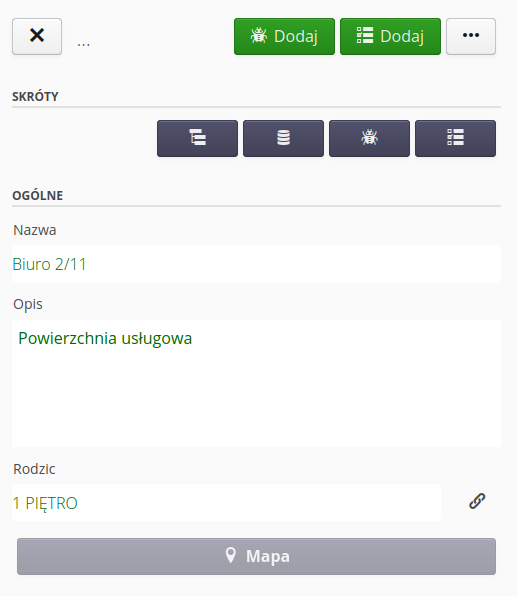
We can move on to the views:
-
structure - substructure of a given location
-
resources - list of resources in a given location
-
service events - events assigned to a given location
-
inspections - inspections assigned to a given location
We can also go to the map view if a given element is located on the plan.
Available actions in the context menu:
-
Add ID - allows you to add a new ID to a given location. Sometimes we want to pair a new code printed on a label with a location or add an additional RFID tag as another identifying element. We can do this with this action.
Adding an identifier displays an additional dialog box where we select the mechanism for adding the code - whether we add it manually, scan a bar/2D code or scan an RFID tag. After reading, a given identifier is assigned to a location.
Product groups
In the resource list view, you can switch to the product group view. Using the 'magnifying glass' button next to the product group selection list, we go to their list. It presents product groups in a hierarchical manner. If an element has subgroups, we can go to them using the button next to a given record. Going to a higher level is possible using the arrow button in the top menu (appears only in structures subordinate to the main one).
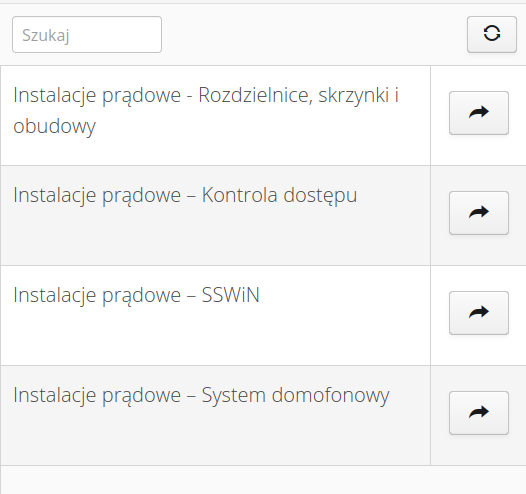
By selecting the name of a given group, we go to the details view.
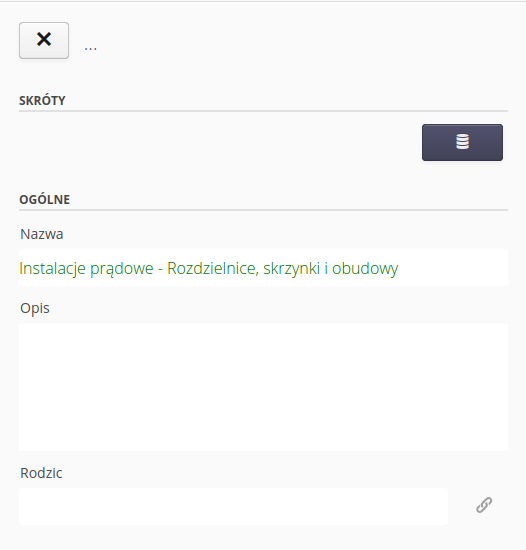
Using the buttons we can navigate to the list of resources assigned to a given group.