Documentation
Directories and files
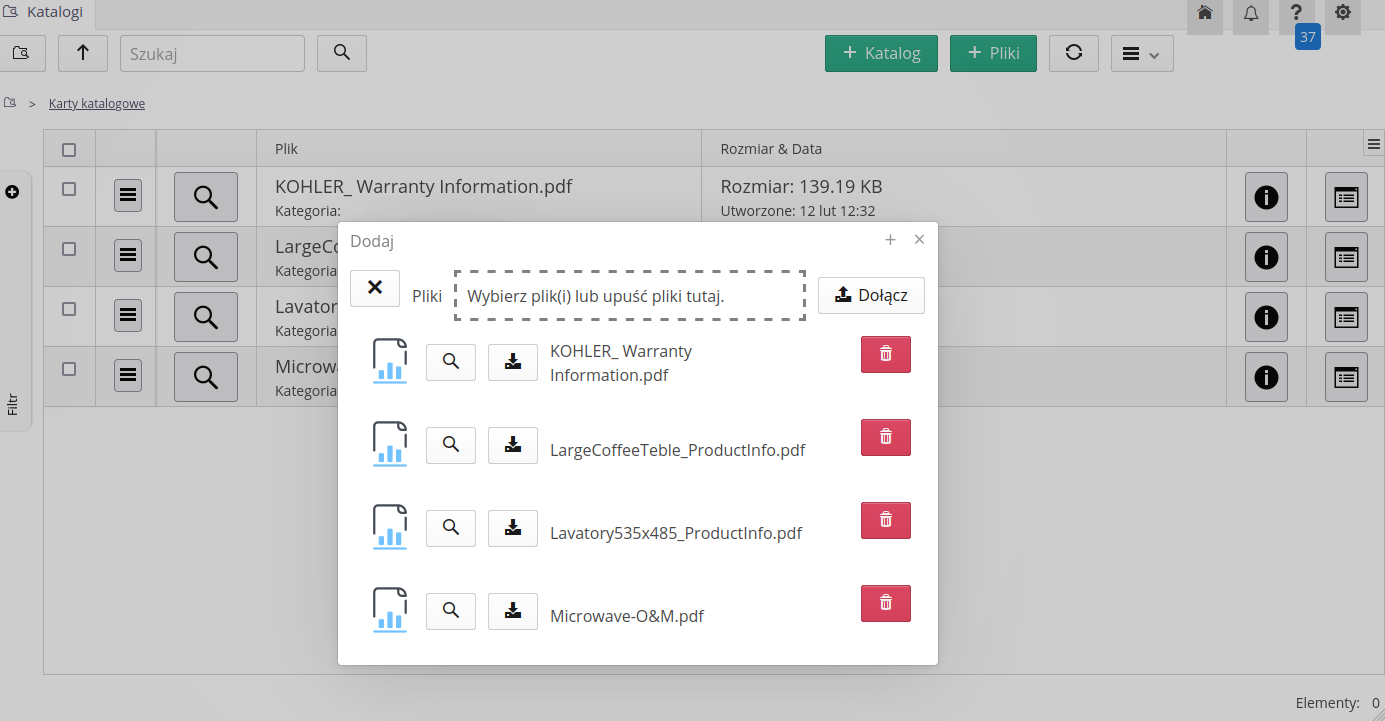
An archive of general files/directories has been added to the system. This allows you to use the system to store data and attachments that are not related to resources, types or other objects existing in the system. We can add directories, files and subsequent versions of files.
Files can be viewed, downloaded, and included in the resource and type structure. This allows for faster generation and display of data in the form of a file archive.
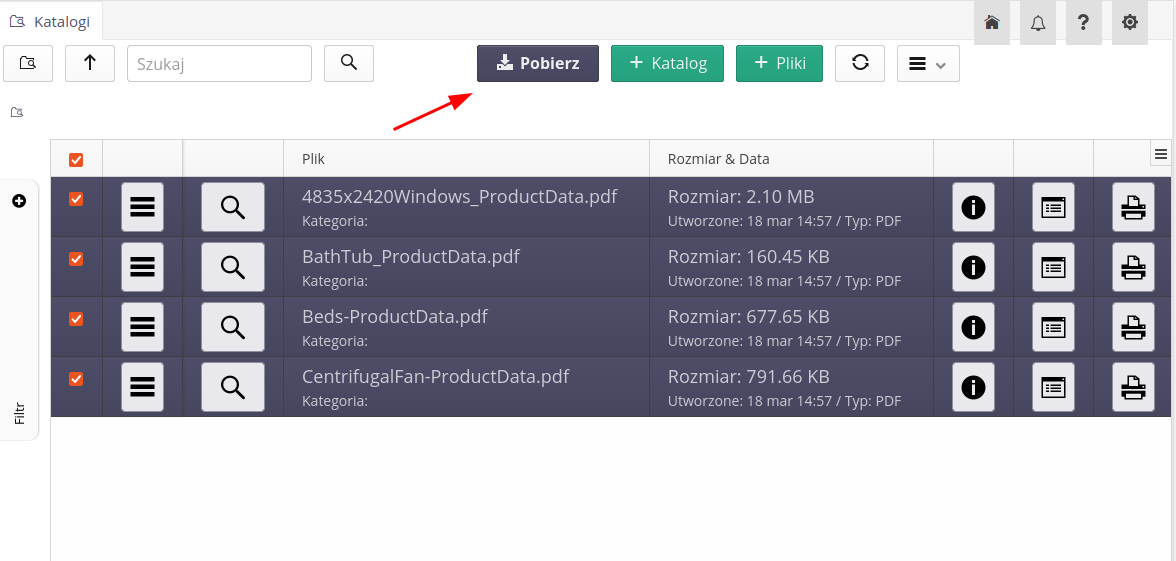
The system also allows you to quickly download more files in the form of a ZIP archive. To do this, select the files you want to download and then select the "Download" option from the buttons available at the top of the window. The system will generate a ZIP archive with the selected files, which will then be downloaded to the user’s computer.
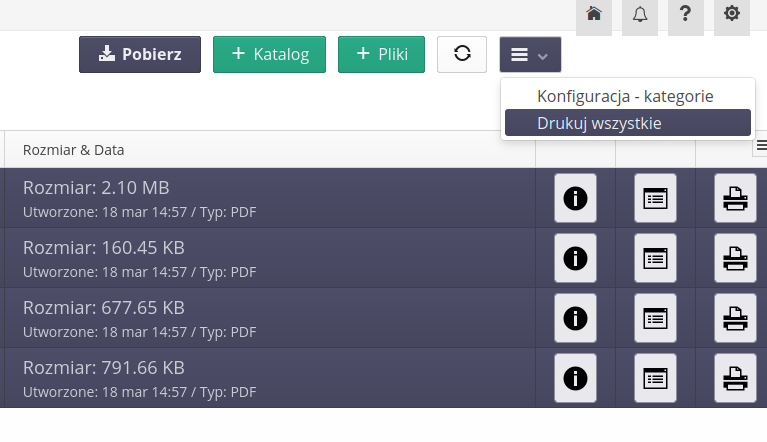
The module also has an auxiliary function that allows you to print selected PDF files or download other types of files. To achieve this, we select the selected files in the interface and select the action from the Print all view tool menu.
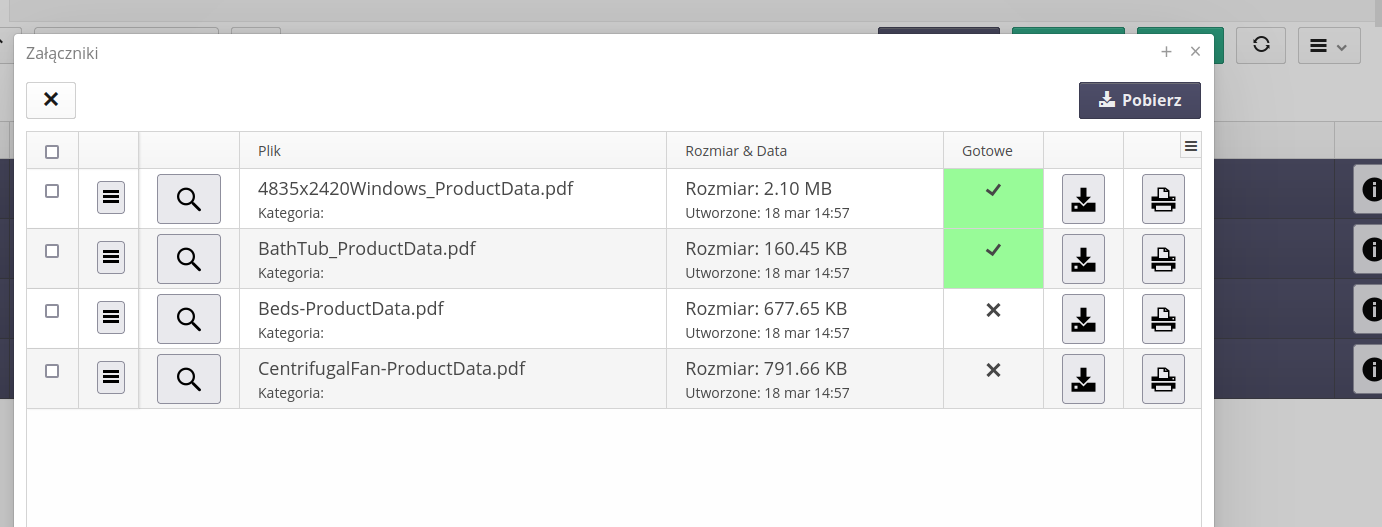
A window will appear with the selected files and the option to download or print them directly (for PDF files). Performing any of these types of operations will mark the file as processed. This facilitates printing/handling files and visibility of their status in the system.
As-built documentation generator
| The module is available in selected system versions. For additional information, please contact the support department or check the availability of the system version in the instance configuration. |
The as-built documentation generator allows you to generate as-built documentation for selected resources. As-built documentation is generated based on resource data, including information about the resource, documents, attachments, and documents from other data structures in the application. Using this module, we can build a documentation tree that can then be exported to a ZIP archive or printed. The system has information about the revision of a given documentation and facilitates the creation of subsequent versions of the documentation by copying the existing documentation tree.
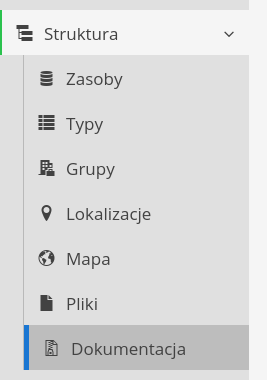
Access to the module is possible from the main application menu in the Structure section. Select the 'Documentation' action to go to the list of available documentation sets.
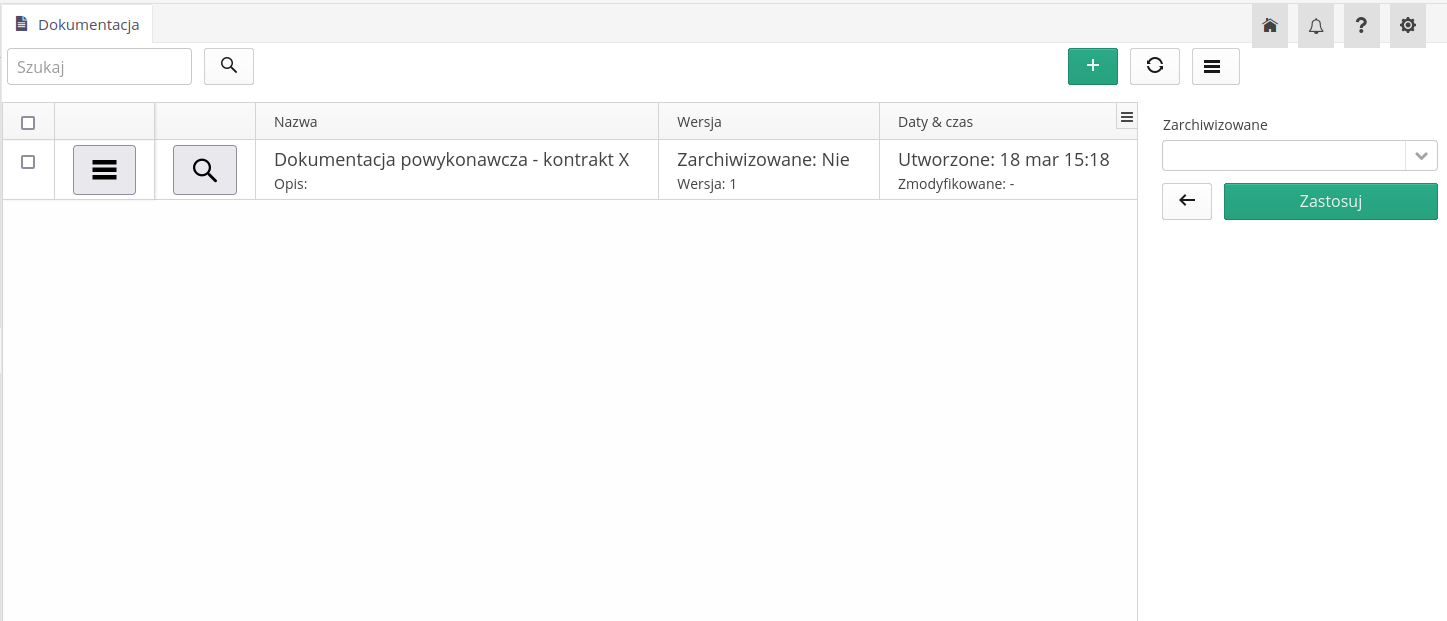
The main view shows basic information about individual sets of as-built documentation. The list contains information about the name, description, version (revision) of the given documentation and the date of creation/editing of the document.
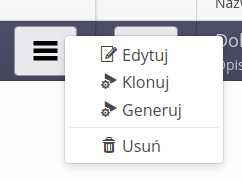
In the context menu of the documentation list (for already created records), we have access to the actions of editing, cloning, generating an archive and deleting documentation.
-
Edit - opens the documentation editing form
-
Clone - creates new documentation based on the existing one with a full copy of the list of elements/documentation tree
-
Generate - generates a ZIP archive with documentation
-
Delete - deletes the documentation irreversibly
In this view, we also have the option of adding a new set of as-built documentation. To do this, select the 'Add' button from the top menu.
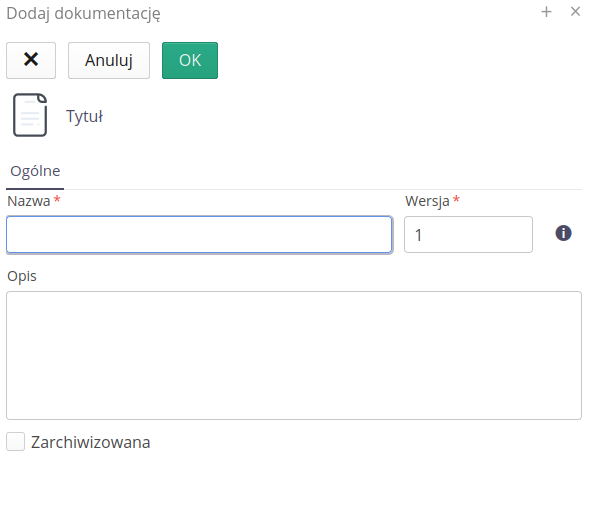
In the editor we specify the following properties:
-
Name - name of the documentation.
-
Version - documentation revision - number counted from 1. The user can freely define the revision number.
-
Description - additional description of the documentation set.
-
Archived - a flag indicating that the documentation has been edited. When this flag is checked, the documentation will not be visible by default in the documentation list (you can see it by setting the appropriate filter)
After saving the new set of documentation, we proceed to editing the documentation tree. To do this, select the Edit button from the context menu of the documentation list or from the button available in the detailed documentation view. A new tab opens with the given documentation available for editing.
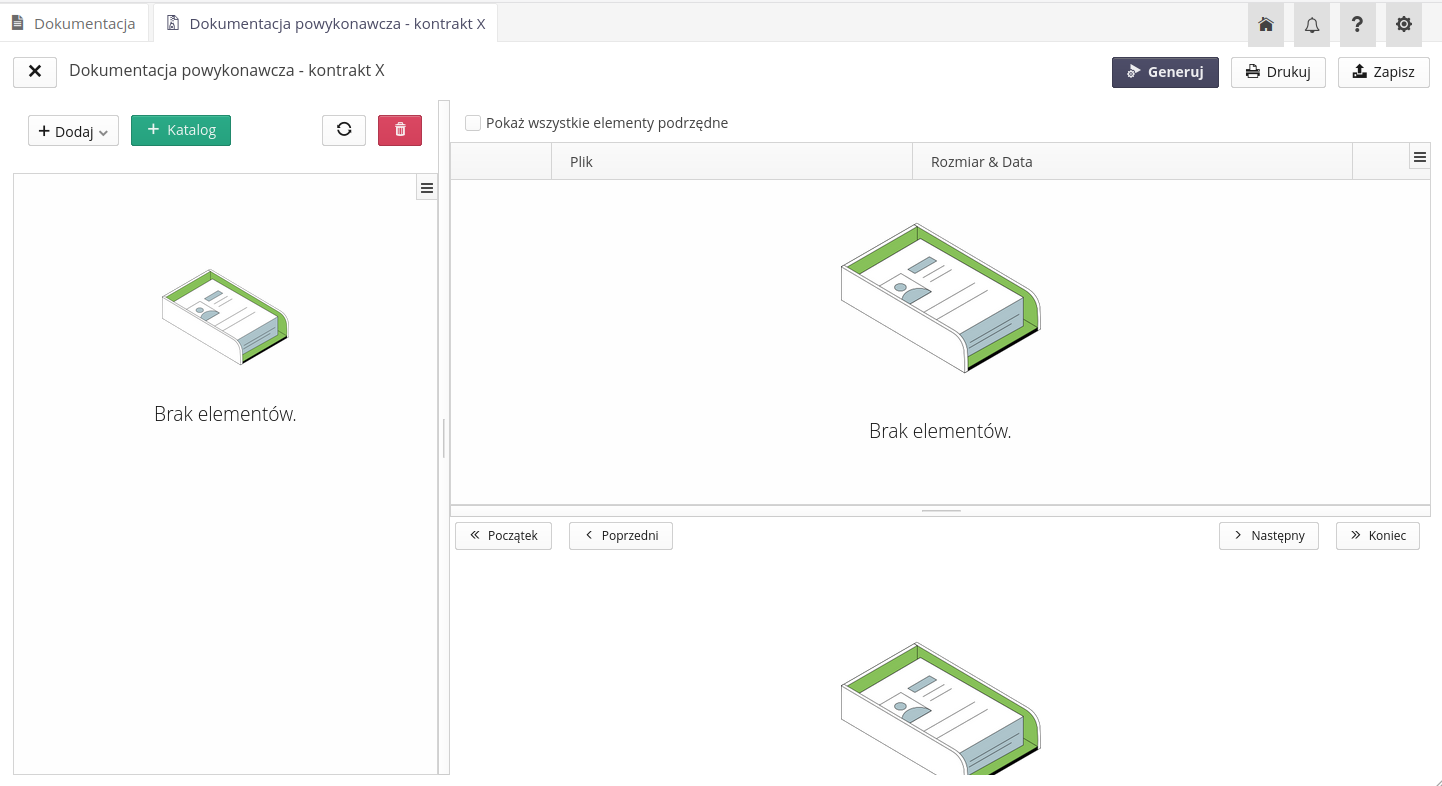
The window is divided into three parts. There is a slider between each of them that allows you to move and resize individual sections. The available sections are:
-
Documentation tree - the main documentation tree, here the documentation structure is created
-
List of documents - a list of documents (files) available at a given level of documentation (selection). Using the 'show all child elements' checkbox, you can show all documents contained in the selected element of the documentation tree and its child elements.
-
PDF document preview - quick preview view of the PDF document. After selecting a document in the document list, a preview of the PDF document is displayed with the option of quick navigation.
In the upper part of the documentation tree there are action buttons that can be performed in the documentation tree.
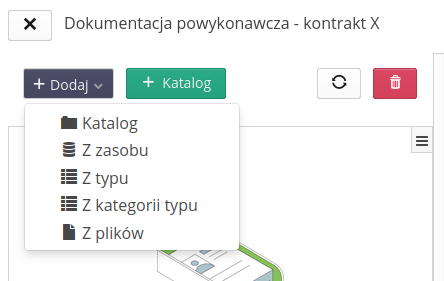
The following actions are available. Using the Add drop-down button, you can add new elements to the documentation tree.
-
Add - directory - adds a directory at the selected location
-
Add - from resource - adds all documentation elements from the selected resource
-
Add - from type - adds all documentation elements from the selected element type
-
Add - from type category - adds all documentation elements from the selected type category
-
Add - from files - adds selected files to the documentation tree
In each case (apart from adding a directory), attachments (files) attached to selected objects in the system are added.
| When adding elements from a resource, type or type category, the system displays a dialog box with the selection of the resource, type or type category. After selecting the appropriate elements, the system adds all elements from the selected resource, type or type category to the documentation tree. When you select the option to add child items, the system adds all child items to the selected item in the documentation tree. By default, the system groups all attachments from a given resource, type or type category into one subdirectory for each attachment category. |
Additional actions are:
-
Add directory - adds a directory at the selected location.
-
Refresh - Refreshes the documentation tree.
-
Delete - deletes the selected element of the documentation tree along with its subordinate elements.
In the documentation view, buttons are also available in the view’s side menu (above the file list).

Available actions:
-
Generate - generates a ZIP archive with documentation
-
Print - displays a form for printing/downloading all files from the document list
-
Save - saves changes in the documentation tree
| The saving option is also included when saving/closing the window of a given documentation. |
An example of a completed documentation tree is shown in the screenshot below. As you can see, individual elements from various places in the system have been automatically added to the structure, creating a documentation tree.
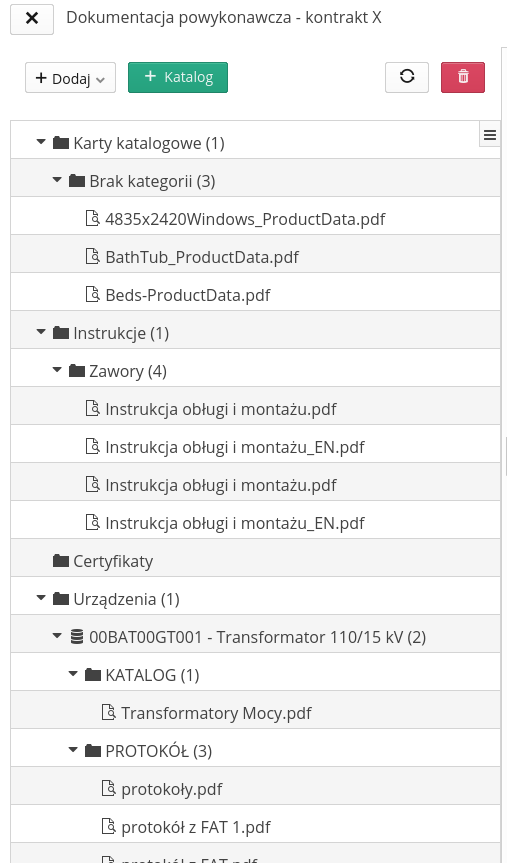
Using the context menu in the tree, we can perform file list update operations from the associated resource/type. This is useful when attachments in a resource/type change and we want to update the list of files in the documentation tree to the latest version of the structure. We can also change directory names here and move elements between structure elements using the drag&drop mechanism.
The complete view of working on documentation with all information in individual views is as follows (screenshot below).
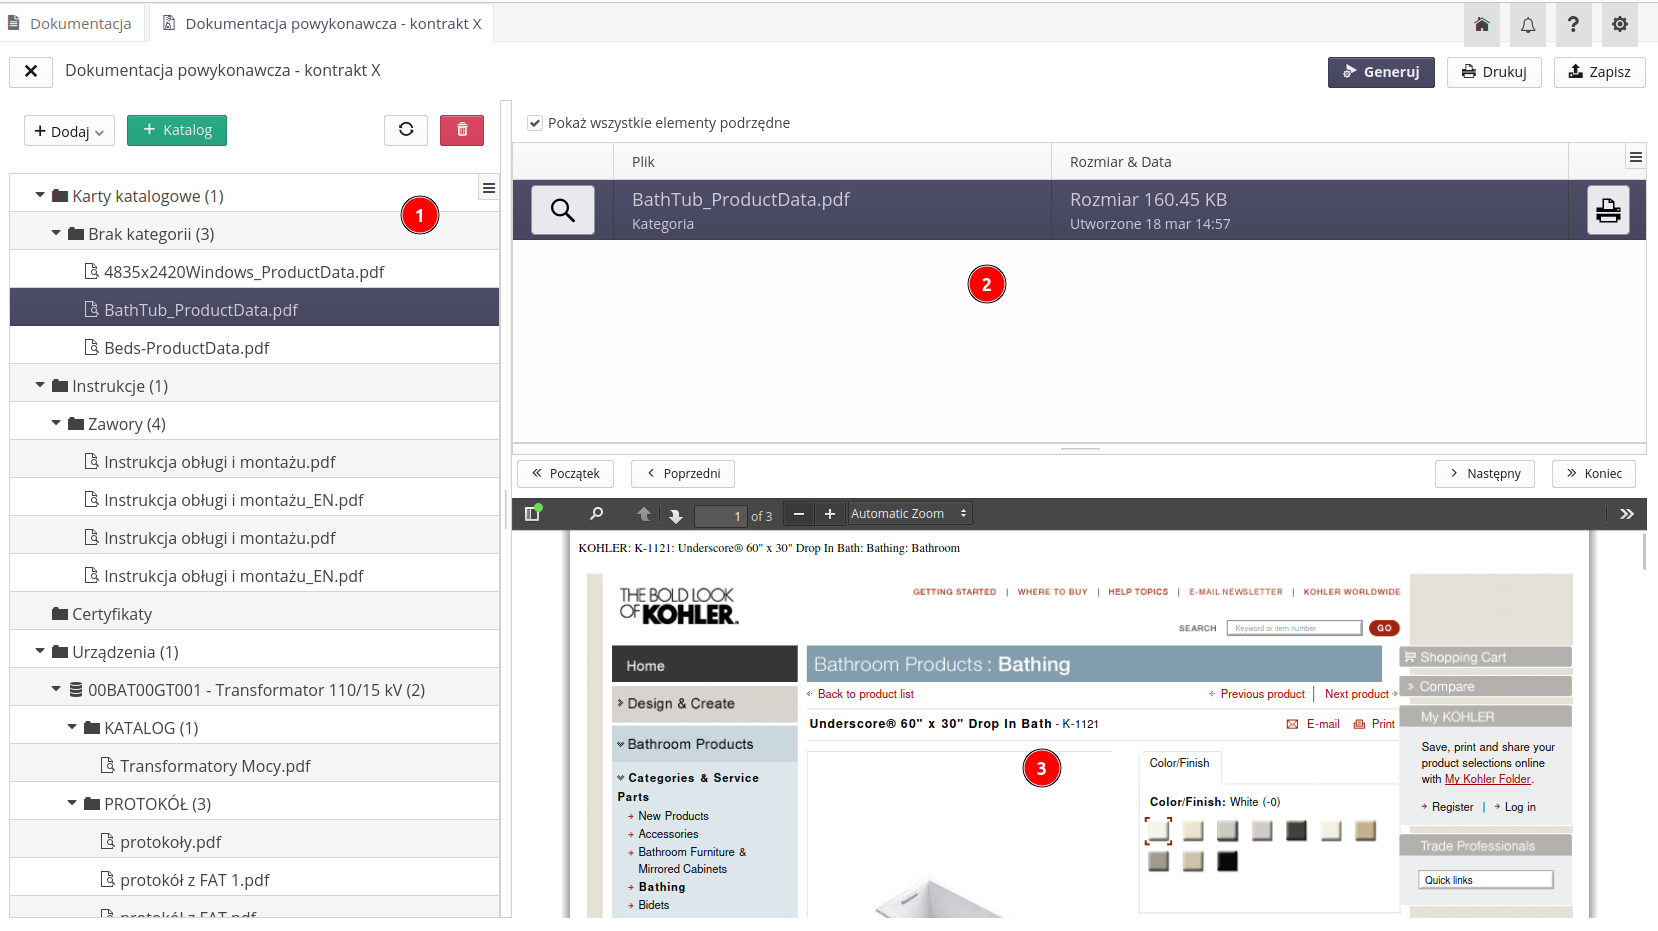
It can be seen filled in:
(1) Documentation tree - documentation tree with added elements (2) Document list - a list of documents with the ability to display all sub-elements and quickly print/download documents (3) PDF document preview - PDF document preview with quick navigation
Generation of documentation archive
After completing work on the documentation structure, we can generate a ZIP archive with the documentation. To do this, select the 'Generate' button from the side menu of the documentation view. As a result of this operation, the system will generate a ZIP archive with documentation, which will be downloaded to the user’s computer. The documentation tree structure in the archive will be preserved, i.e. each directory with documentation will be kept in the archive along with attachments and documents.

While generating the archive, the system displays information about the progress of the operation. When the archive generation is completed, a message stating that the operation is complete will be displayed.
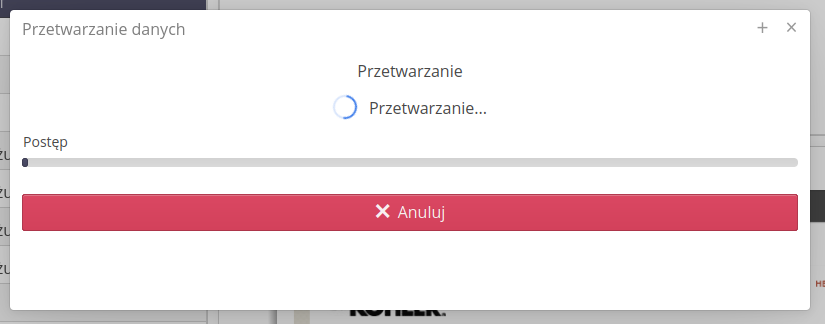
Once the operation is completed, the user will be sent a ZIP archive file with documentation to their computer. The archive contains all files and directories from the documentation tree.
Print/download documentation
Alternatively, the user can use the print/download documentation form. To do this, select selected files from the document list and select the `Print' button from the side menu of the documentation view. The system will display a window with the selected files and the option to download or print them directly (for PDF files). Performing any of these types of operations will mark the file as processed. This facilitates printing/handling files and visibility of their status in the system.
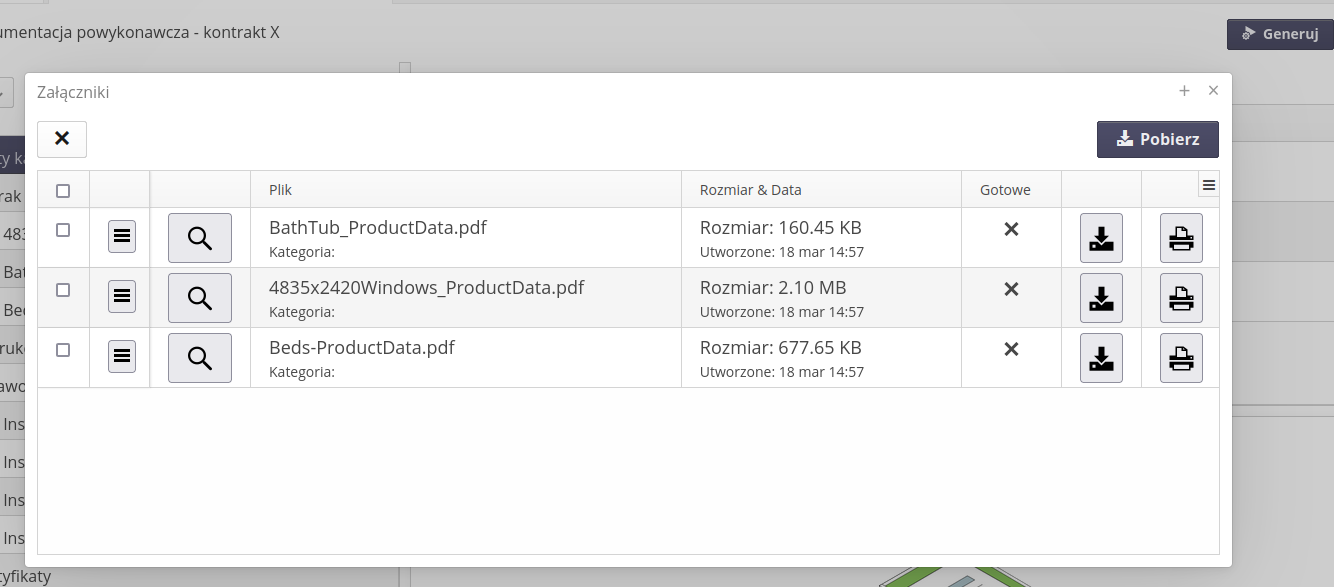
The following actions are available in the list of documents to be printed/downloaded:
-
Download button - downloads selected files
-
Download item - downloads the selected file
-
Print item - prints the selected file (for PDF files)
The operation execution status changes after calling any of the actions. When printing PDF files, the system displays the file and then turns on the print generation option. A dialog box appears with the printer selection and printing options.
