Logging into the application
Logging into the application
When you launch the application, a window is displayed to check the application versions. If a newer version is available then the application will be automatically updated.

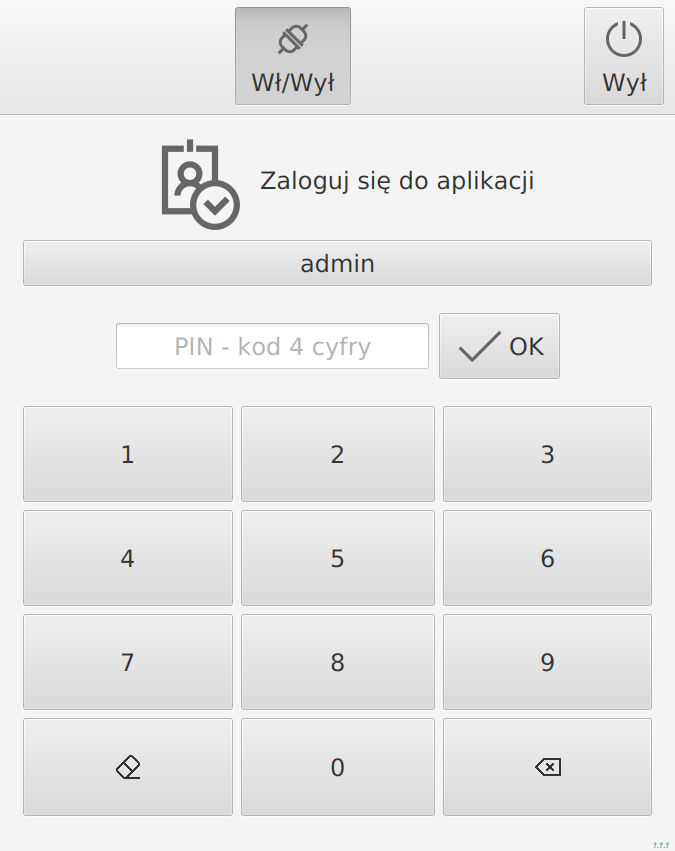
When you turn on the application, the login screen will be displayed, and there is an available option:
-
User selection - select from the list.
-
OK - login to the application for the selected user
-
On/Off - online/offline application operation mode. (More in the section - [Operation Mode] )

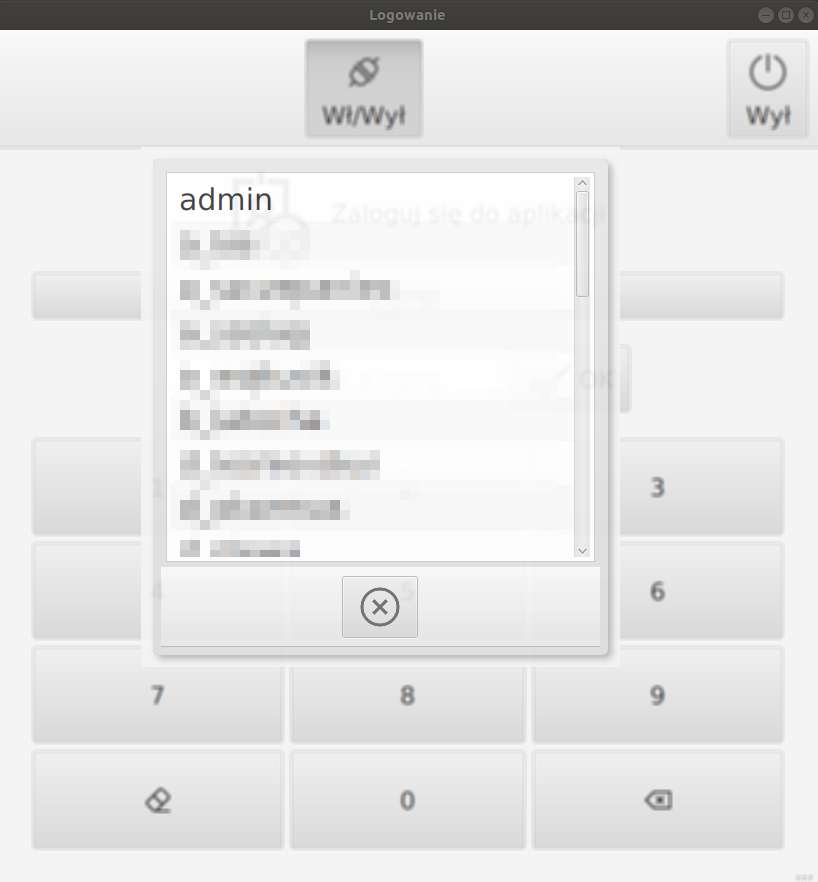
Clicking on the user’s name (or, in the case of the first startup, the button with the text "…") opens the user selection window.

You must select a user and enter a valid PIN to log in. If the PIN is entered incorrectly, the user will be informed by a message.
| When you first start the device, the local database is empty and offline logging will not be possible. Logging will be possible only in online mode and after offline data synchronization. |
Main toolbar
The main toolbar gives the user the ability to select an option that will work contextually.

On/Off
A button that allows you to change the operating mode of the application- For more information, see [Operating Mode].
Logout
Logging out the user from the account. After logging out, the user will be redirected to the login window.
Scanning (Scan/RFID)
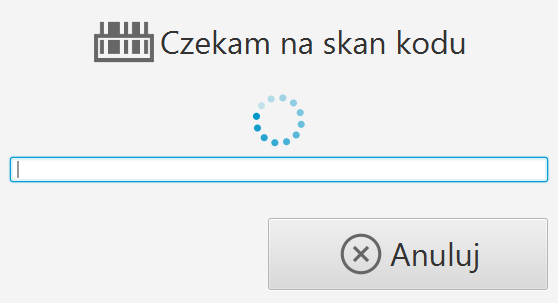
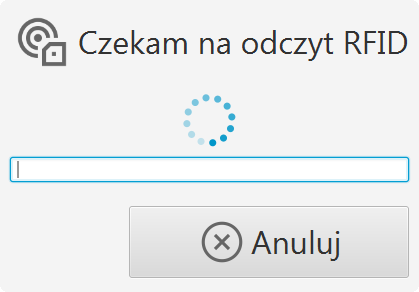
Buttons that allow scanning of RFID or barcode type tags.
| When the system enables automatic scanning detection by scanning devices (readers) the buttons disappear and it is enough to use the hardware scan button. |
Navigation menu
The menu allows the user to navigate between modules. Modules accessible from the navigation menu:
-
Startup window - view of all modules.
-
Products - access to view products and items.
-
Maps - maps, plans and diagrams
-
Documentation - access the most recently viewed documentation.
-
Work orders - access to view work orders.
-
Events - service events
-
Notes - service notes.
-
Inspections - access to perform inspections for products and items.
-
Inspection Rounds - access to the runaround view.
-
Warehouse - warehouses and inventory turnover.
-
Synchronization - data synchronization.
-
Options - application configuration options.
-
Help - access to online help.

Scan
After scanning the 2D barcode, the user will be redirected to the appropriate object. It is possible to use the camera on a mobile device or a dedicated code reader. Changing the device is described in the [Options] section.
| For devices that have readers integrated or communicated via bluetooth interface, there is the possibility of automatic scanning. In this case, the Scan button is unavailable and the contextual action is invoked automatically when the code is read. |


RFID
After scanning the RFID code, the user will be redirected to the corresponding object. The choice of scanning reader is defined in options (see section [Options]). For windows where automatic reader operation is required, the scan button is unavailable and the reader operates automatically in the background.

| For reasons of energy conservation, the RFID reader is either switched on when the user performs overtly code-related work, e.g. rounds, inspections. In other cases, the user must indicate that he wants to read the RFID code. Only then the scanning antennas are powered and the reader operates. |
About Modes of Operation
Depending on the user’s work specifications, the user has the option to choose between two modes of operation that determine access to the AMAGE system database.The mode of operation is a matter of user choice, to switch between modes just click on the On/Off button.
-
Online - mode in which communication is made directly to the main server. All data is downloaded and stored directly on the server. This allows you to access all the data and immediately notify other users about changes made
-
Offline - a mode of operation that requires prior synchronization of data. Data from the selected mobile task is downloaded from the server and stored locally. It is then possible to work without a network connection.
| In offline mode, all data is not available. Mobile tasks determine the availability of data synchronized to offline mode. Changes are then saved to a local copy of the database and sent to the server on the next synchronization. |
| If the automatic data synchronization mode is selected in the options when the docking station (power) is detected, then synchronization will be performed automatically. |
Online Mode
A network connection is required for Online operation. This allows the application to exchange data with the AMAGE database, giving up-to-date access to information. All actions performed do not require the application to download data.

Offline mode
Operation in Offline mode requires synchronized data to the mobile device - for more information see [Data Download]. All data is stored on the mobile device for quick access. Work is possible without a network connection. After performing actions such as performing inspections, synchronizing data with the server, it is required to send data - for more information see [Data Sending]

| The application remembers the last mode selected and will automatically select the most recently used mode when you turn it on again. |