Employees
Checking the competence of employees
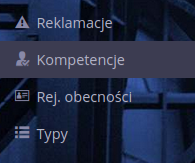
Checking employee competencies is possible directly from the mobile view. After enabling the deployment configuration option, an option appears in the mobile view to check competency.
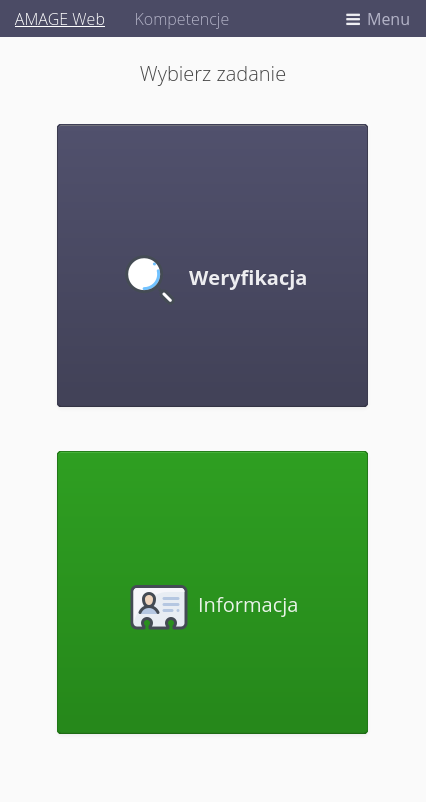
Activating this function displays the main window, which allows you to select two verification sections. The first one allows you to display general information about the employee and his aggregate competencies. The second allows you to enter the graphical mode of verifying the actuality/possession of the selected competency.
| The definition of competence types and individual employee competencies is defined in the main view of the application (Desktop), and there you should look for a description of how to define this type of data. |
By selecting the Verification mode, you go to a view that allows you to verify a specific competence. At the top, we select the competency to be verified (from the defined types of competencies). In this view, the RFID badge scanner and the barcode/2D scanner are active.
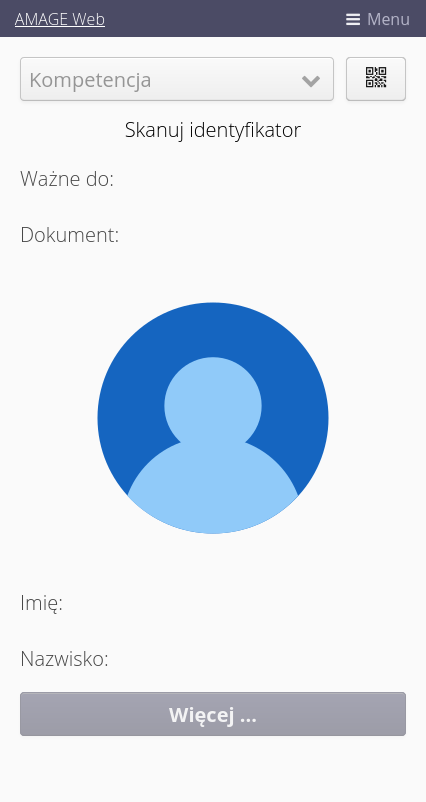
After scanning any ID assigned to an employee, the system will read the employee’s credentials and display identification data. If a photo has been defined in the system it will also be shown.
If an employee does not have a given competency or its expiration date has passed, this will be signaled in the view with a red Invalid message.
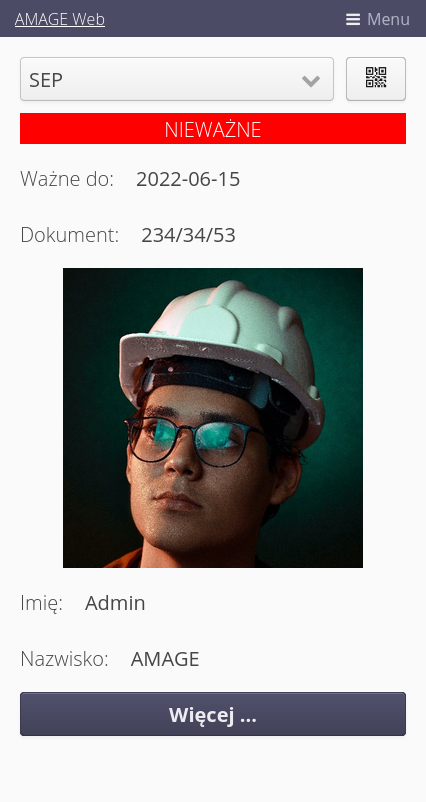
In the case of a current competency or having a required competency that does not have an expiration date, the system signals this with a green Valid message.
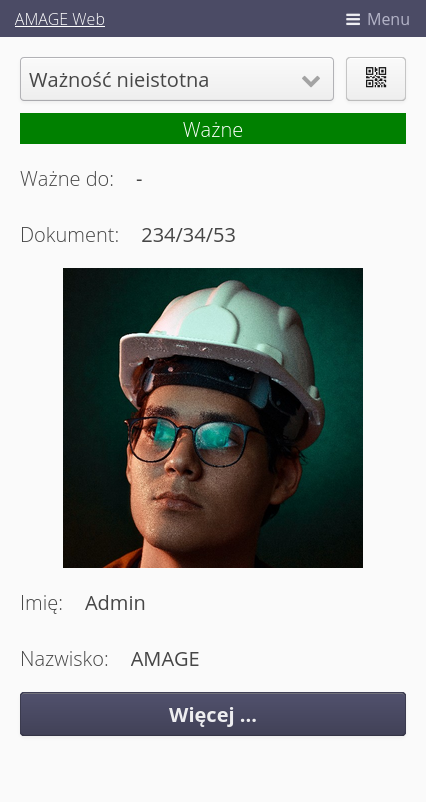
Selecting the More… button displays aggregate information about a given employee and all his/her competencies.
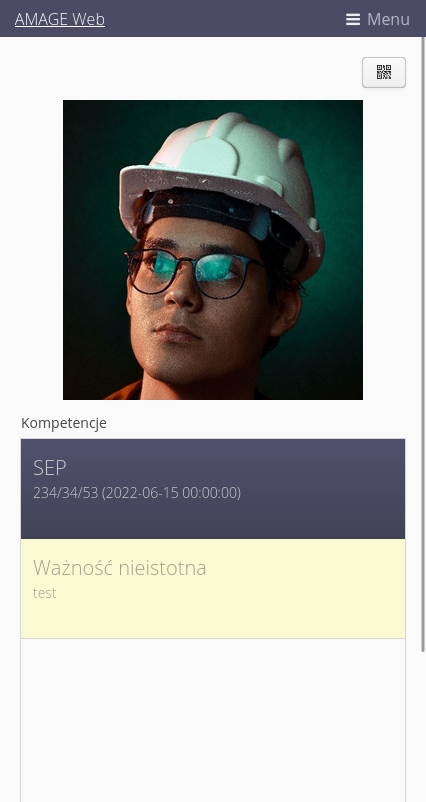
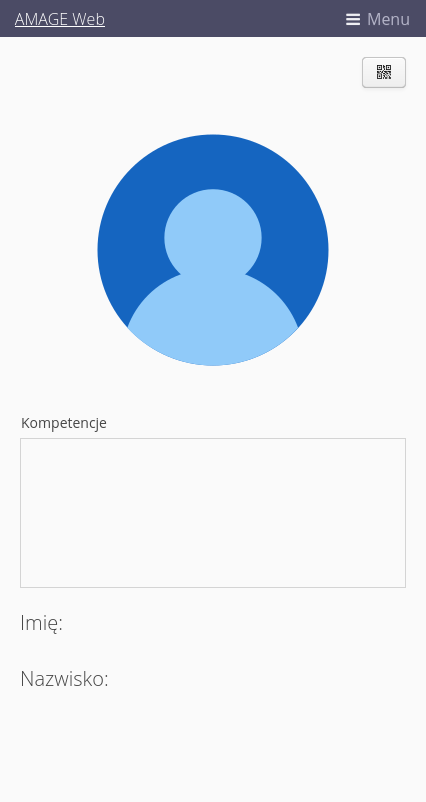
The second mode - Information - allows you to display aggregate details about the identified employee and information about all his/her competencies in a list form. The default view of this mode is a blank window with all identification fields zeroed out.
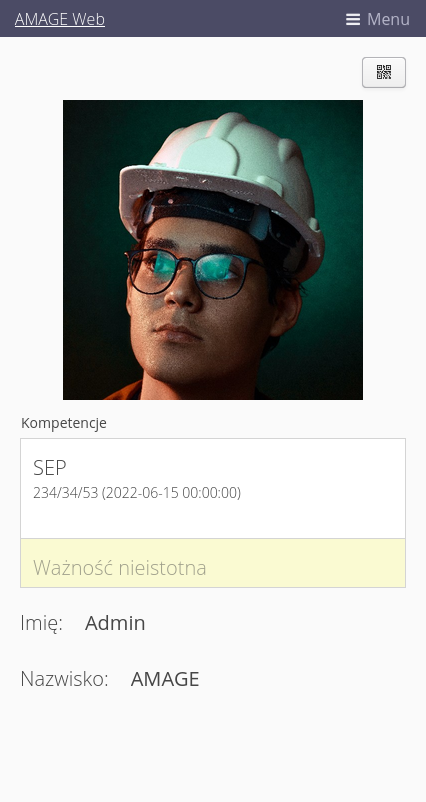
Once the employee is correctly identified, we display aggregate information about his competencies.
Registration of employee attendance
The mobile system has the ability to record employee attendance. When the deployment configuration option is enabled, an option to register their attendance appears in the mobile view. This function can be accessed from the main menu (or, for example, from the mobile starter) from the Attendance Record section.
After entering this action, the system displays the default registration view without an identified employee. RFID and barcode/2D scanners are active (button click and camera activation required).
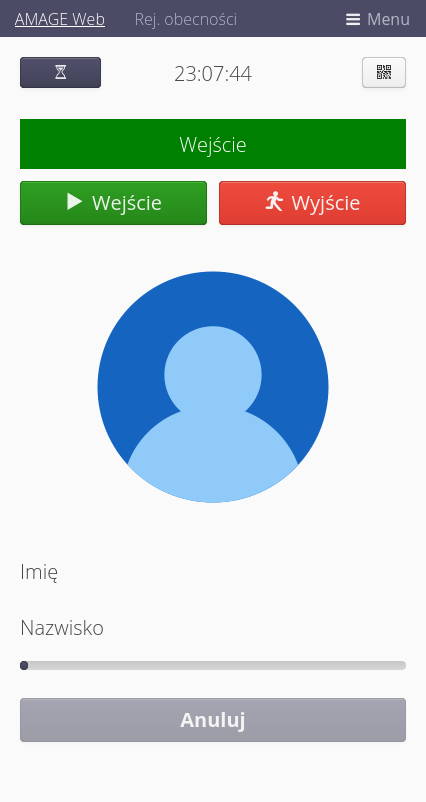
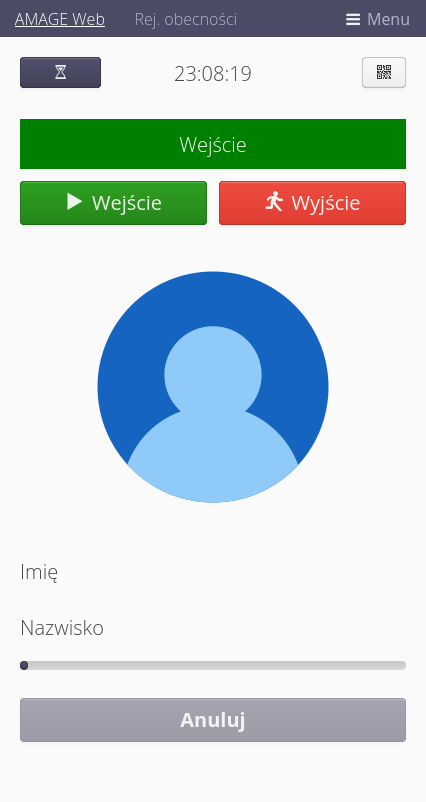
The view sets the registration mode to INPUT by default. The current clock time is also displayed. Using the Input and Exit buttons, we can change the registration modes. At the bottom there is a space for the employee’s photo and his/her name. At the very bottom of the interface, there is a progress bar for recording the registration and a Cancel button for cancelling the last registration (up to a certain time).
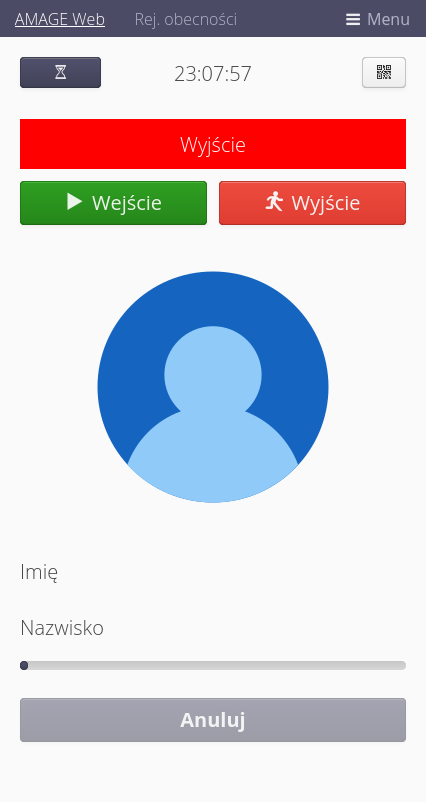
When registration is switched to output mode, the main message in the system and its background color changes.
| The logging system can be used to record employee attendance using the phone/tablet on the move i.e. walking through the plant/site. It can also be used as a stationary attendance recorder by mounting such a phone in a stationary holder, enabling no screen blanking in the AMAGE Shell application, and directing the screen and location of scanning codes/ID cards accordingly. |
After scanning the employee’s card, the employee’s data is displayed and a timer is started, allowing for possible cancellation of the registration, e.g. by accident the wrong mode was registered. Failure to respond within the specified time causes the registration to be saved and go to the start screen. Selecting cancel aborts the registration recording returns to the start screen.
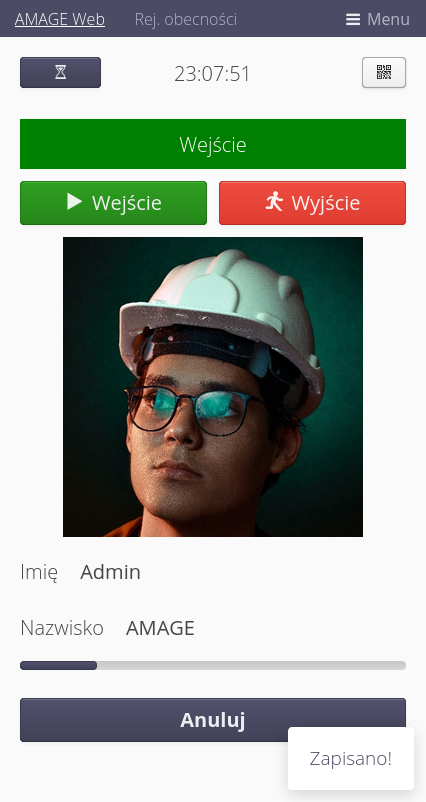
| Scanning the card of a new employee while in the waiting mode for a possible cancellation results in approval of the current registration and moving on to the next employee. |
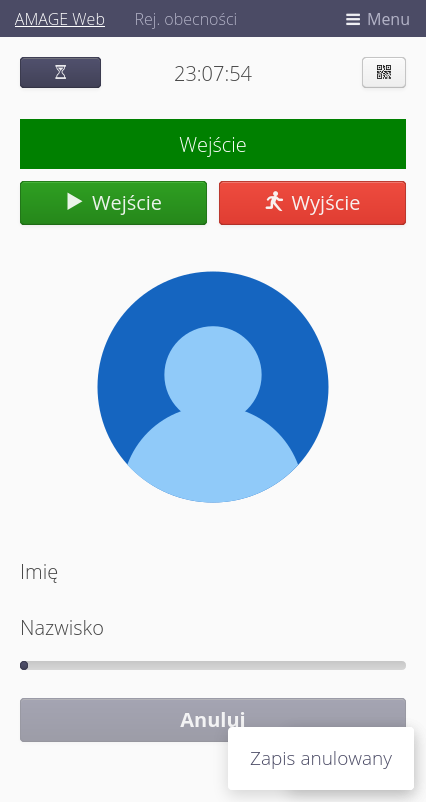
If we cancel the record the message Save Cancelled appears and the view resets to the starting view.
Selecting the Hourglass button in the main view takes you to the view of the last recorded entries, the person, the date and time, and the mode of a given registration.
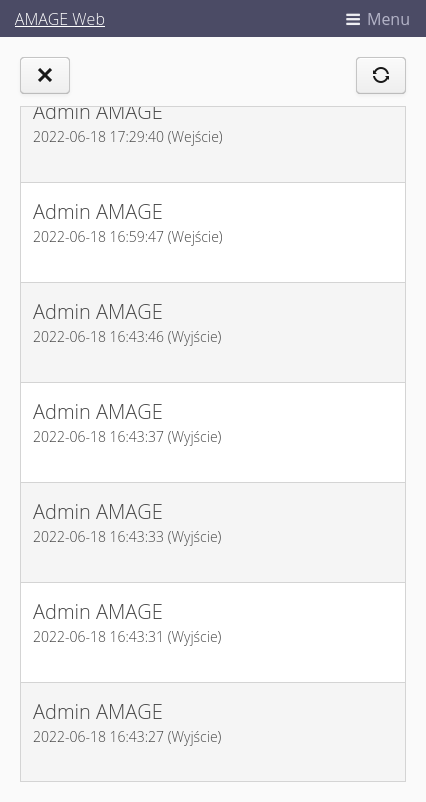
| Review and analysis of registrations is performed in the main application (Desktop) |