Logging
Logging
The application, depending on its settings, has the ability to authorize using different sources. The supported mechanisms are: internal authorization, authorization via an LDAP server or authorization via an external OAuth2 system.
The primary method of authorization is through passwords stored in the main database. This allows authorization of any user based on comparison of the entered login data with the internal representation of it.
| The login method depends on the system’s implementation settings and is not modifiable by the user. The system allows local and corporate user accounts (authorized in an external system) to exist simultaneously |
Opening the main address of the system in a web browser will present a basic login window in which you can enter your login and select the language of the application interface.
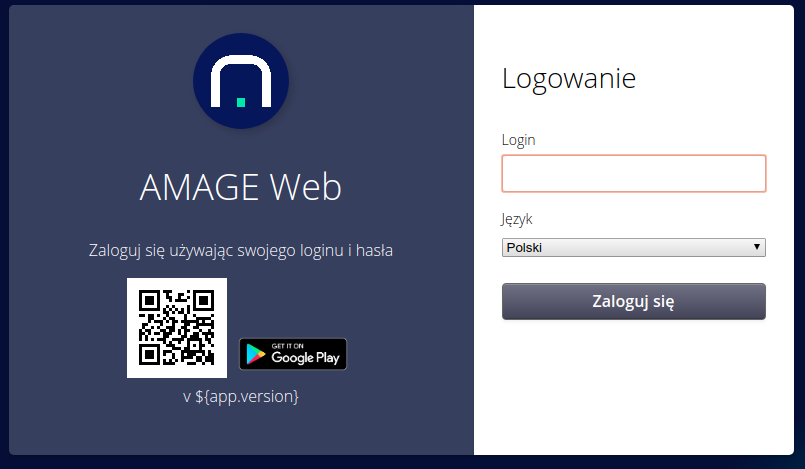
Based on the entered data, further user authorization is carried out. If the user is a local user, a password entry window is displayed. In the case of corporate users with an external authorization system, the user is redirected to that system and then returned to the AMAGE system and authorized based on the data received from that system.
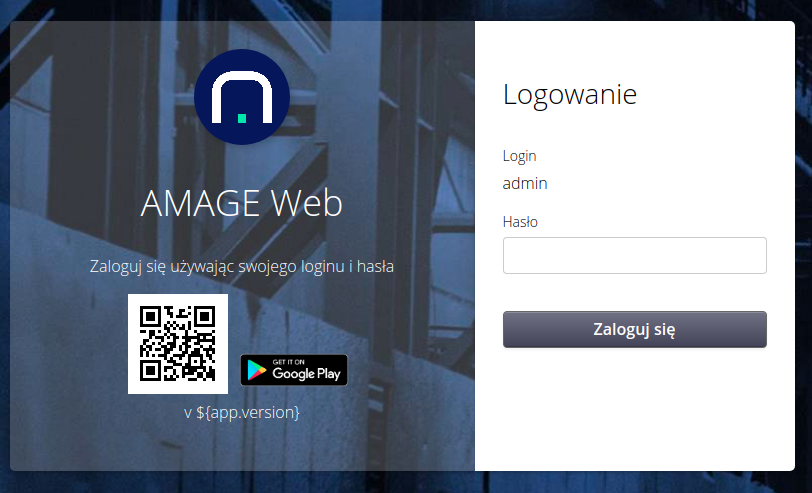
| It is possible to change the appearance of the login window within the scope of the AMAGE system. It is possible, based on the provided views, to modify the appearance of the login window to the visual standard for the enterprise. |
Selection of work section (OPTION)
If the system is configured to work with the mechanism for selecting the section in which the logged-in user wants to work, after logging in, a window will appear with the selection of available sections.
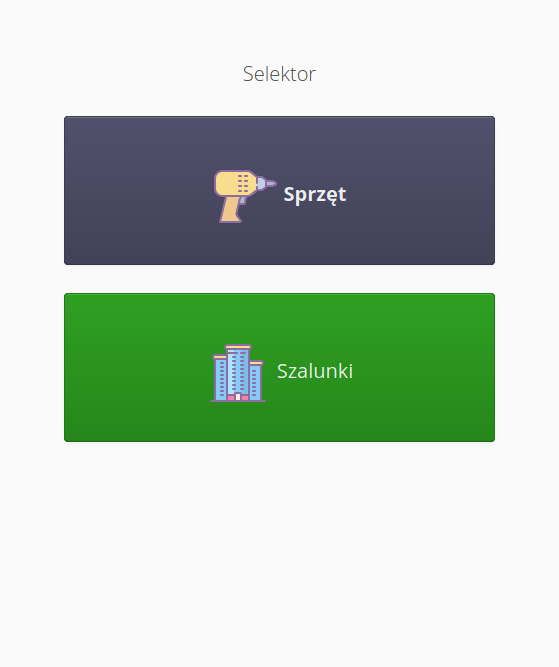
After selecting a section, the application will go to the main window with the appropriate configuration of the start menu.
| Enabling this feature is implemented during the deployment of an instance. By default, section selection is disabled. |
Main window and configuration data
After a correct login, the user is presented with the main window. Depending on the license permissions and the type of device (desktop, laptop or mobile device), a window is presented with an interface adapted to the capabilities of the device (screen size, resolution).
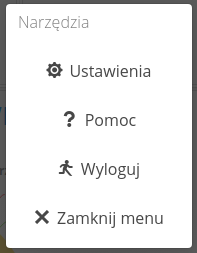
In the main menu, there is an action to access the system menu. This is a menu that allows you to perform additional system operations.
-
Settings - access to settings and user view.
-
Help - access to online help.
-
Logout - logout from the application.
-
Close window - exit the system menu.
Depending on the license and authorization, additional actions are available:
-
Desktop/Mobile - access the Desktop/Mobile interface without checking the physical capabilities of the device.
-
Configuration - access to the subsystem responsible for system configuration (users, access profiles, administrative actions, data imports/exports).
| The application takes into account a set of permissions to display information. By default, a user has no permissions to access system functions after logging in. The data to be displayed can also be restricted per object in the system, resulting in the visibility of only part of the data required for a given user. |
After selecting the Settings action, the information window of the user in question is displayed. It displays user identification information including first name, last name and email address.
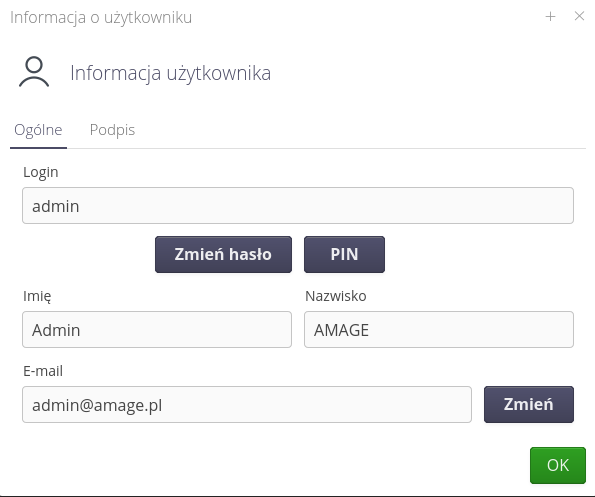
For local users, this is where the user has the option to change the password. After selecting the Change Password action, the user is taken to the password change form. Change PIN allows you to set a PIN for offline devices.
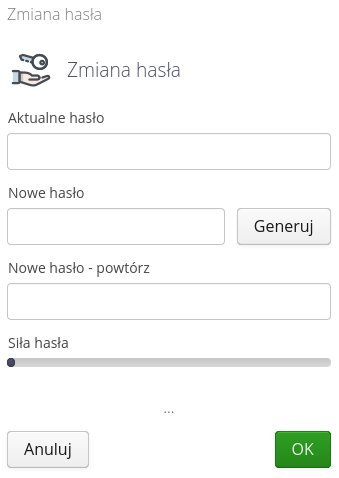
| The password change window takes into account system settings for password policy and validity. It also indicates synthetic password strength based on the use of character types (upper/lower case, numbers, special characters) and password length. |
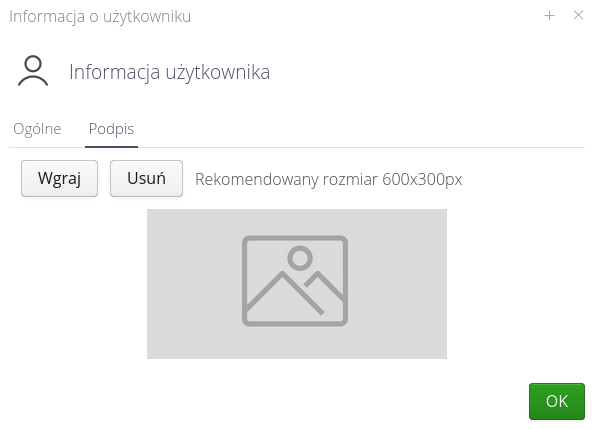
The user also has the ability in this interface to change his own email address and enter his own signature for use in documents on which his workmanship appears (order documents, inspections, service records, etc.).

Notifications
Notifications are notifications in the system that convey important information to the user. If there are active notifications for the user in the system, an additional entry Notifications will appear in the main menu with the number of notifications in round brackets. The text will be displayed in red.
| If the user has no active (unconfirmed) notifications then the entry does not appear (is hidden) |
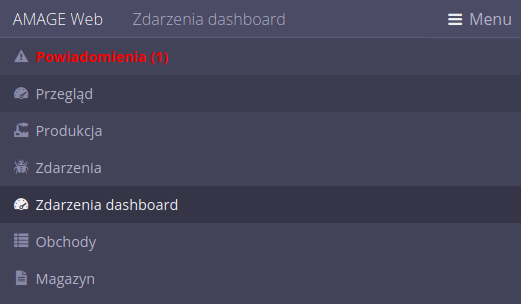
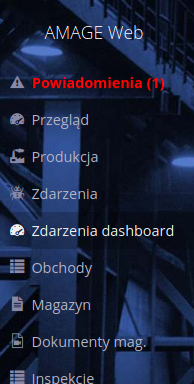
After selecting this menu item, the system displays a list of all active notifications for the currently logged-in user.
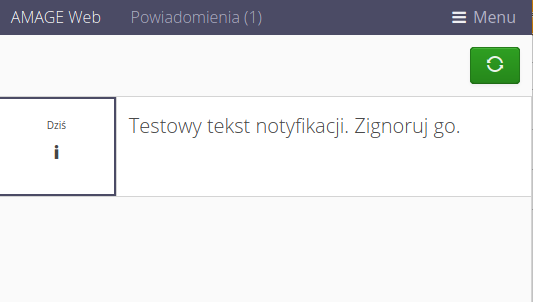
| Notifications as long as they are not deleted by the user will appear in the notification field. Only closing a notification marks the notification as confirmed. This is also saved in the system. |
After selecting any notification, it is confirmed. The data is saved in the system.
View attachments/photos
In the system, in the mobile part, it is possible to display attachments for objects that have this option. When you select an action available for individual objects, a window with a list of attachments is displayed.

The list contains information about the type of attachment, category. For photos that have thumbnails, they are displayed in the same row. The user can download any photo/attachment using a dedicated button for each attachment separately.
The user can also upload new attachments to the list. This function allows you to select multiple attachments with a single operation. The progress of this operation is displayed in a separate dialog in the application.
Code scanning
The application has the ability to read barcodes/2D and use them when identifying objects. This allows the use of industrial scanners, scanning with the built-in camera or manually entering the code.
The interface waits for you to enter the code and confirm with the button or ENTER key in the data entry window.
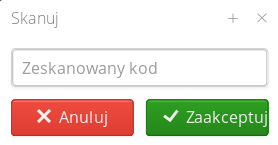
| In order for industrial scanners that enter data in the form of a keyboard simulation to have the ability to automatically validate data, they must be configured to send the ENTER character when the scan is complete. |
| The AMAGE Shell application has an additional interface that allows the camera to be used as a barcode/2D scanner, which is integrated into the application interface. |
Handwritten signatures (signatures)
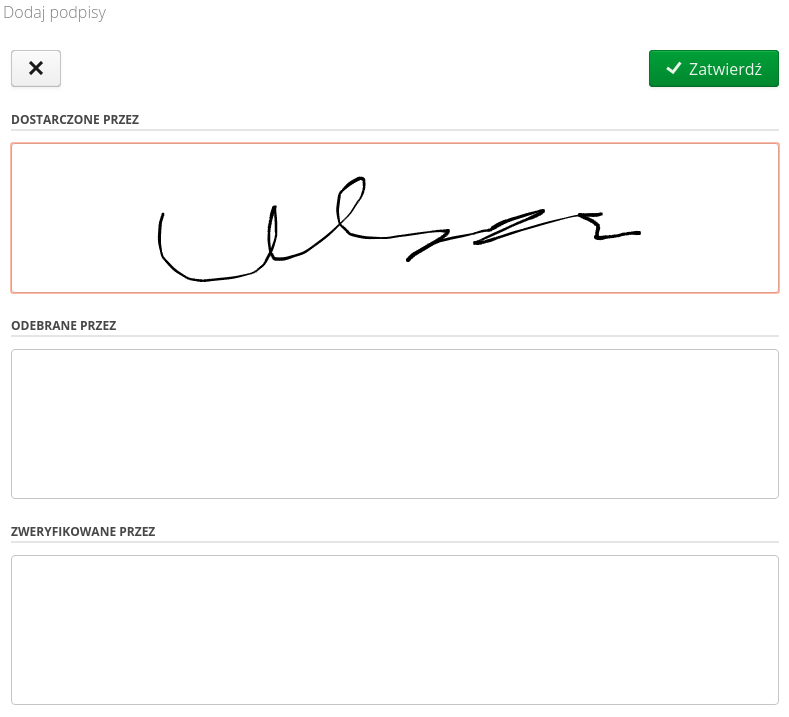
The application has the ability to read the signature in graphical form. This is used in operations that require entering the signature of the person(s) involved in the process.
When the signature entry action is invoked, a window with controls for entering signatures is displayed. For this, a touch interface is required, so that there is the possibility of actually entering the signature in the desired place.
Object selectors
Object selectors are available in various places in the system. They allow you to select, in a given context, the object necessary to further specify the actions being performed.
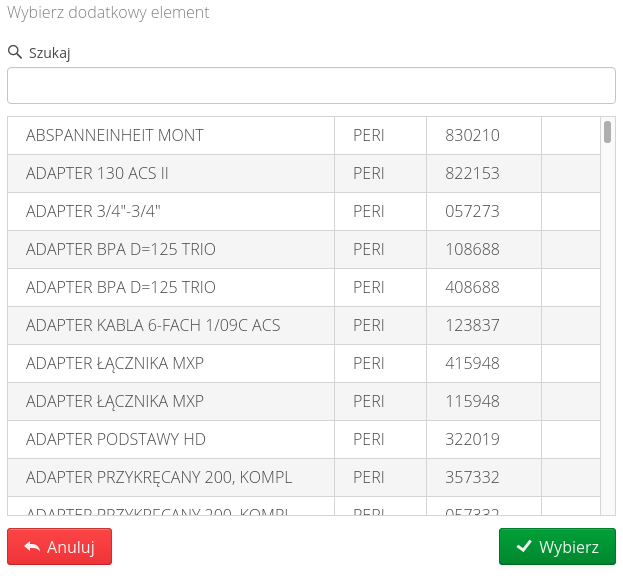
Selection of assortment from types
If you need to access the assortment list and specify them from the type list, a type selector is available. It displays the objects in the form of a list. Names, order numbers are displayed.
Selection of assortment from warehouses
When you need to select an assortment from existing objects in the warehouses, a dialog for selecting items from the warehouse is displayed. It allows you to search for a given type through text search, warehouse selection and storage location. In each of these cases, the types, the current quantities in the warehouse and the account number assigned to the assortment type are displayed. Selecting the <I> button displays a picture of the item (if defined in the system).
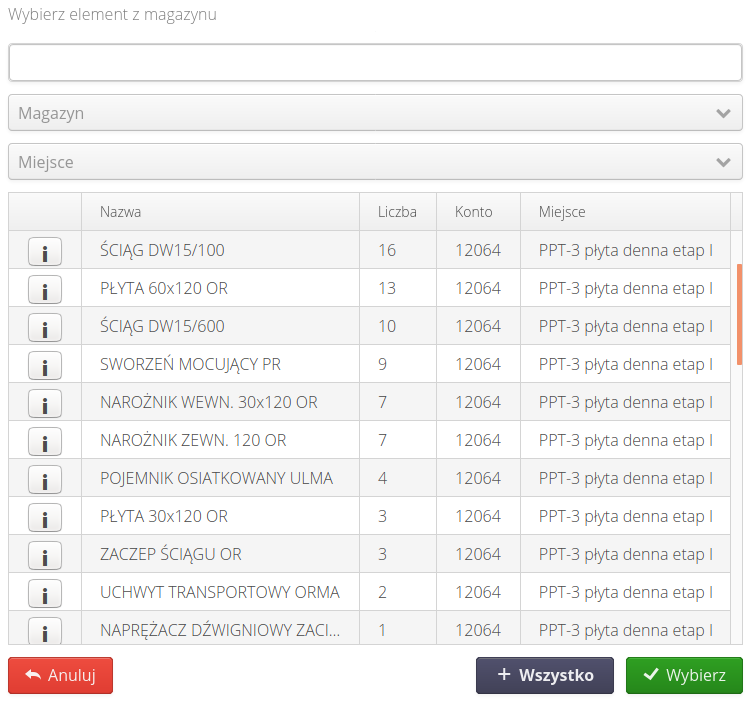
| Selecting the All button requires additional validation of the operation, so as not to accidentally enter excessive data into the interface using this selector. |