Virtual inspections
Introduction
The document shows how to perform virtual inspections that group multiple resources within a selected location tree. These inspections can be initiated and performed by employees directly from the mobile interface and then completed with the devices being inspected. The document shows how such an inspection can be prepared and executed with minimal preparation.
Issue
In the AMAGE system, we have the ability to create inspections that are related to a specific resource. In the case of construction, these may be devices installed during its implementation, inspection works in accordance with the normative requirements regarding, for example, electrical works, piping works.
However, sometimes there is a need to perform an inspection, acceptance or other checking activity that is not directly related to one specific resource or grouping several resources. An example are partial acceptances in construction works, where they are carried out at stages related to the construction of e.g. a certain level and specific elements of a given type, e.g. window frames, masonry works, etc. such operations.
| What is a virtual inspection? Virtual, because it can be performed without linking to resources, resources can be indicated after performing the activity and the only defining element is its location, e.g. the entire building or a specific floor. |
In this tutorial, we will show you how to perform a partial acceptance of construction work along with recording some key information about this task.
Viewing and scheduling execution
| The preparation of data is to build the appropriate structure of the location of, for example, a building. This can be done manually, can be imported from an Excel sheet, or can be imported from an IFC/COBie model. |
First, we go to the list of inspection executions. There we have a list of all the inspections currently being performed and completed.

We can use the To do and To check buttons to display inspections that are assigned to a given user and require given actions.
However, we want to create a new inspection which will carry out partial acceptance of construction works. Select the (+) Virtual button, which allows you to perform this type of inspection.
A location selection window appears. We select those locations that the given inspection type applies to.
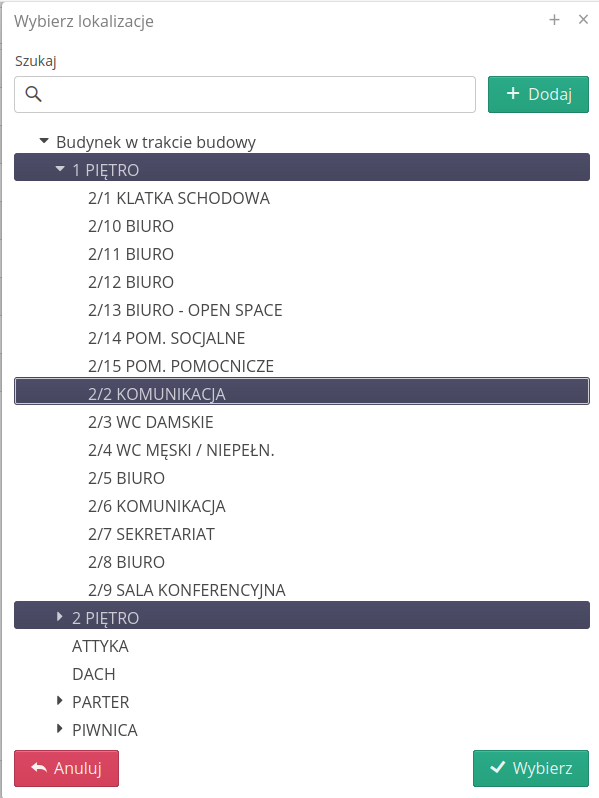
| Selecting multiple inspections will result in as many inspections as selected locations. To cover a larger area with only one inspection, we suggest choosing a more general location ("higher up" in the tree). |
Then the inspection scheduling window appears.
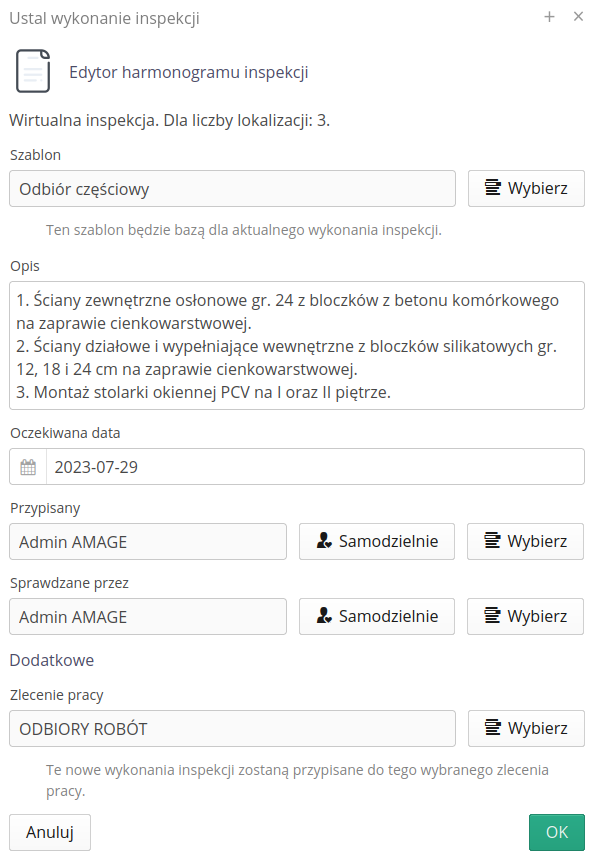
We select an inspection template (previously prepared template), describe the scope, select a responsible and inspector. If we have a work orders module, we can assign an inspection to a given order (groups activities).
| Information on how to create an inspection template can be found in other tutorials in this area or in the main application documentation. |
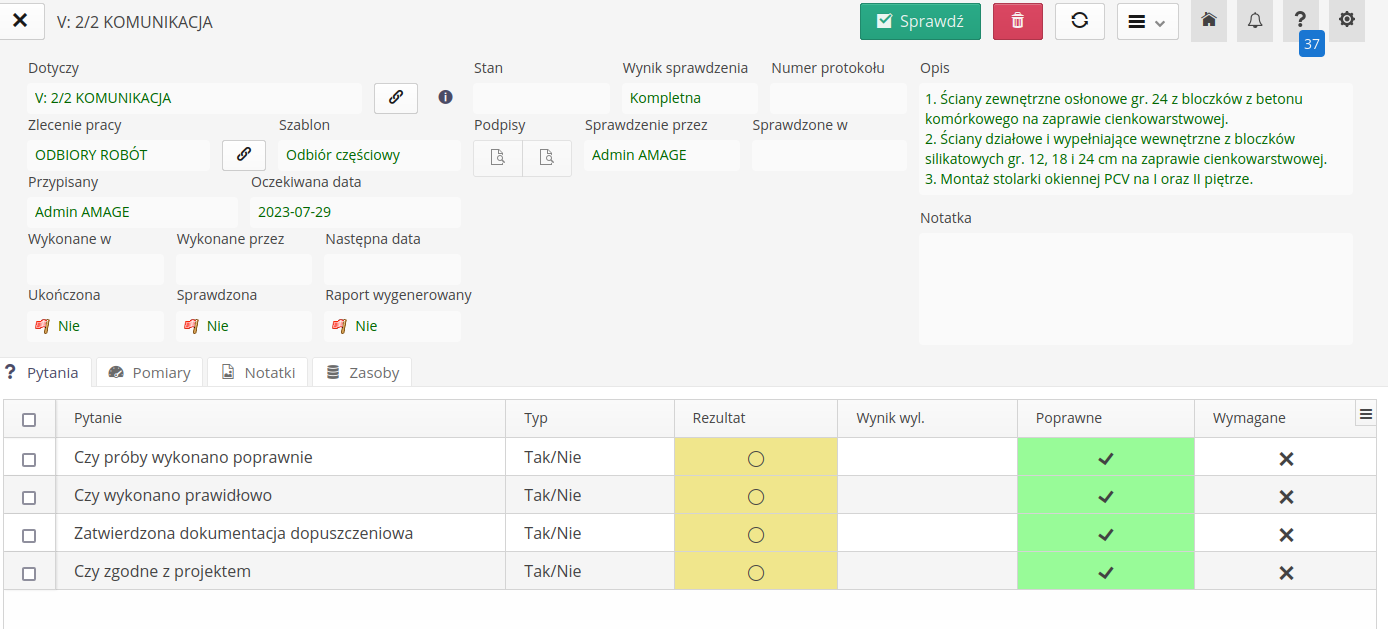
After creating an inspection and going into details, we have a view with information about pre-assigned people and the scope of activities - tasks, questions and measurements. Importantly, the inspection statuses are incomplete, i.e. "Completed" - NO, "Checked" - NO, "Report generated" - NO.
If we are talking about a virtual inspection, an additional Resources tab appears for it, in which we can indicate a list of resources that participated/were checked during it.
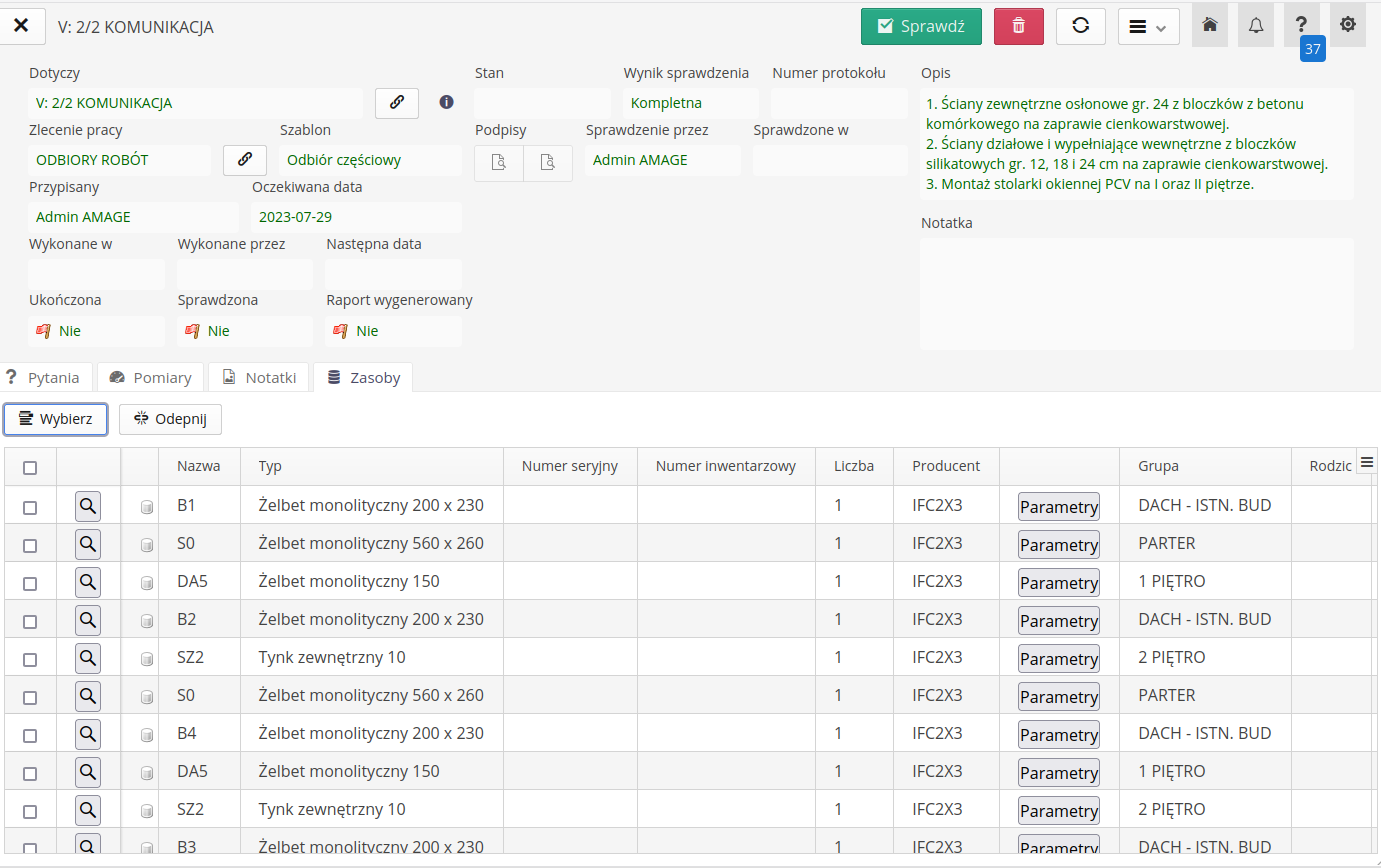
We can add resources (existing ones only) using the Select button, and exclude resources from inspection with the Disconnect button.
| We can update the resource list at any time. Sometimes construction work is going on and there are not yet ready-made project models that we can use as a source of information about resources. Then we perform a virtual inspection and the resources that were checked there are added as soon as the project is updated and finally imported into the system. |
We move on to the execution of the given reception. We do this using a mobile device.
Creating a virtual inspection is possible directly from the mobile view. It is required to enable the option in the deployment flags (in the configuration section). In this case, the (+) button appears in the inspection view, with which we create such an inspection directly on the screen of the phone / tablet.
|
Implementation
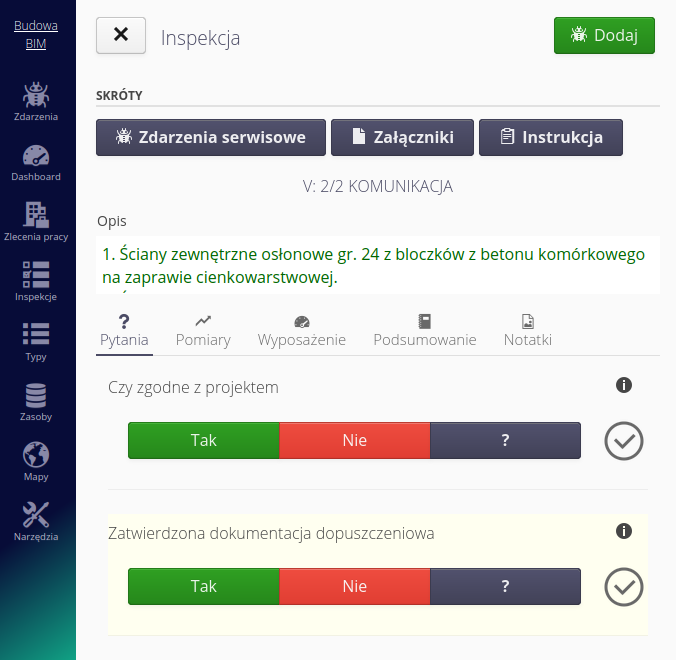
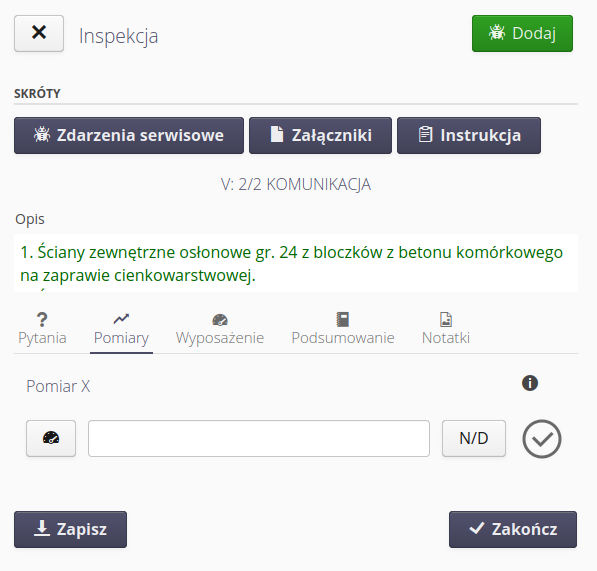
We execute the inspection as a standard solution. We answer questions and take measurements.
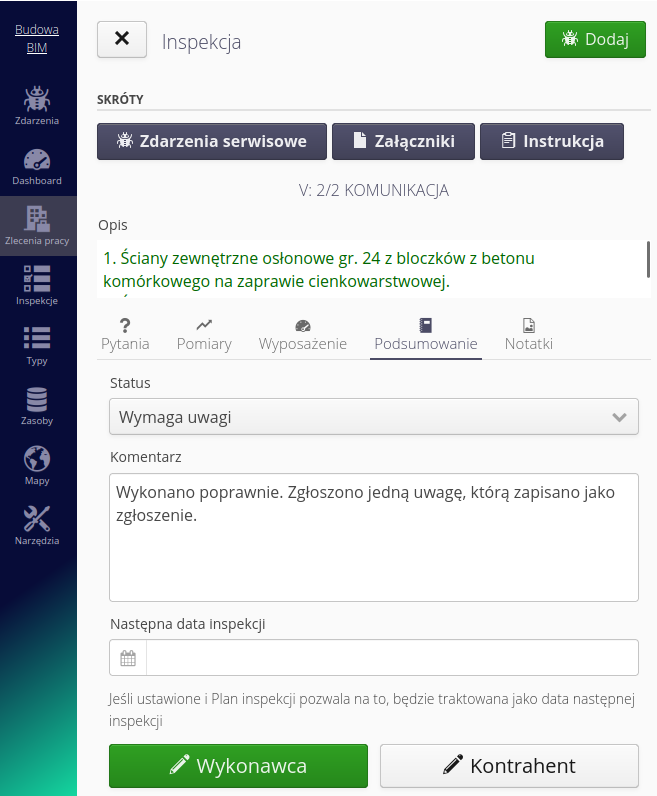
Then we move on to the inspection summary. Here we enter general information about the status of the inspection (acceptance) whether it was received without comments or whether there are any necessary works. We can include information about this in the comment. If we want (we have a specific requirement), we fill in electronic signatures.
| If the instance has a service module enabled, it has the ability to create a fault log directly from this view. More on this in later sections of the tutorial. |
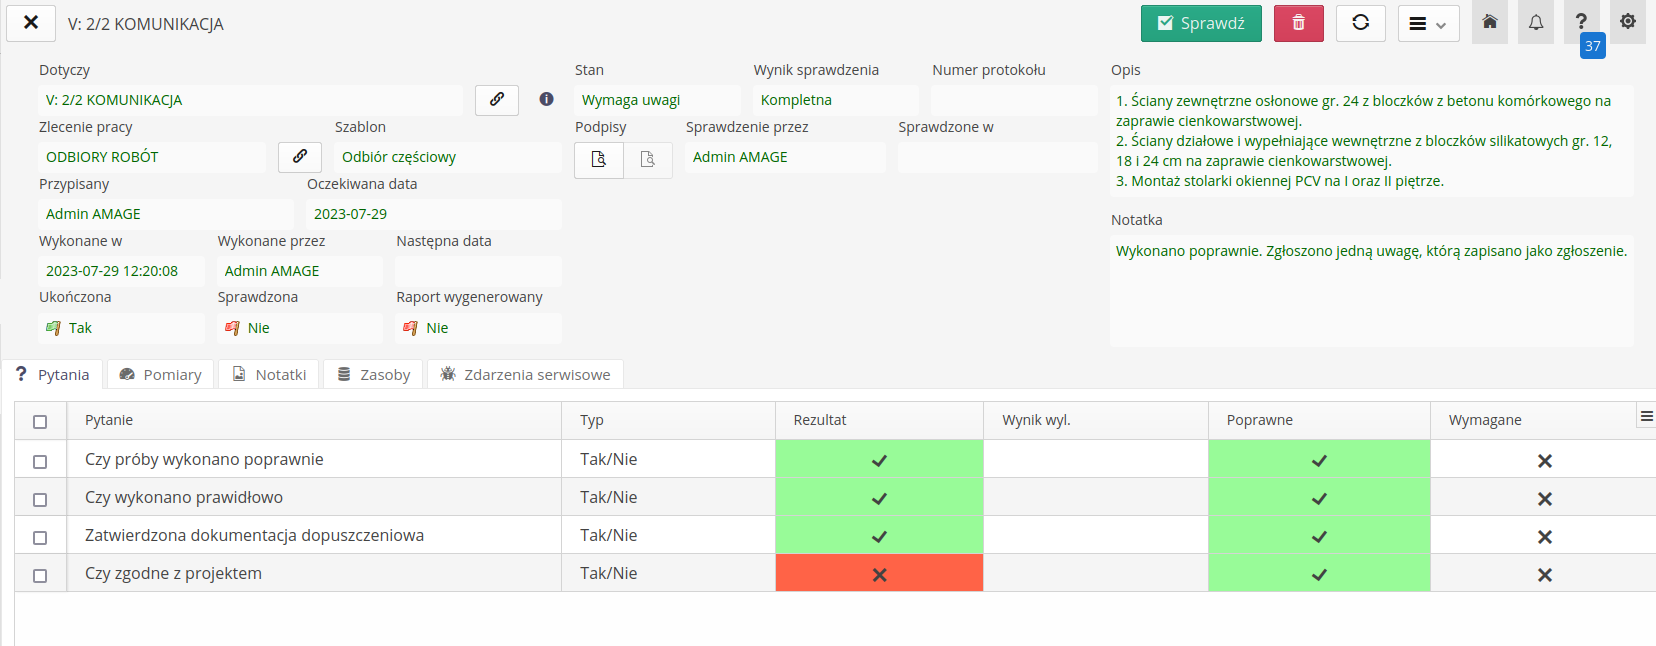
The result of execution in the main system is as follows. Acceptance is made, measurements completed and photo documentation added.
We can proceed to check and verify this inspection.
Checking and reports
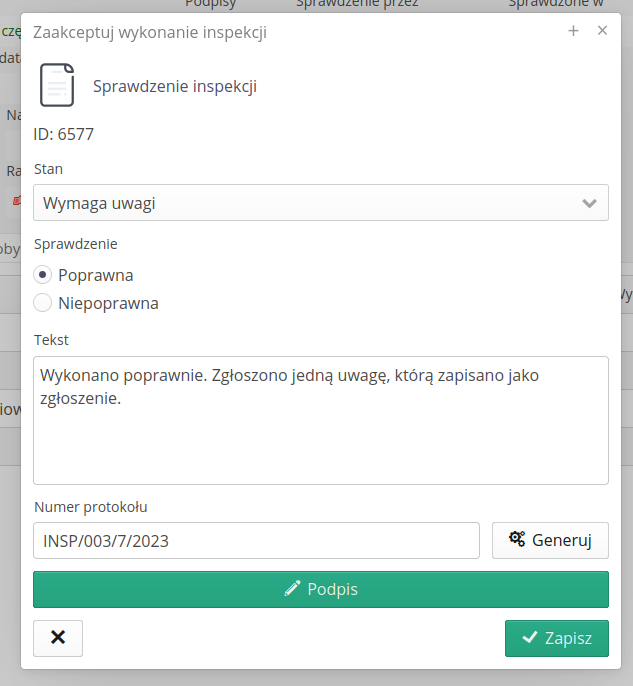
If we have designated a reviewer, that reviewer can perform the validation check. This is useful when the actual execution is carried out by a team, subcontractor or other persons. The verifying person is then from the team of the general contractor (system operator). After calling the check option, we fill in the information allowing for further operations on the inspection.
We fill in the protocol number, correct the note, approve and generate our signature. Everything done electronically. IF we mark the check as rejected, this inspection will go to be performed again (with data preservation).
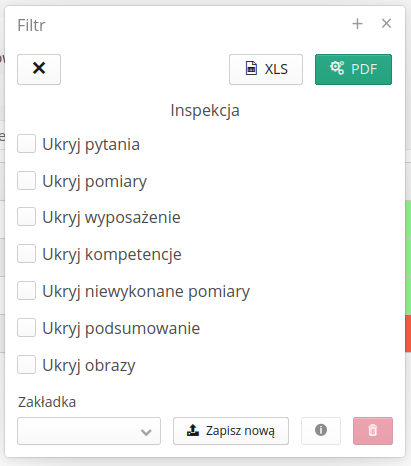
Once approved, we can generate a report. We will use the default report appearance and general view. After selecting the report generation, a window appears that allows you to hide some sections of the report (if they were unused, e.g. measurements). The configuration can be saved for reuse.
The default appearance report generates information and all inspection parameters.
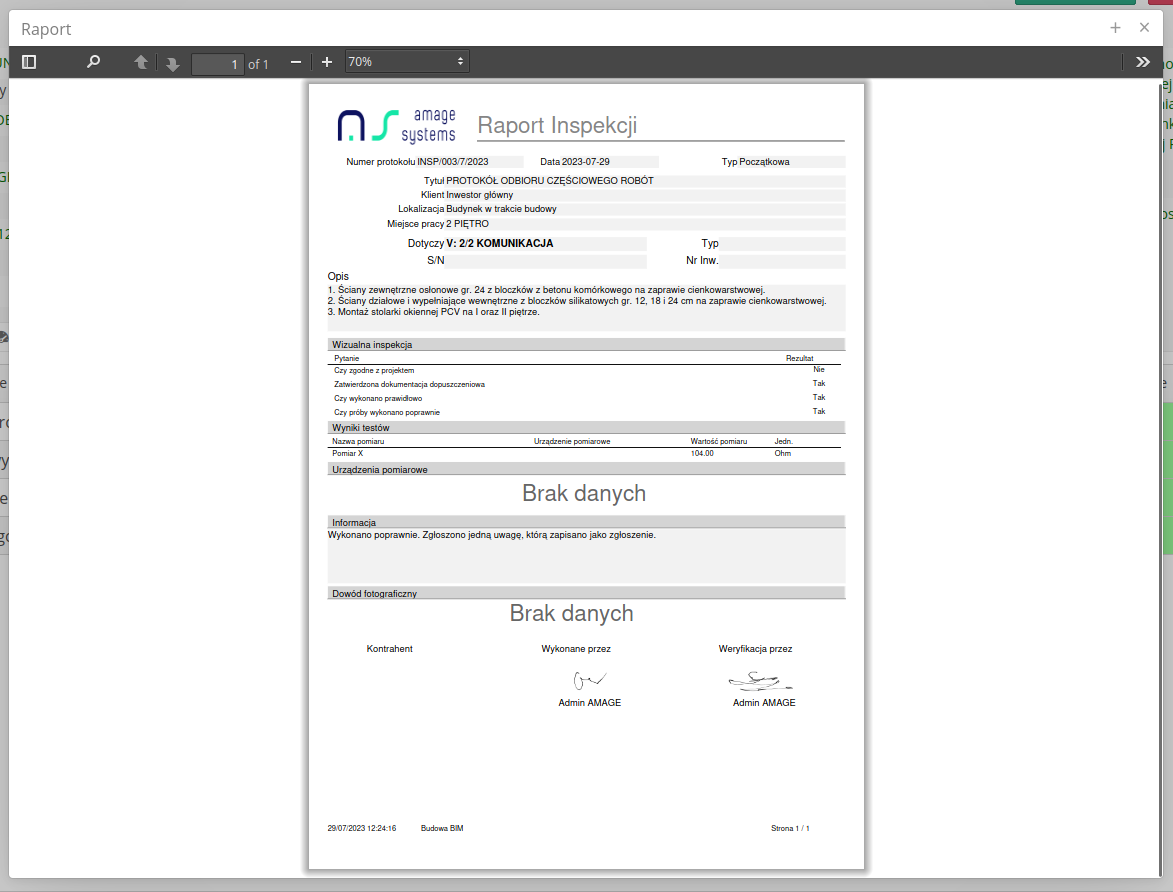
This is a report with a basic look. Job, inspection, contract data is retrieved from the related work order. To customize the look of your report, see the main documentation or report tutorials and report fields documentation.
| There is an automation in the system that generates a report automatically when a particular inspection has been performed and accepted during the check. Then the report is generated as a PDF, attached to the inspection and optionally to the resource(s) that are in the inspection. |
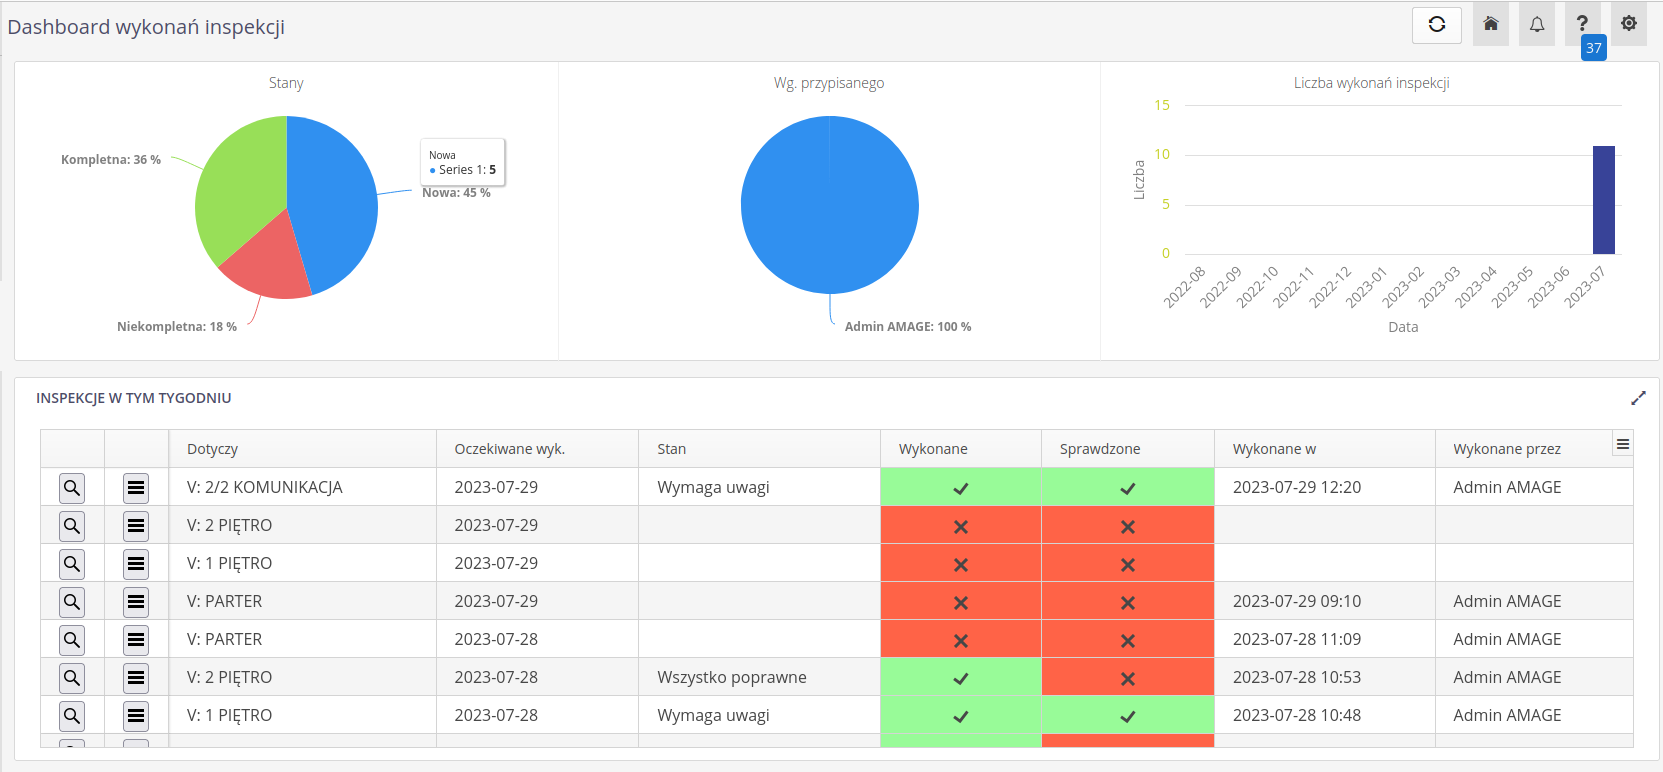
We can view all the acceptance and activities on the dashboard, which is available directly in the system or provided as a view on the synoptic panel on the site.
Faults - reports
During the inspection/acceptance, we can use the service request module to store information about all irregularities and defects.
| The module requires initial configuration, i.e. the creation of ticket types (defect, lack of documentation, non-compliance) and data flow (new ticket, developed, resolved) |
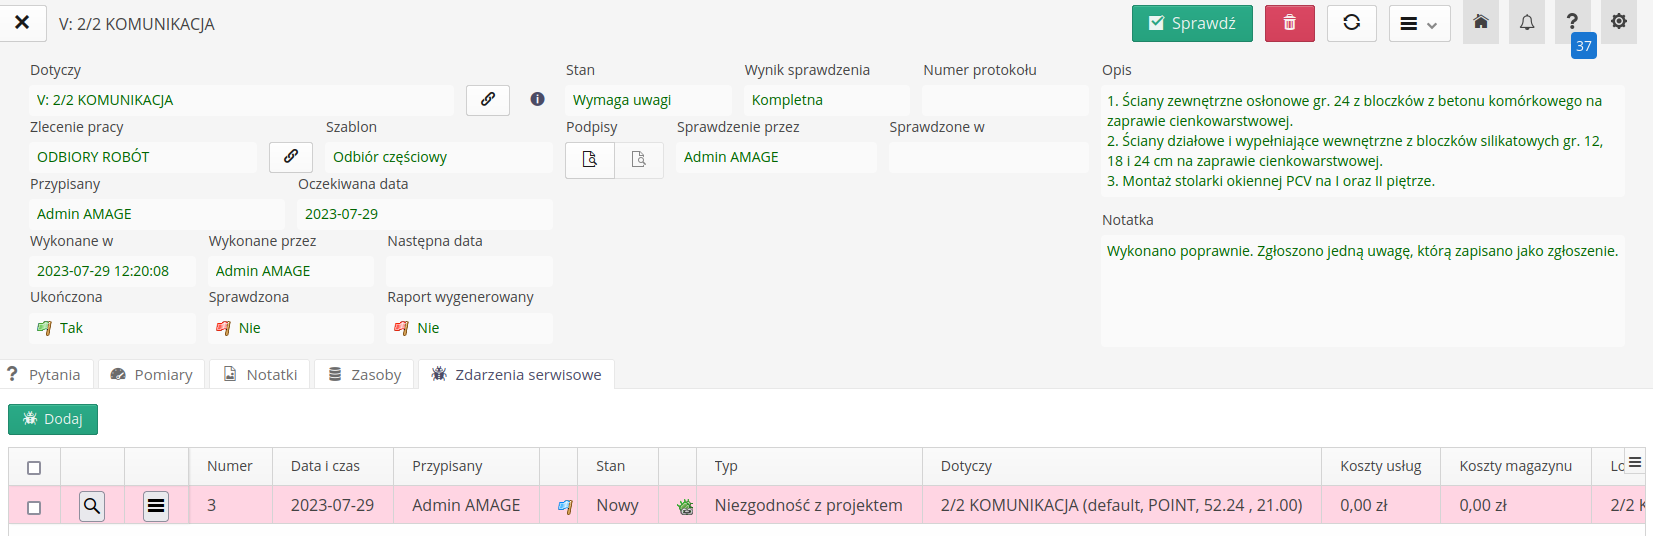
In the inspection view, the Add button with the service request icon appears. After selecting it, the report form opens and you can add a new report to the list of bugs.
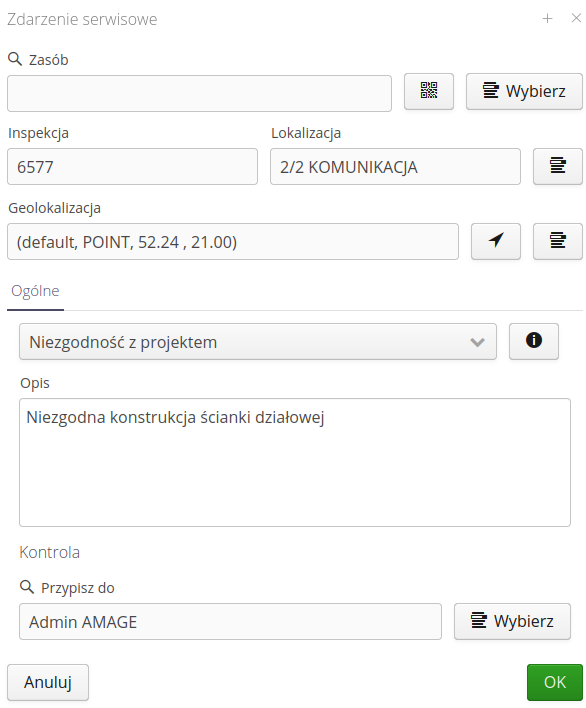
Up to this point, all defects are associated with a specific inspection and are included in the details of that inspection.
| Learn more about service requests in the main documentation and service request tutorials. |
Summary
Ready. We performed a virtual inspection, i.e. partial acceptance of construction works. We checked the correctness of the implementation and generated final reports. During commissioning, we created several non-conformance reports, which will then be resolved by the responsible teams. Inspection reports were generated with signatures and execution details.
| This Howto is based on system version 1.22.0.1 (07.2023) and presents features that may not be available on your system. Ask AMAGE to provide this functionality. |
| Due to the ongoing development of the system, some screens or configuration files may look slightly different, but will still retain the full functionality described here. This does not affect the essential functions described in this document. |