Offline mode
Offline mode
The AMAGE Shell application for Android devices has the ability to work offline. In this case, data is downloaded from the server and saved in a local database. After finishing work in offline mode, the data is synchronized with the server. This allows you to work in places where there is no access to the Internet.
| Offline mode is only available for instances that have offline mode enabled. If there is no such mode, the application will not work in offline mode and will require a connection to the server. Each instance can have offline mode enabled. |
After installing the AMAGE shell application, we go through the standard pairing mode with the AMAGE instance. At this stage, we work in online mode. During pairing and at each login, information is also saved that allows us to start working offline, i.e. exchanging communication keys.
We run the AMAGE Shell application from the application icon after installation.
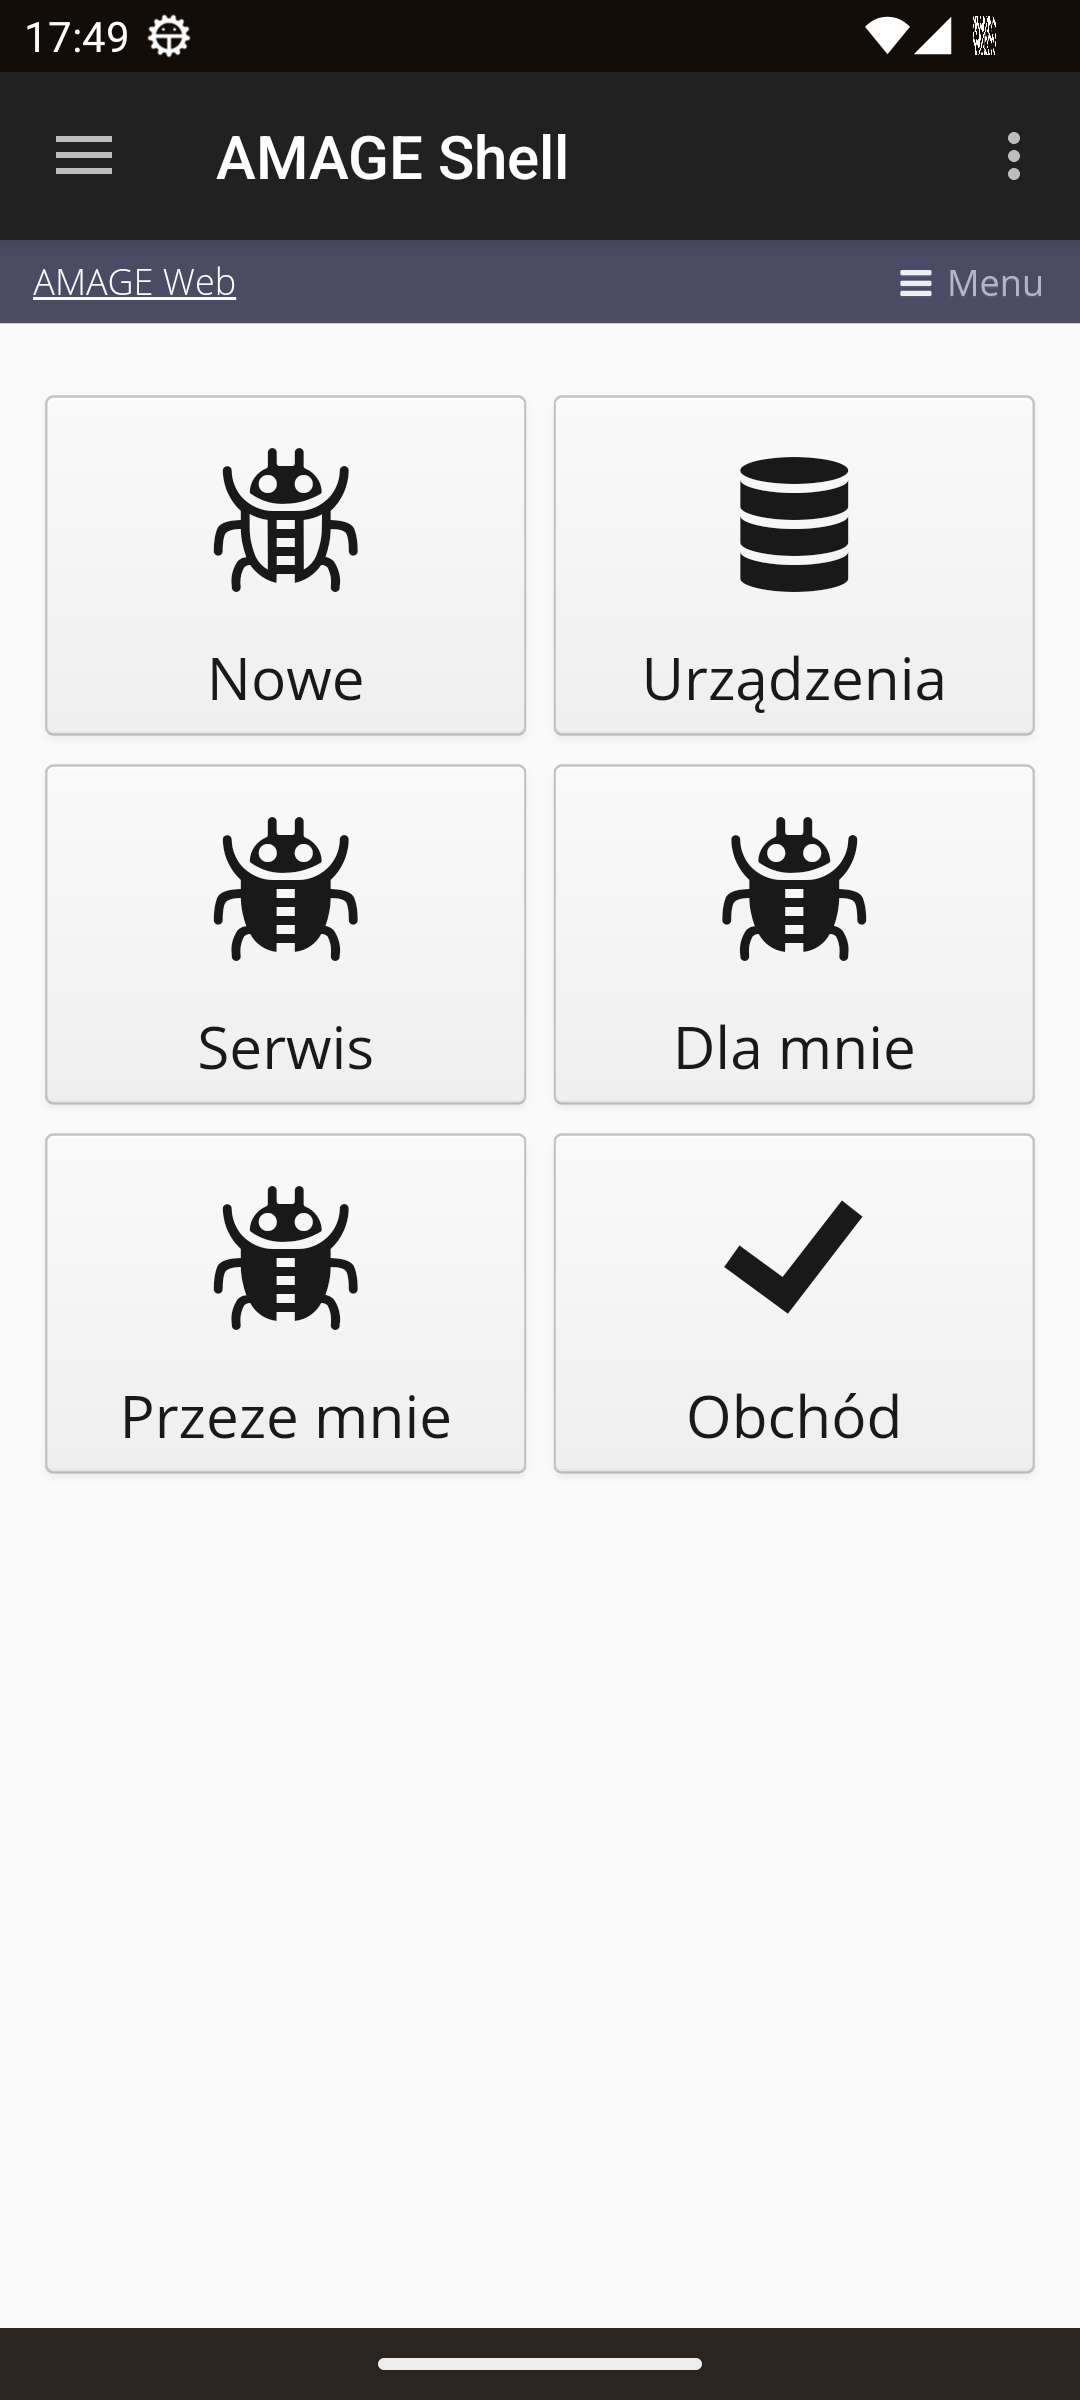
After logging into the application in online mode, we go to the start view. See the AMAGE Mobile application manual for details. If the start panel is enabled, we can configure the buttons that will be available on the start panel. An example of the panel configuration is shown in the figure below.
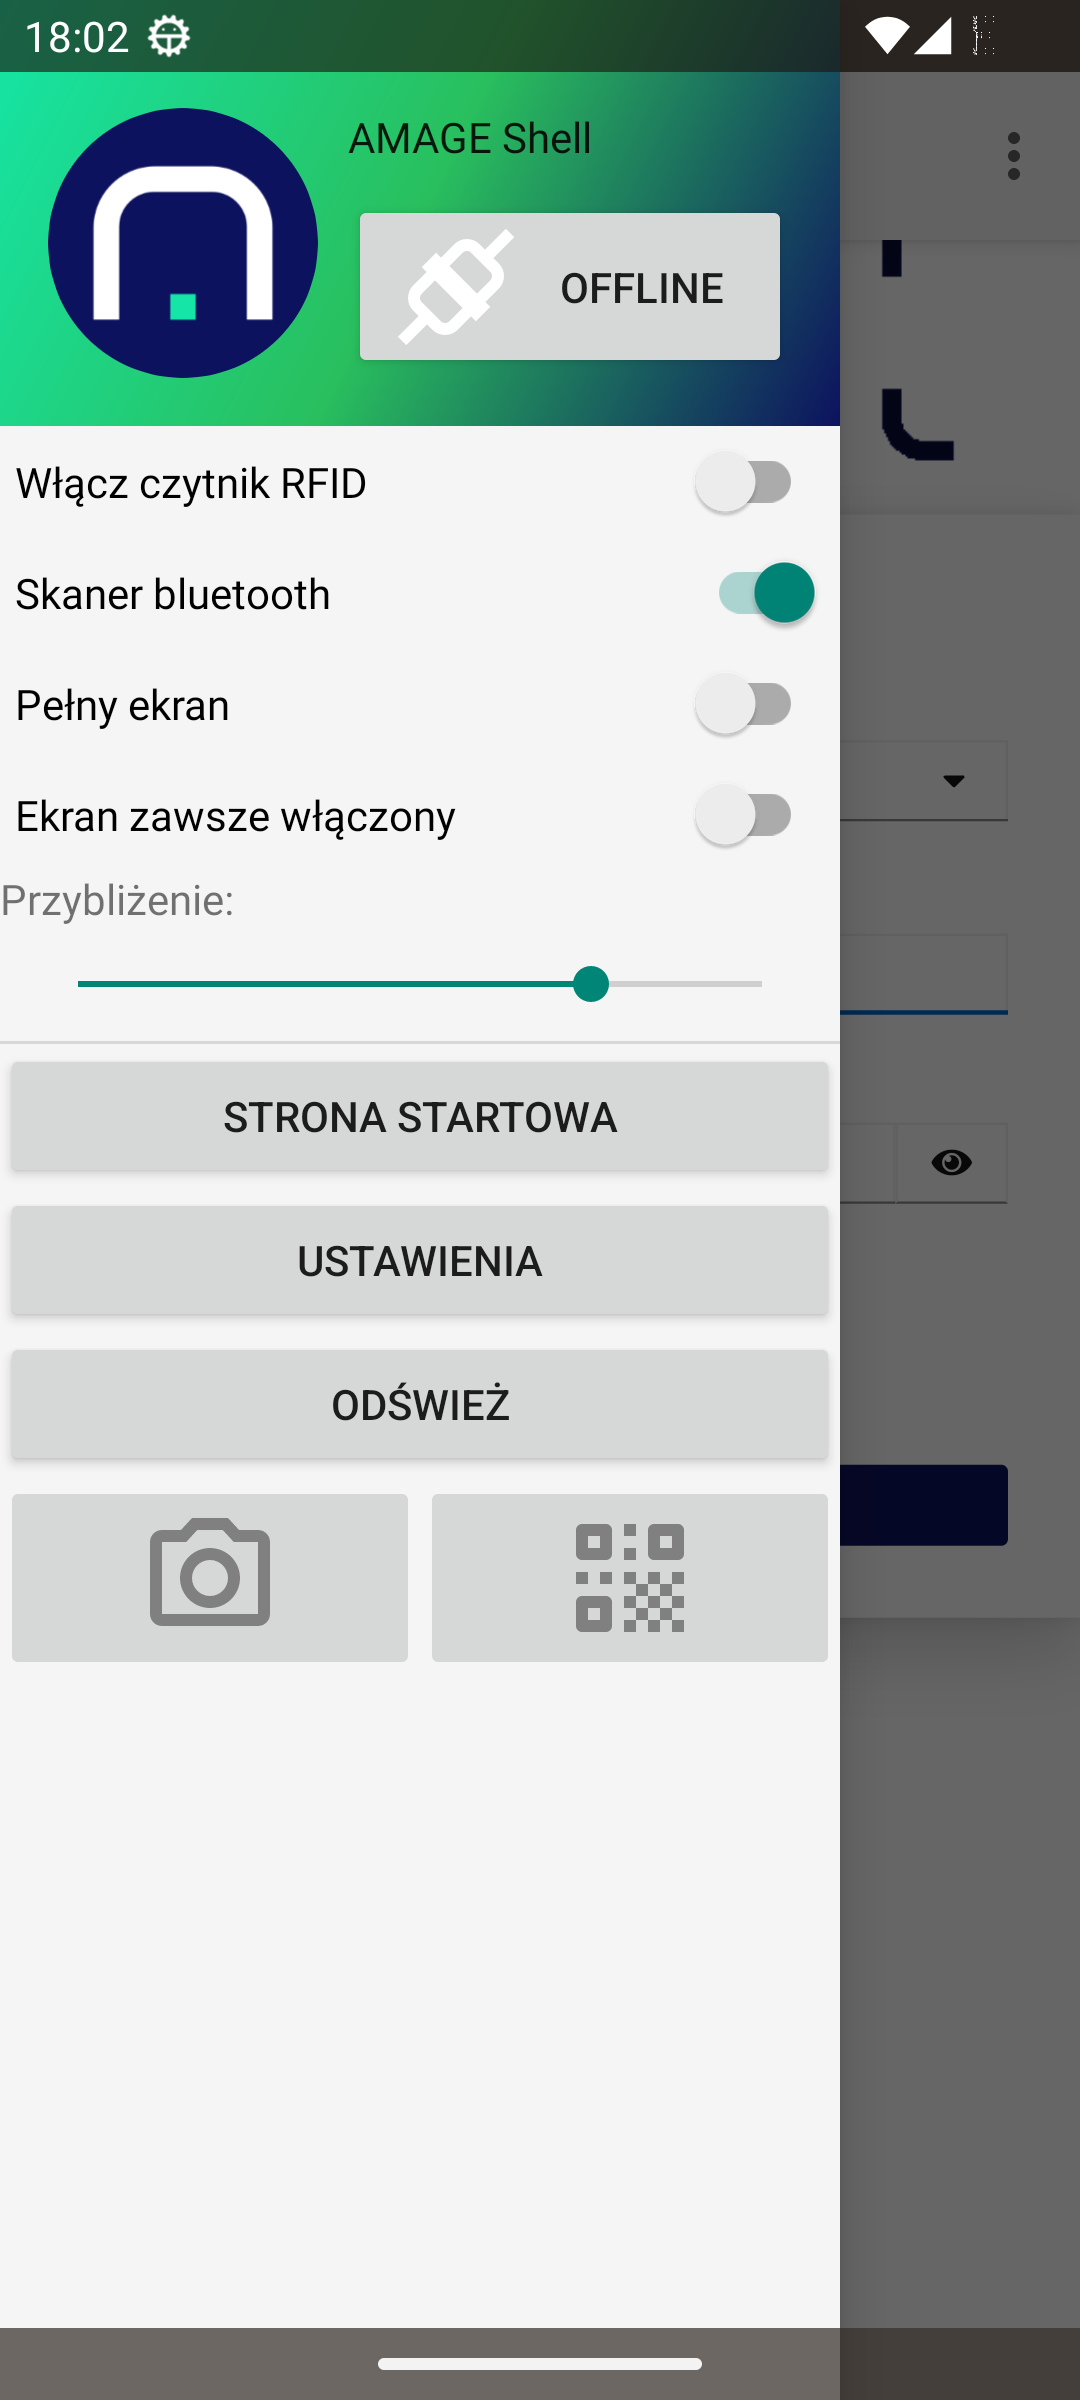
The settings drawer in instances that have offline mode enabled, an additional Offline button appears. It is only visible for instances that have offline mode enabled. Using it, we can switch between online/offline modes.
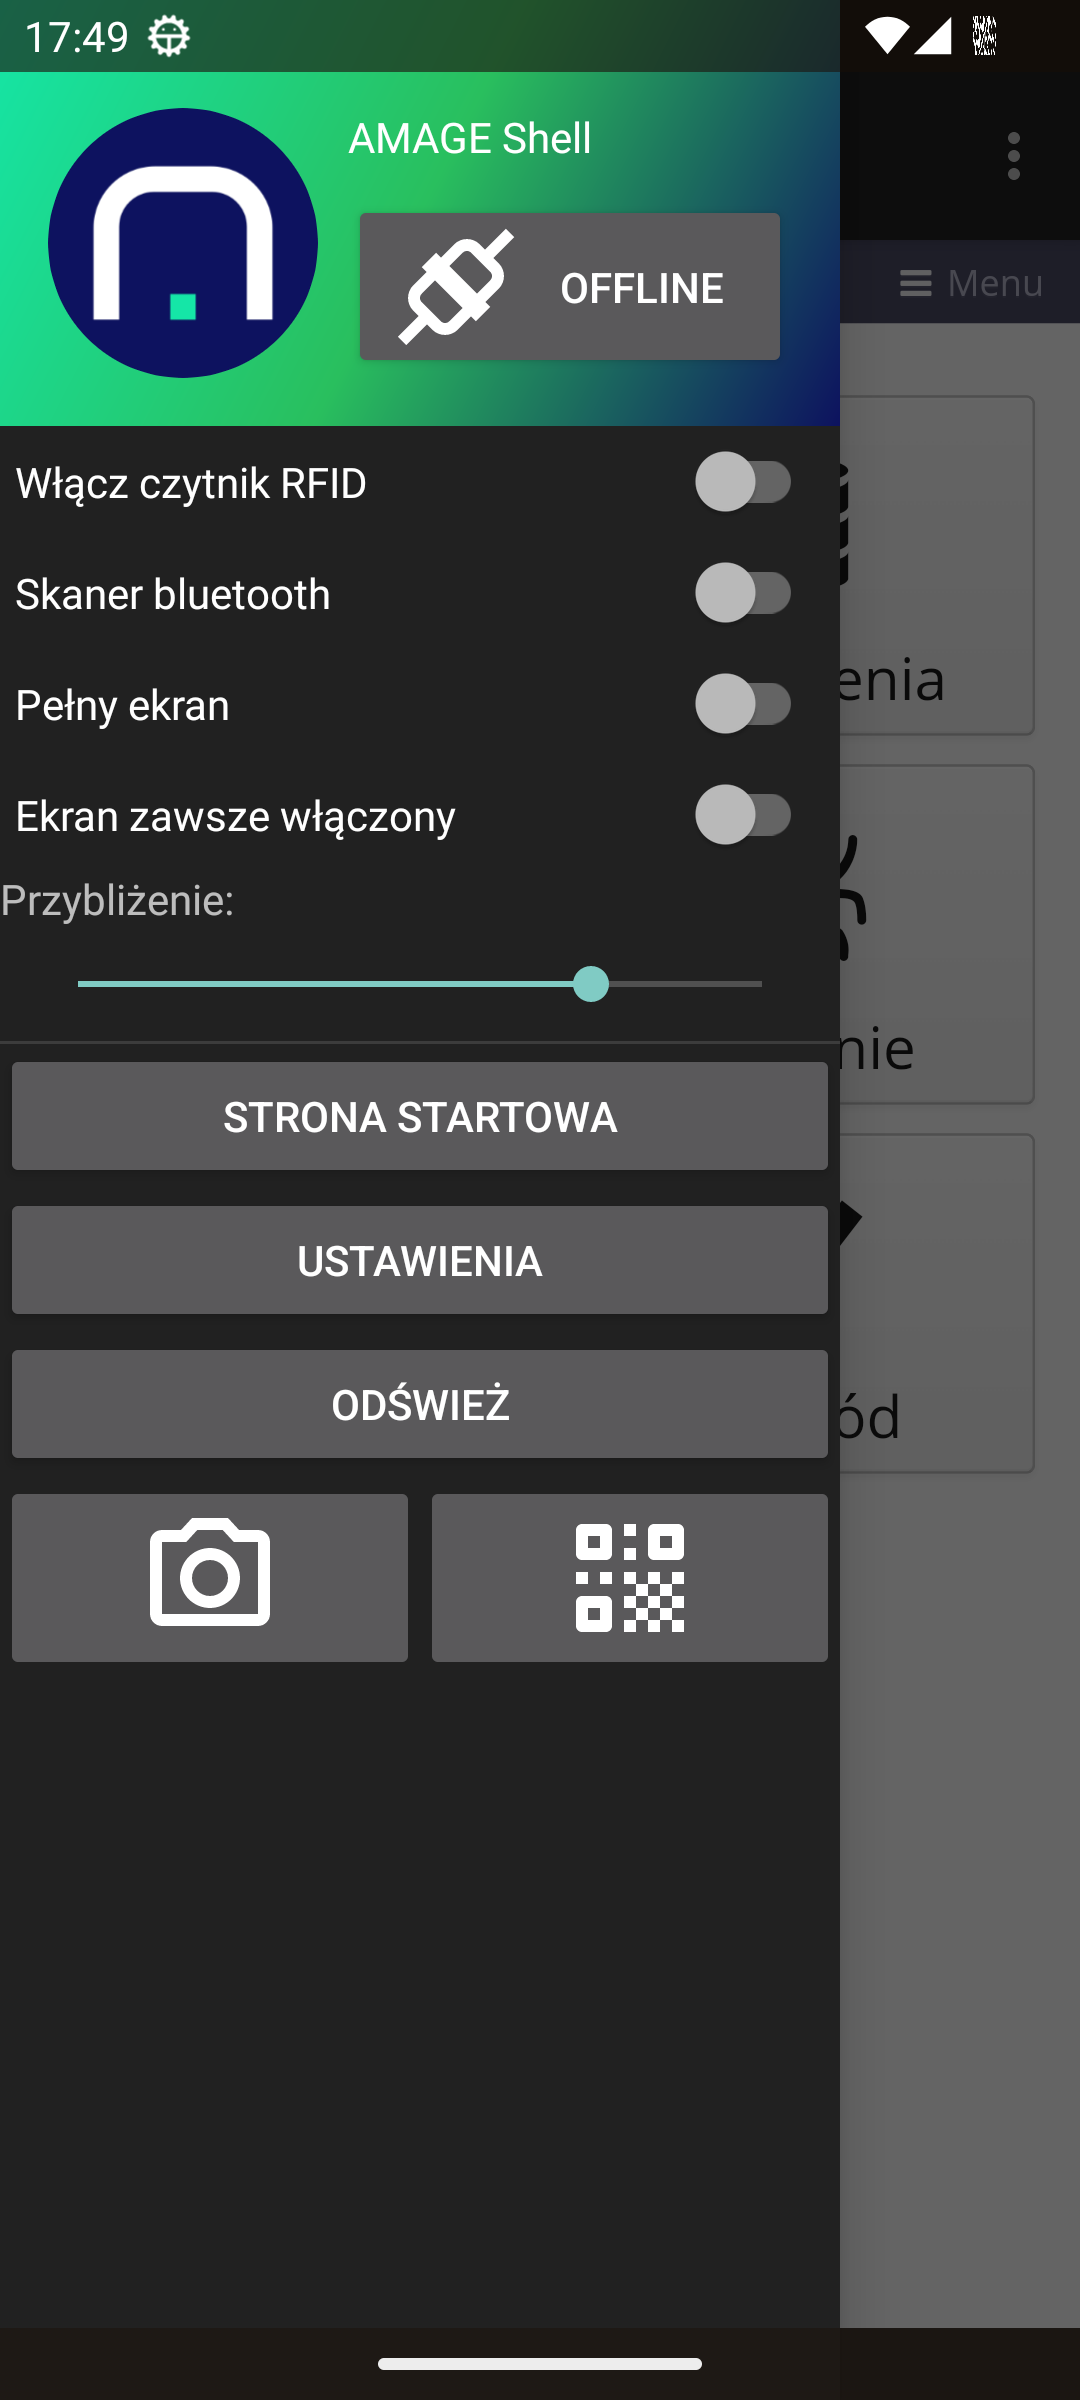
| Other options available in the drawer are described in the general AMAGE Shell application manual. |
After selecting the button, we go to offline mode. The main online mode window is hidden and the offline mode login window appears.
First launch of offline mode
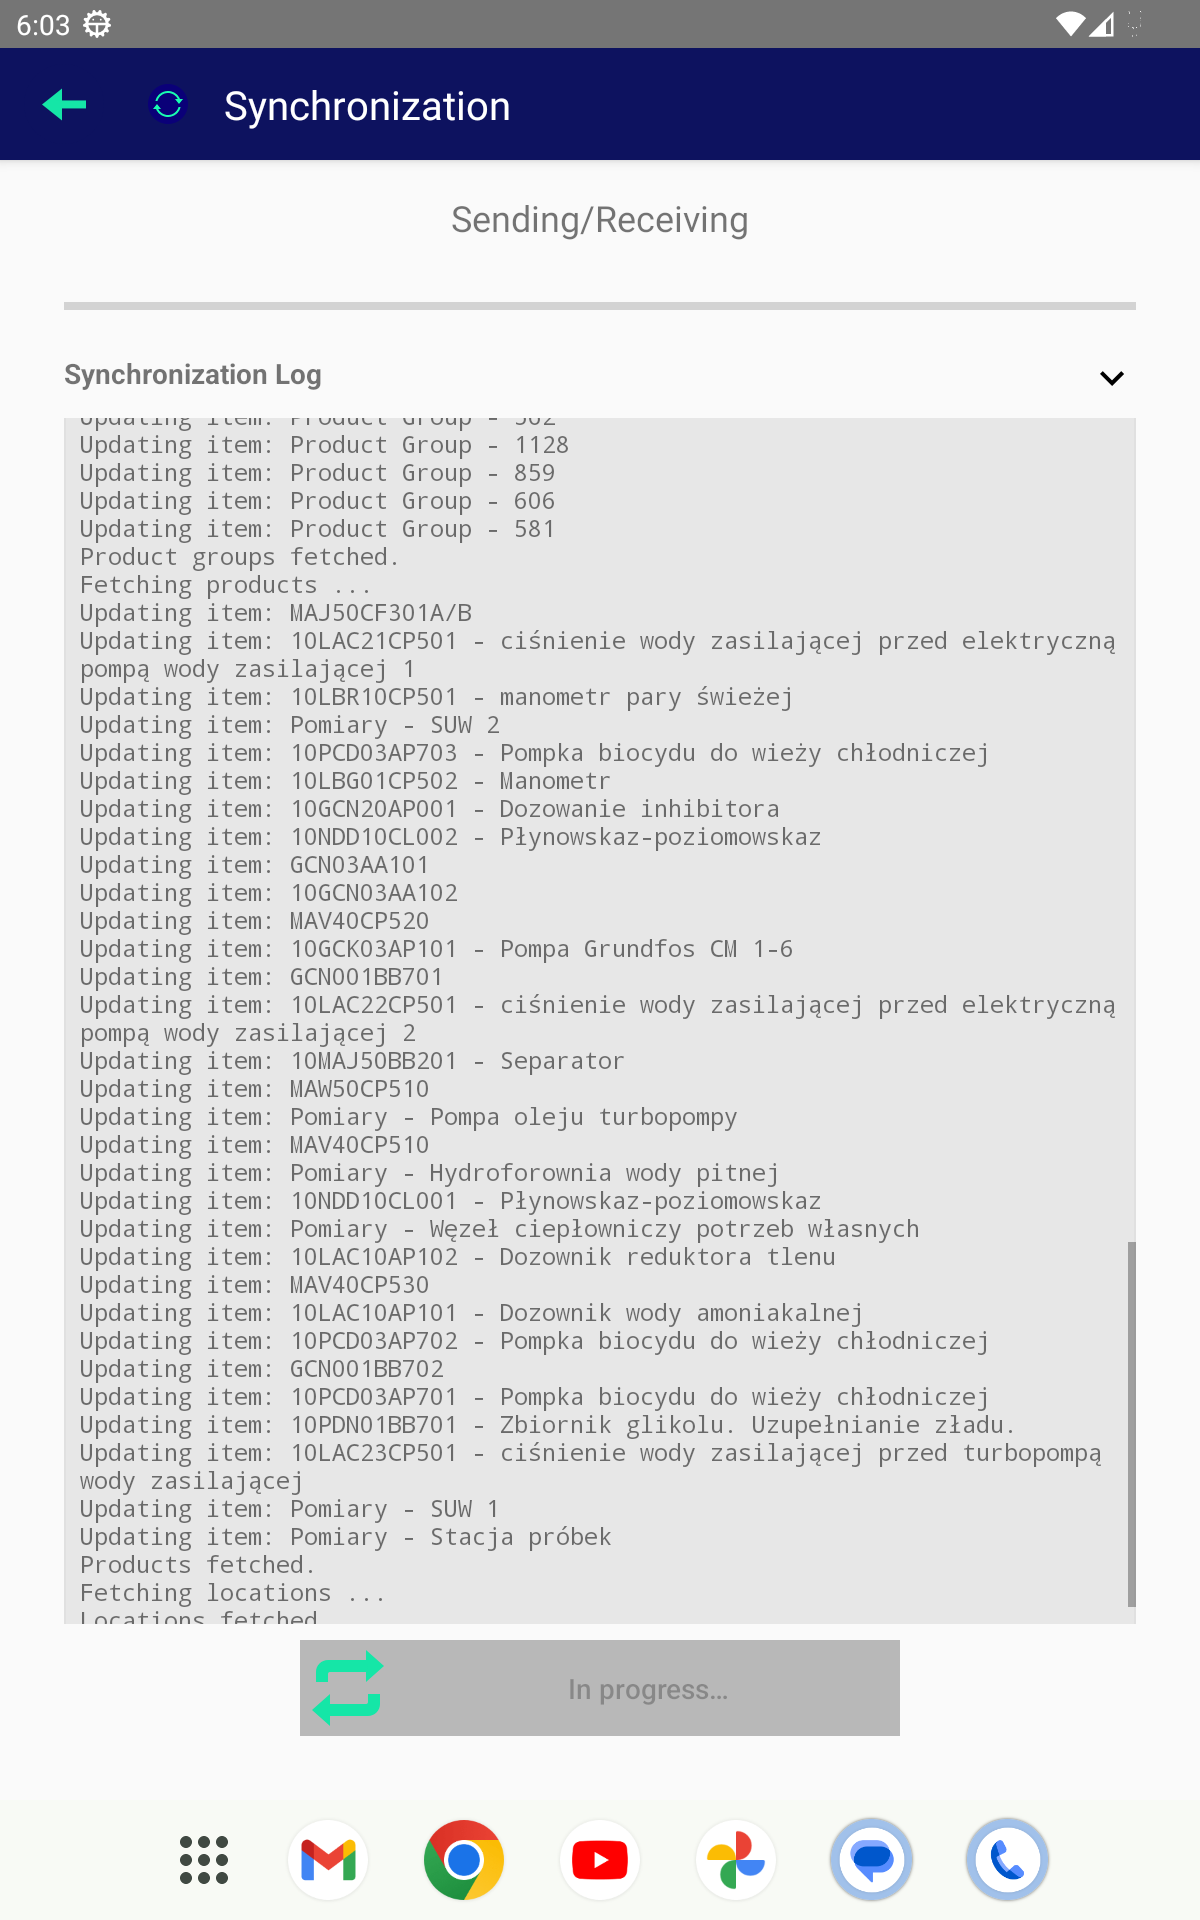
When the system is first started in offline mode, the database is empty. In this case, after logging into offline mode, a message appears informing about the lack of data in the database. In this case, you should synchronize the data with the server. After synchronization is complete, the data will be downloaded from the server and saved in the local database.
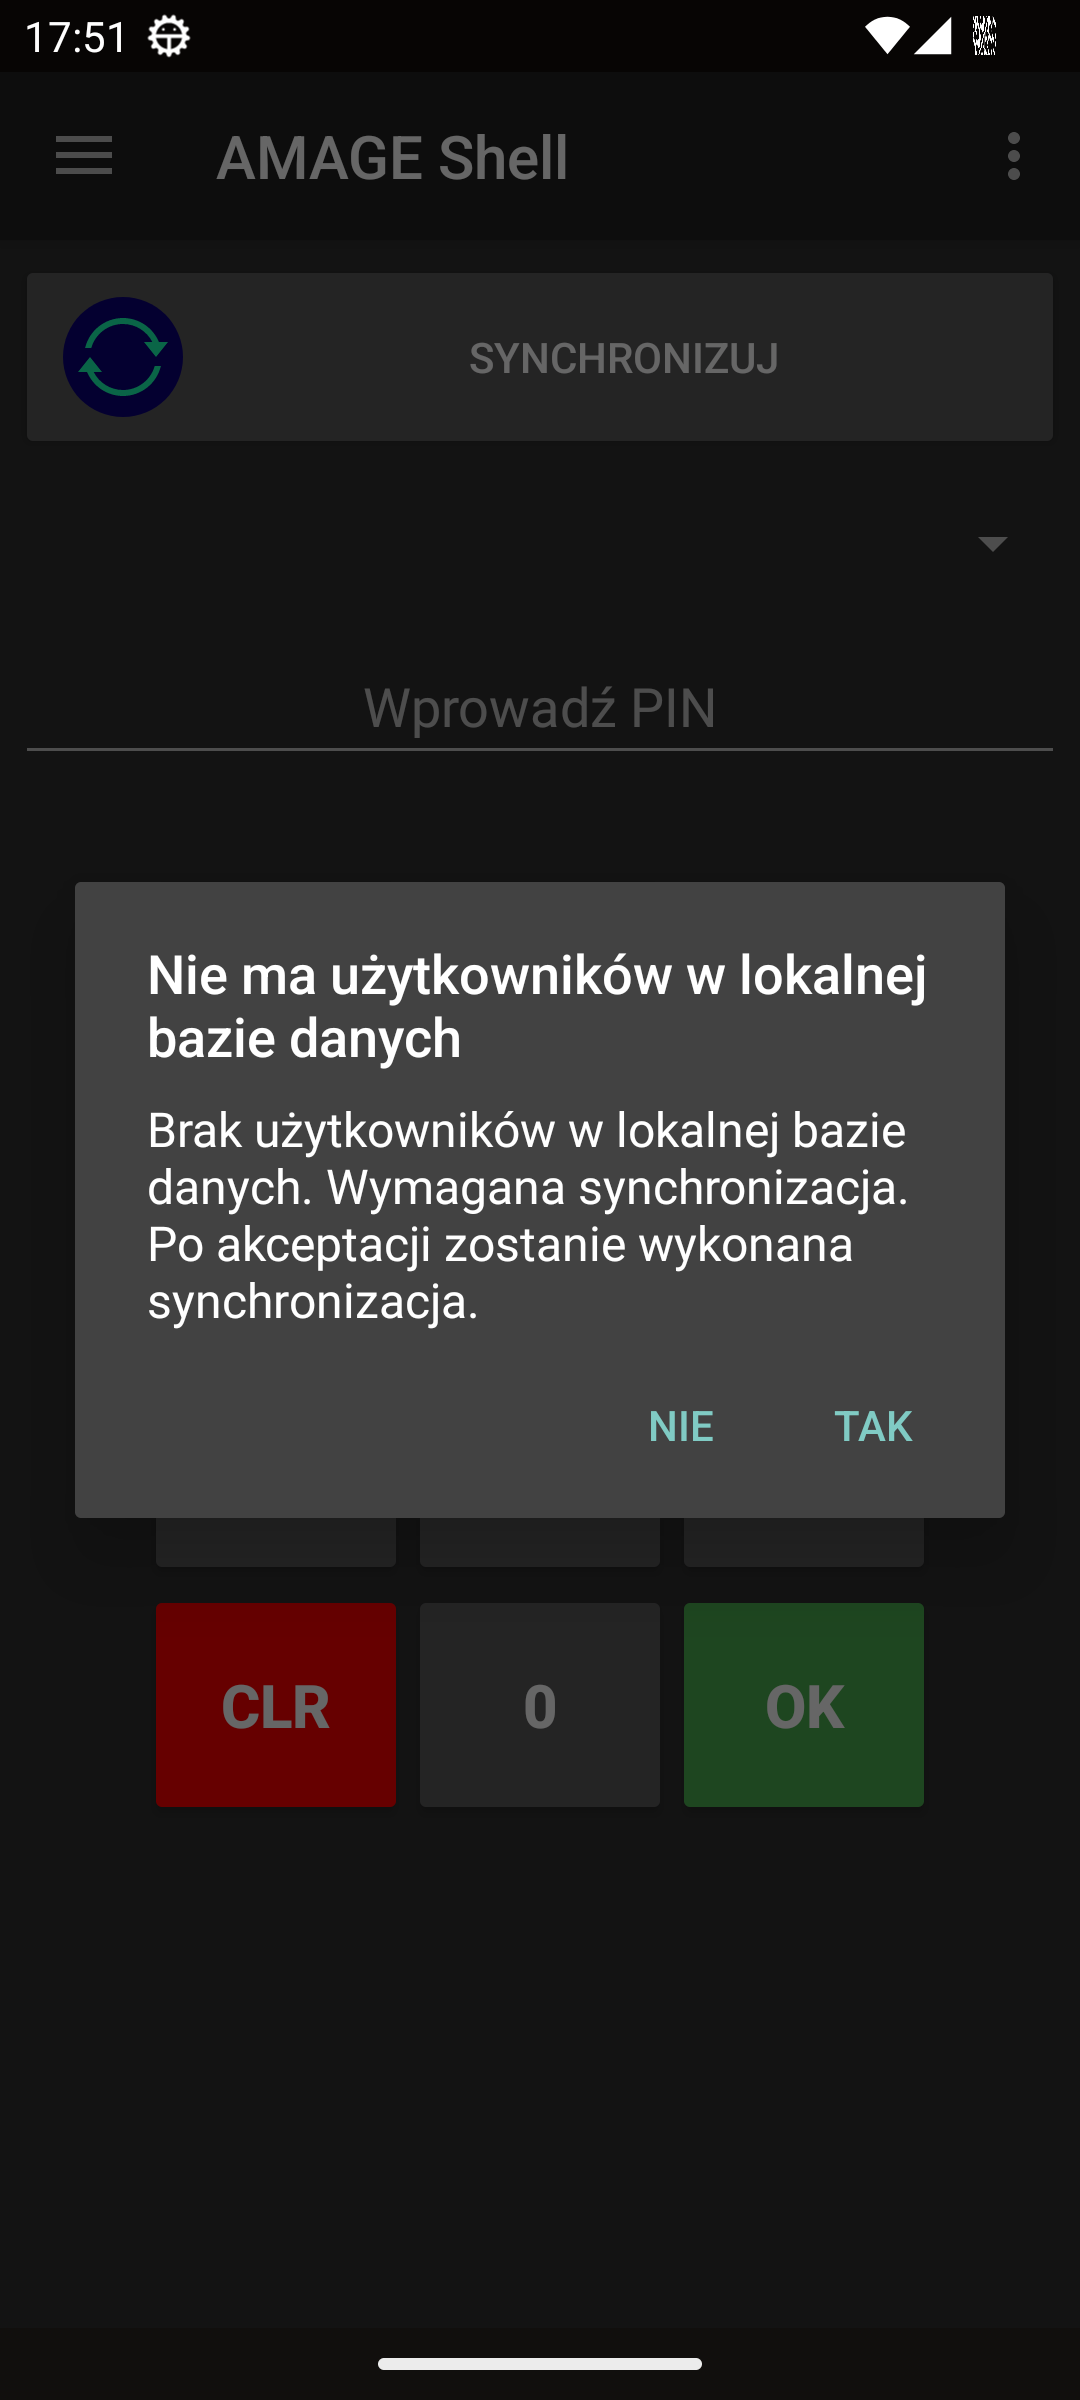
Synchronization after accepting this message is automatic. After synchronization is finished, a message appears informing about the completion of synchronization. The synchronization window displays the synchronization progress and information about the synchronized objects.
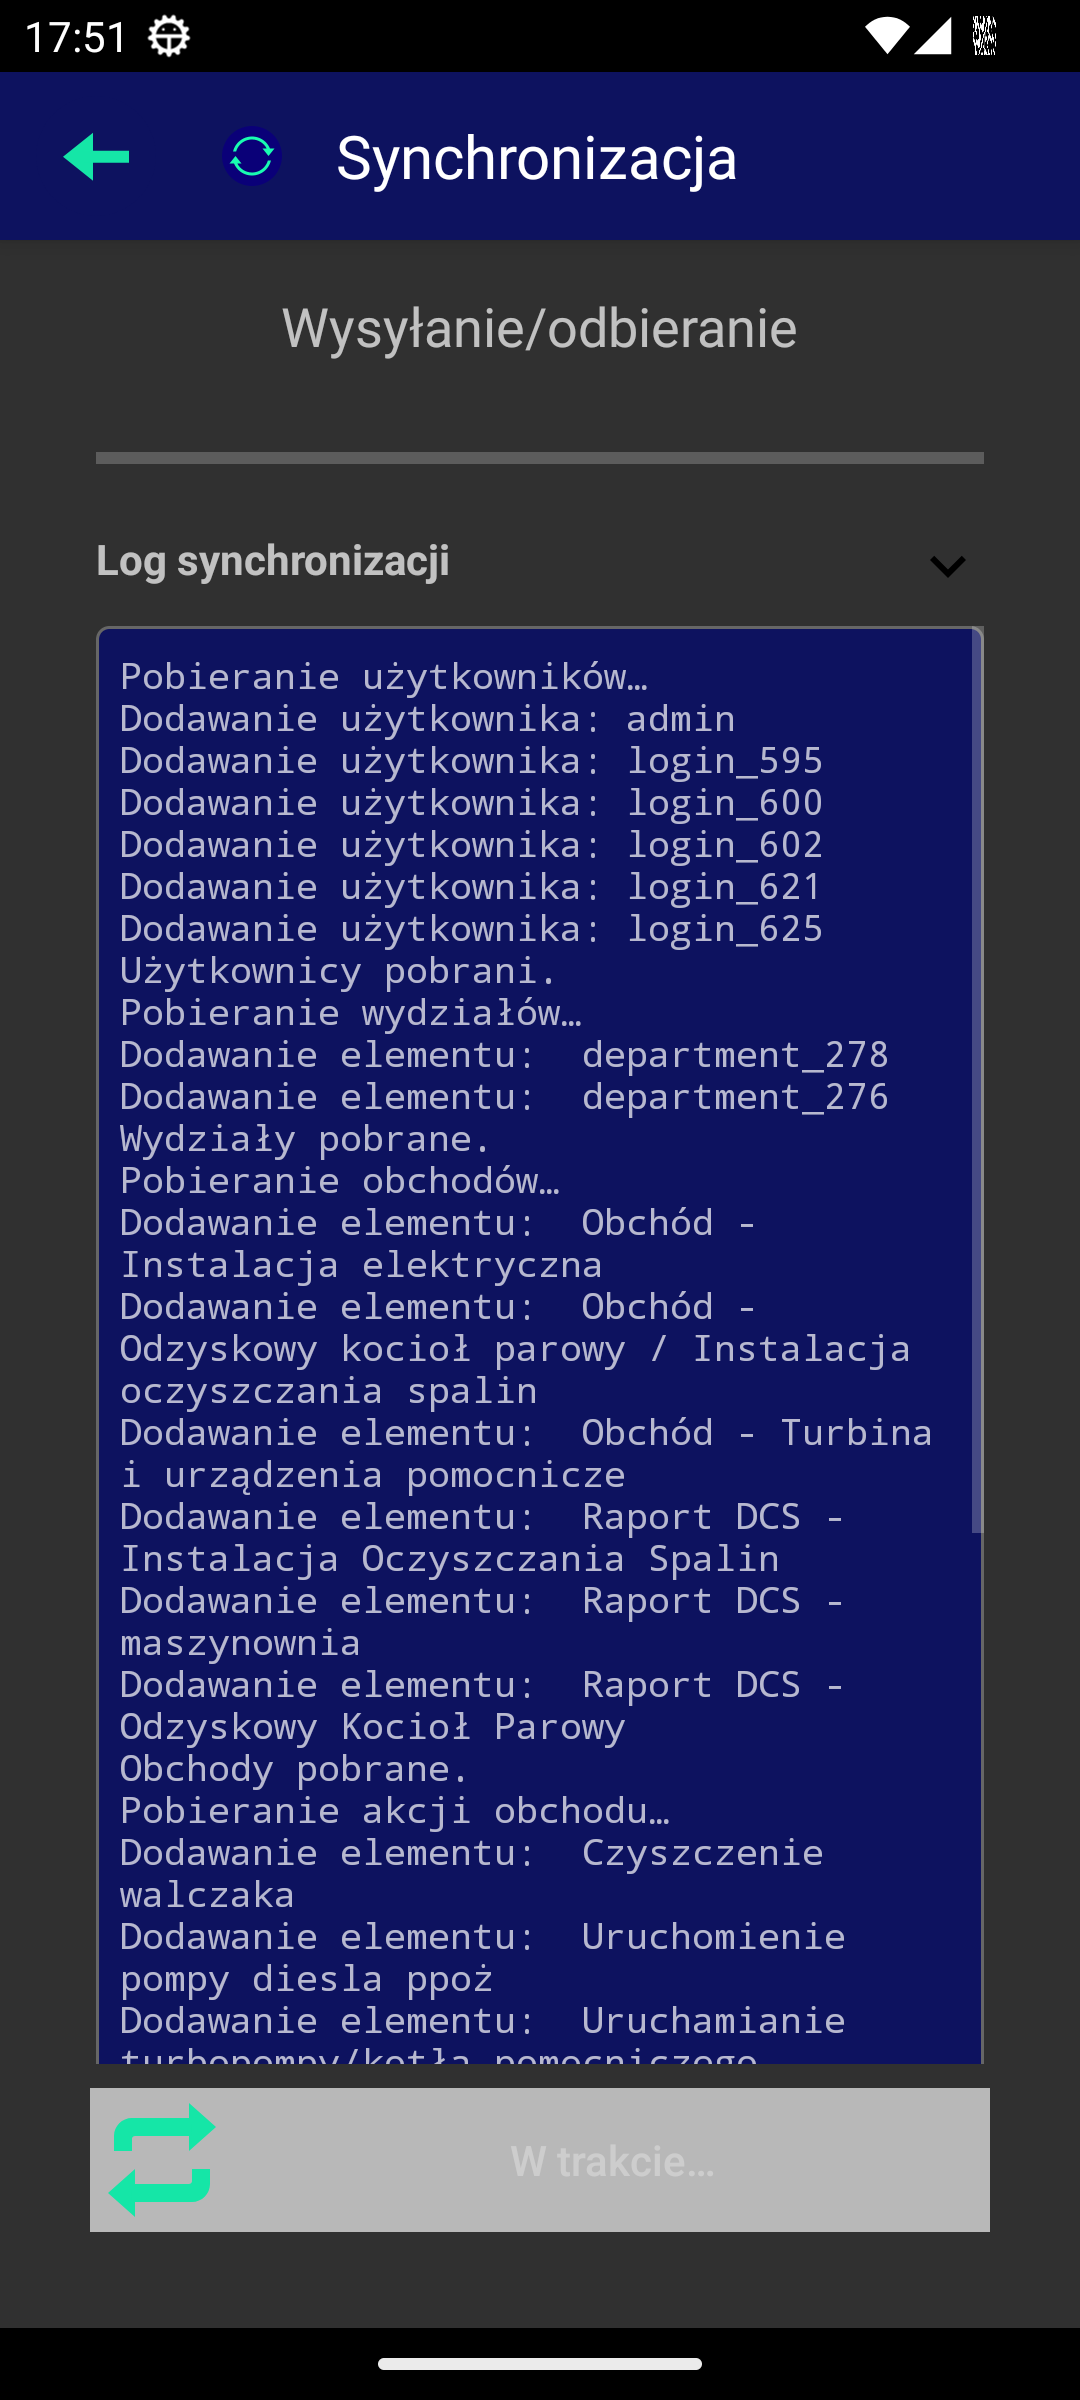
Once the synchronization is complete, the close button is automatically activated and displays a progress bar on its background. Once it is complete, the synchronization window closes automatically.
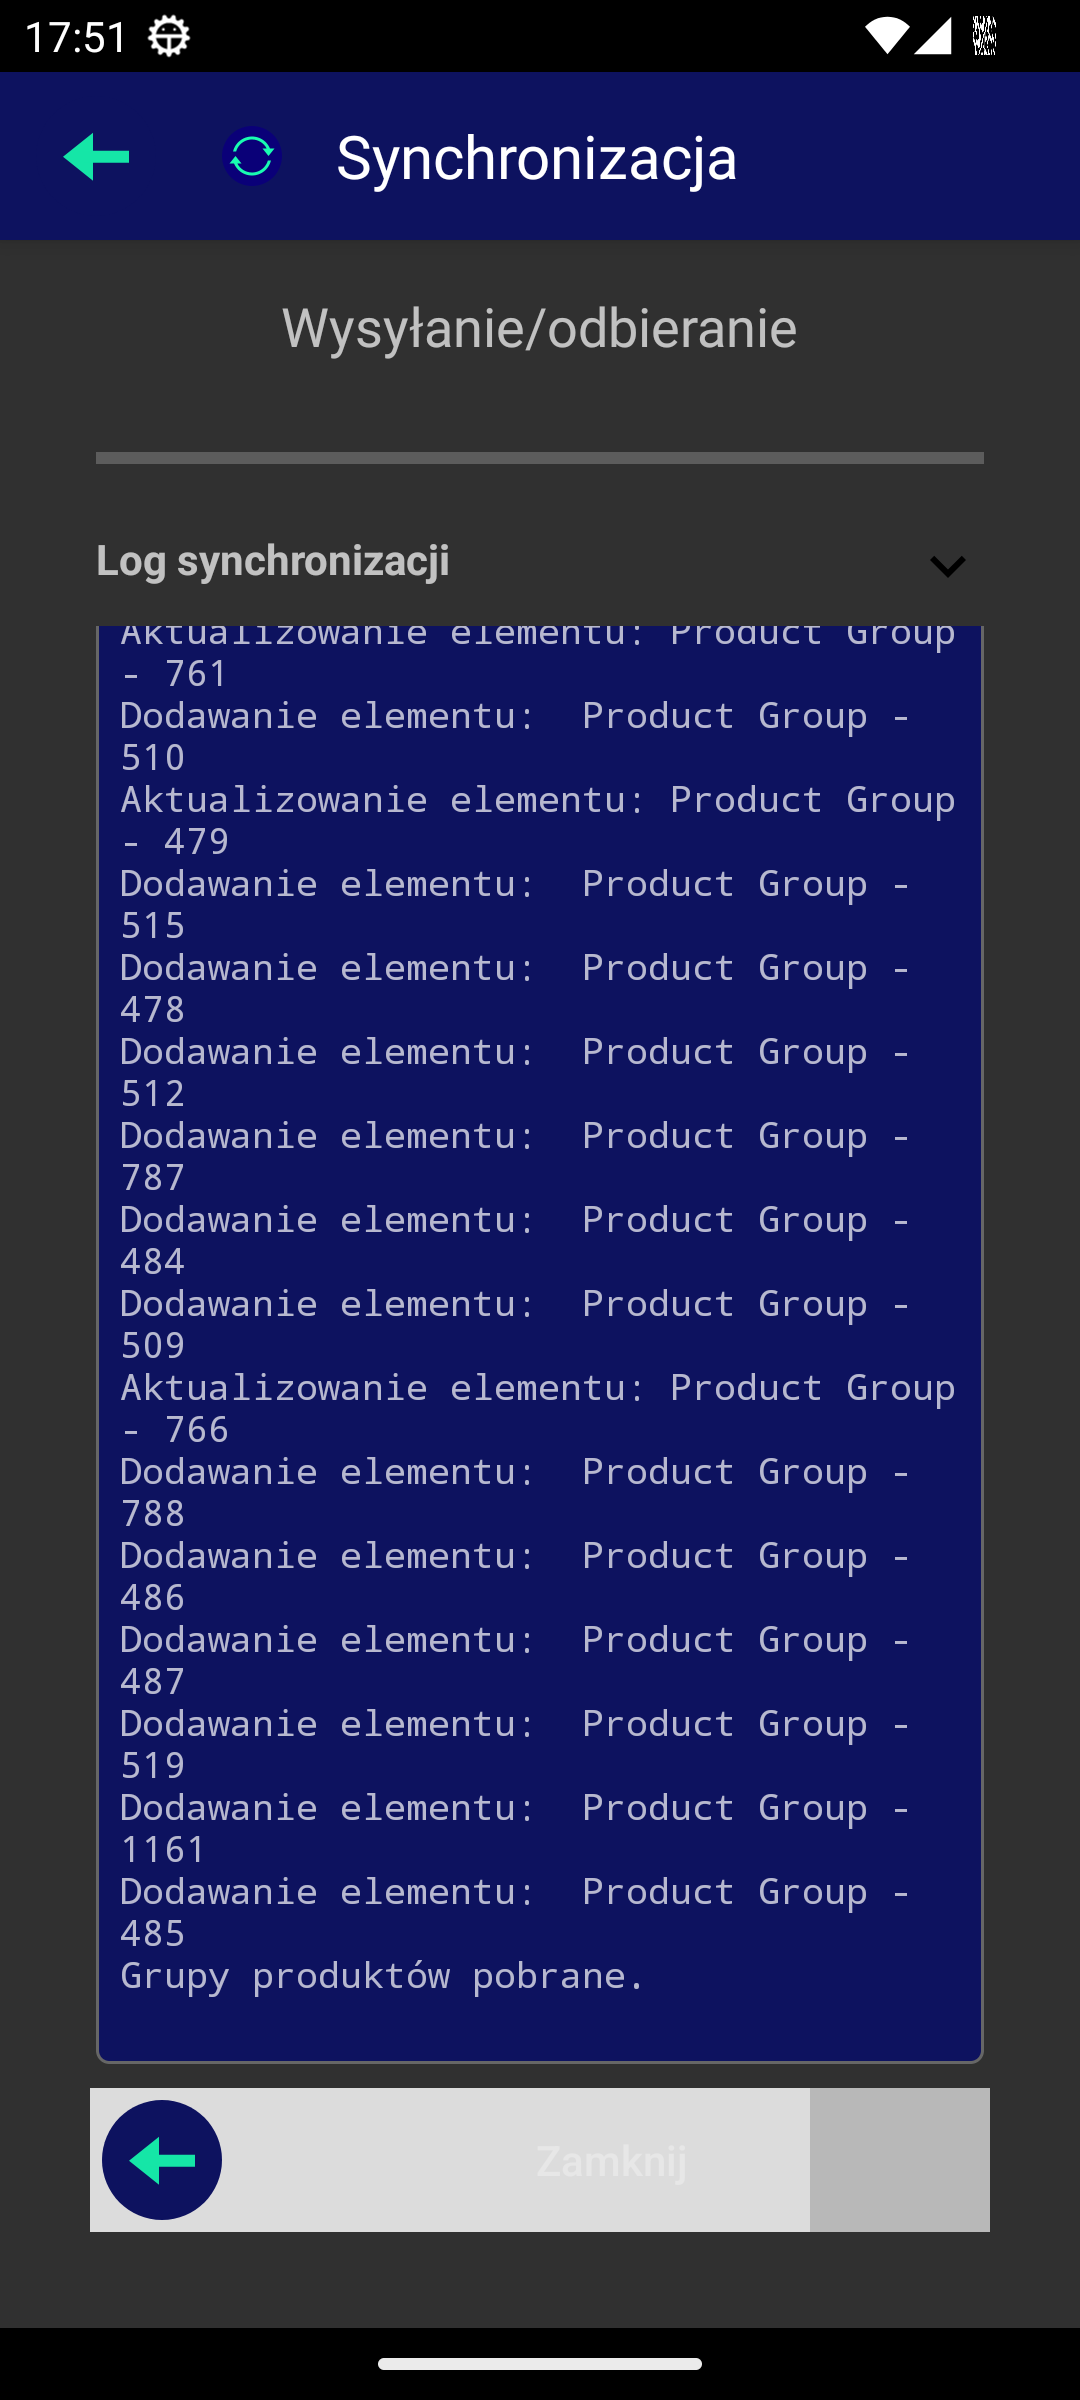
After automatic synchronization we return to the login window.
| Automatic synchronization will also be triggered if the user explicitly logs out of the application in offline mode and the system detects that power is connected to the device. |
Login window for offline mode
When the offline mode is enabled, the system displays an additional button in the application configuration drawer 'Offline/Online'. Using it, we can switch between network access and non-network access modes.
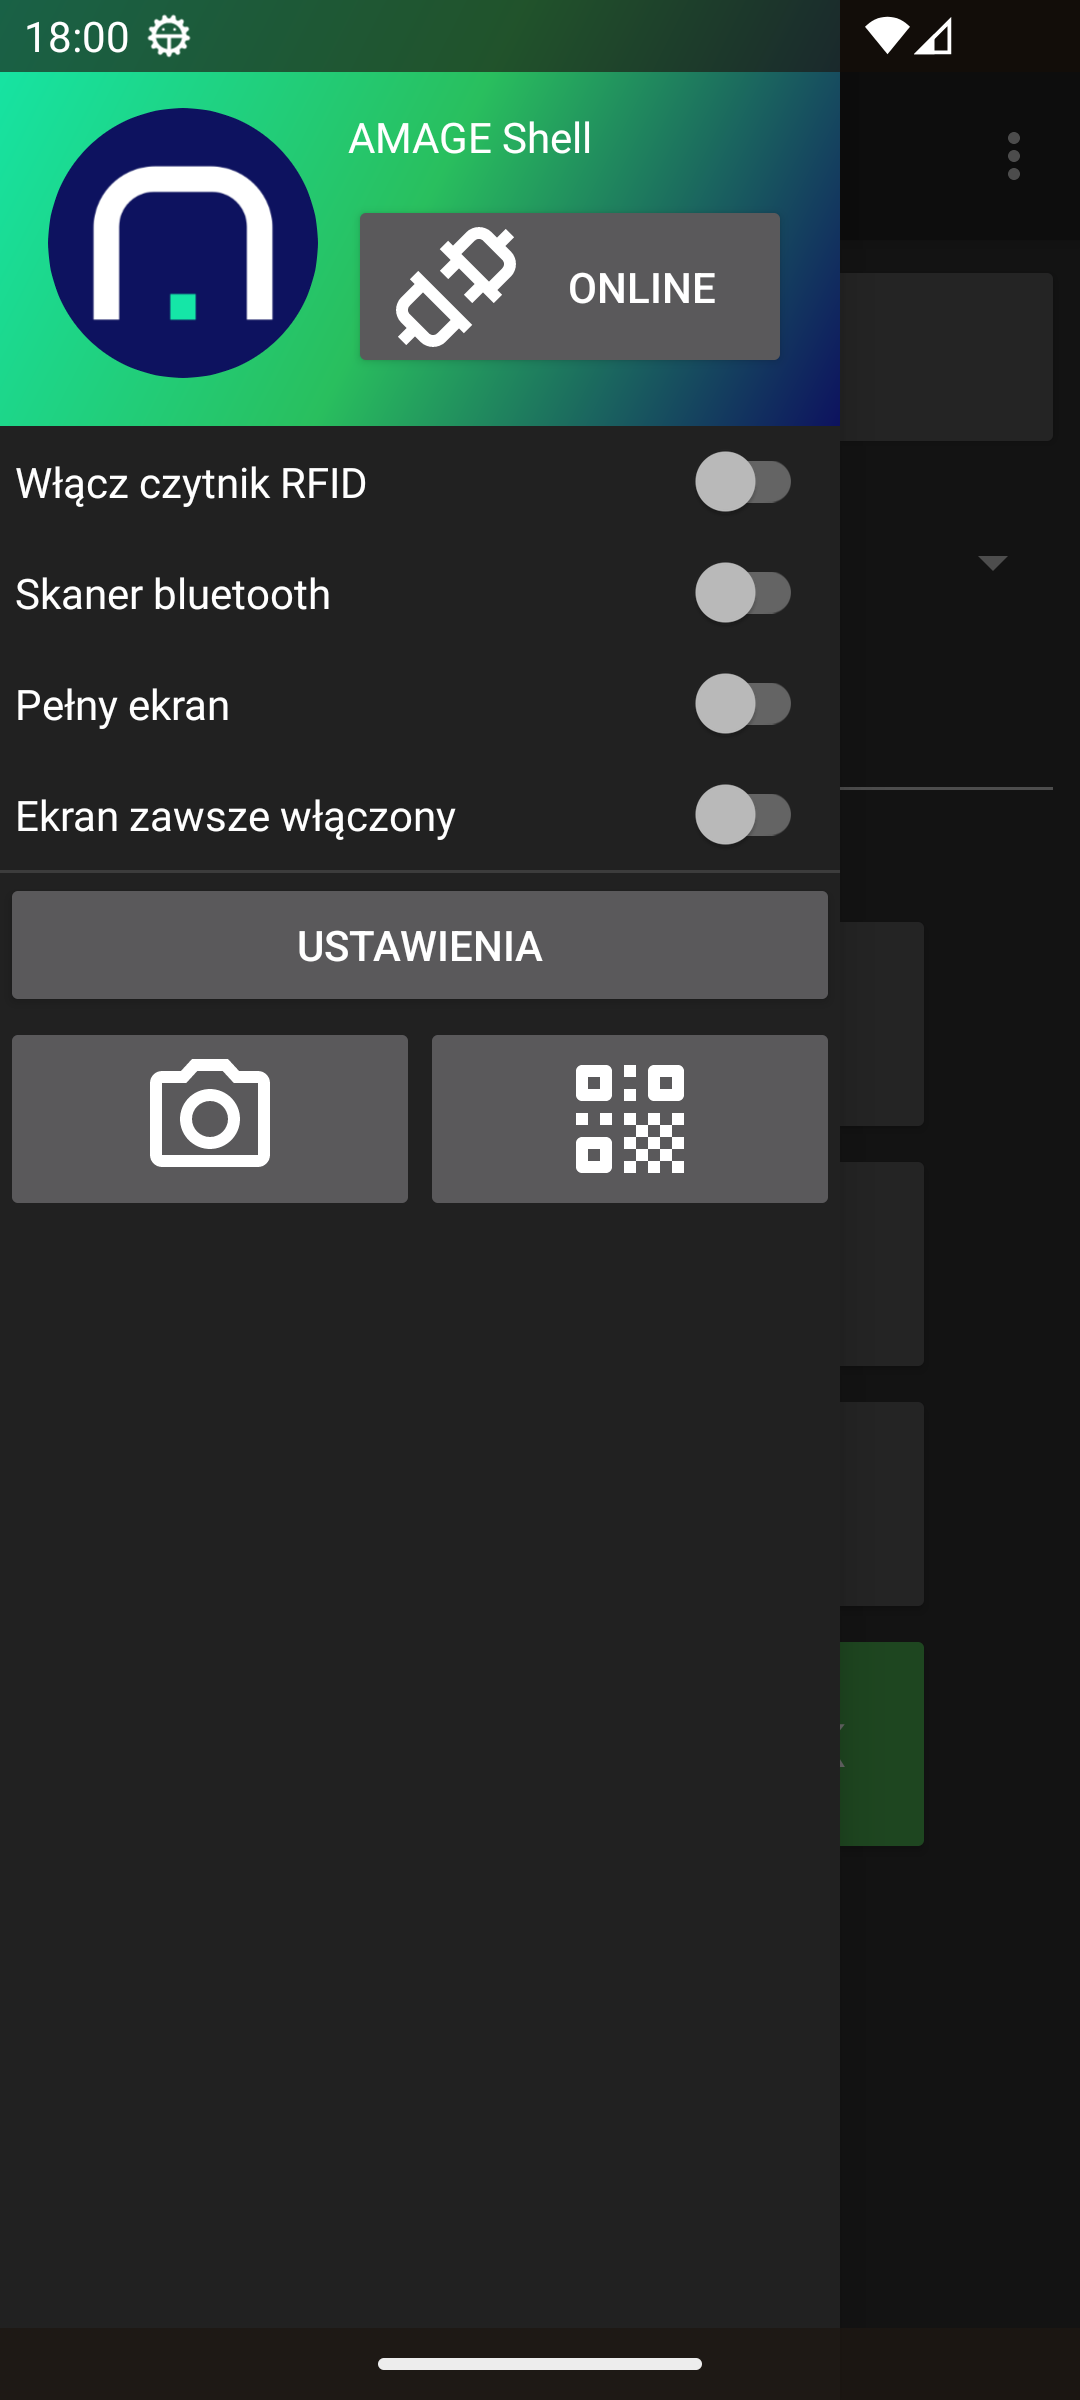
| The visibility of the button during the first application launches/offline mode on the instance (server) may require disabling and re-enabling the application on the device. This data is checked when the application is launched. This also applies when we change the instance address in the application configuration. |
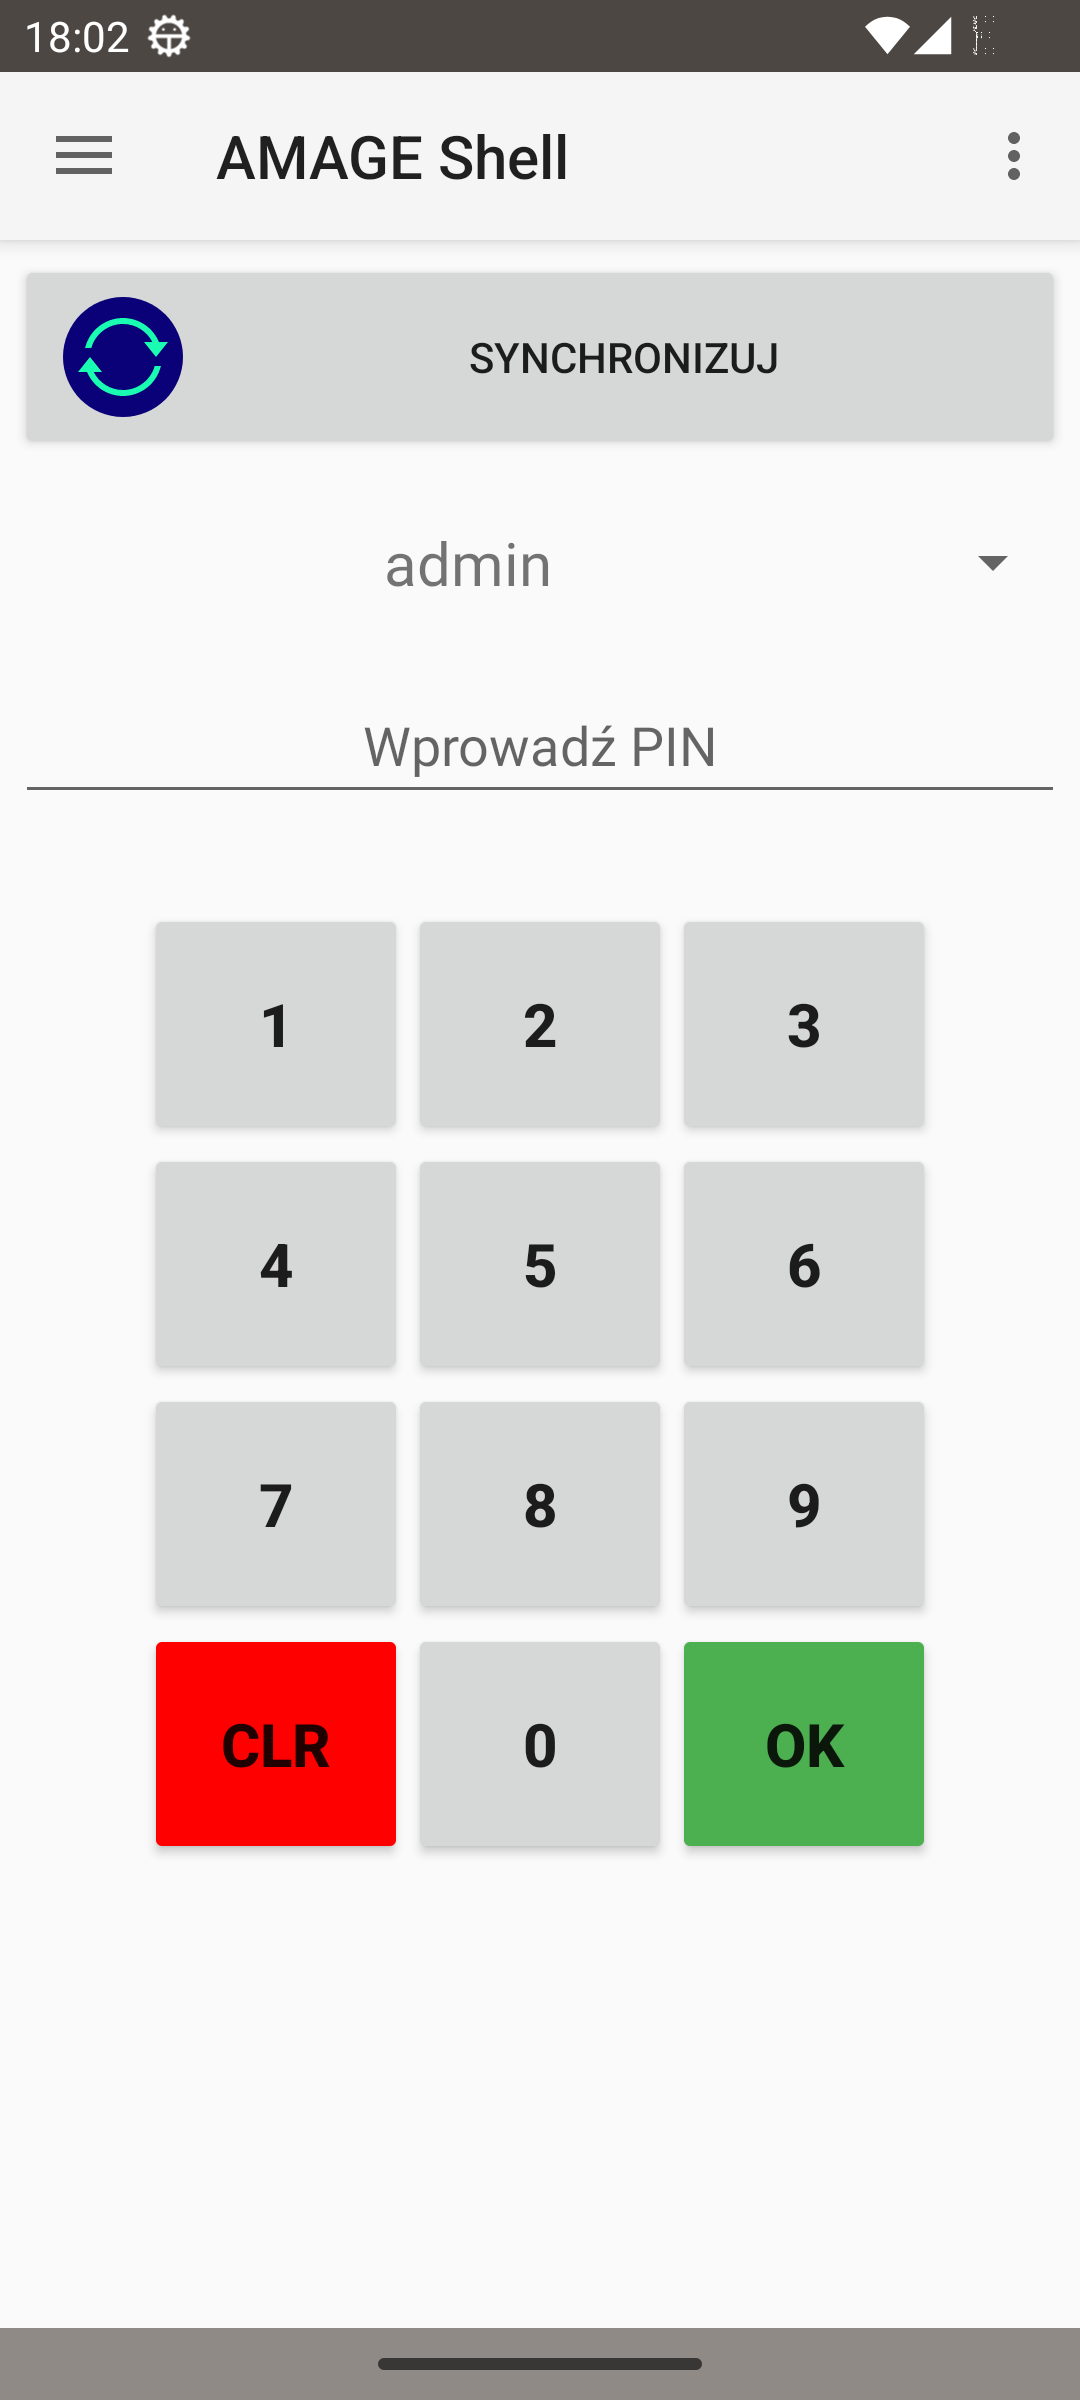
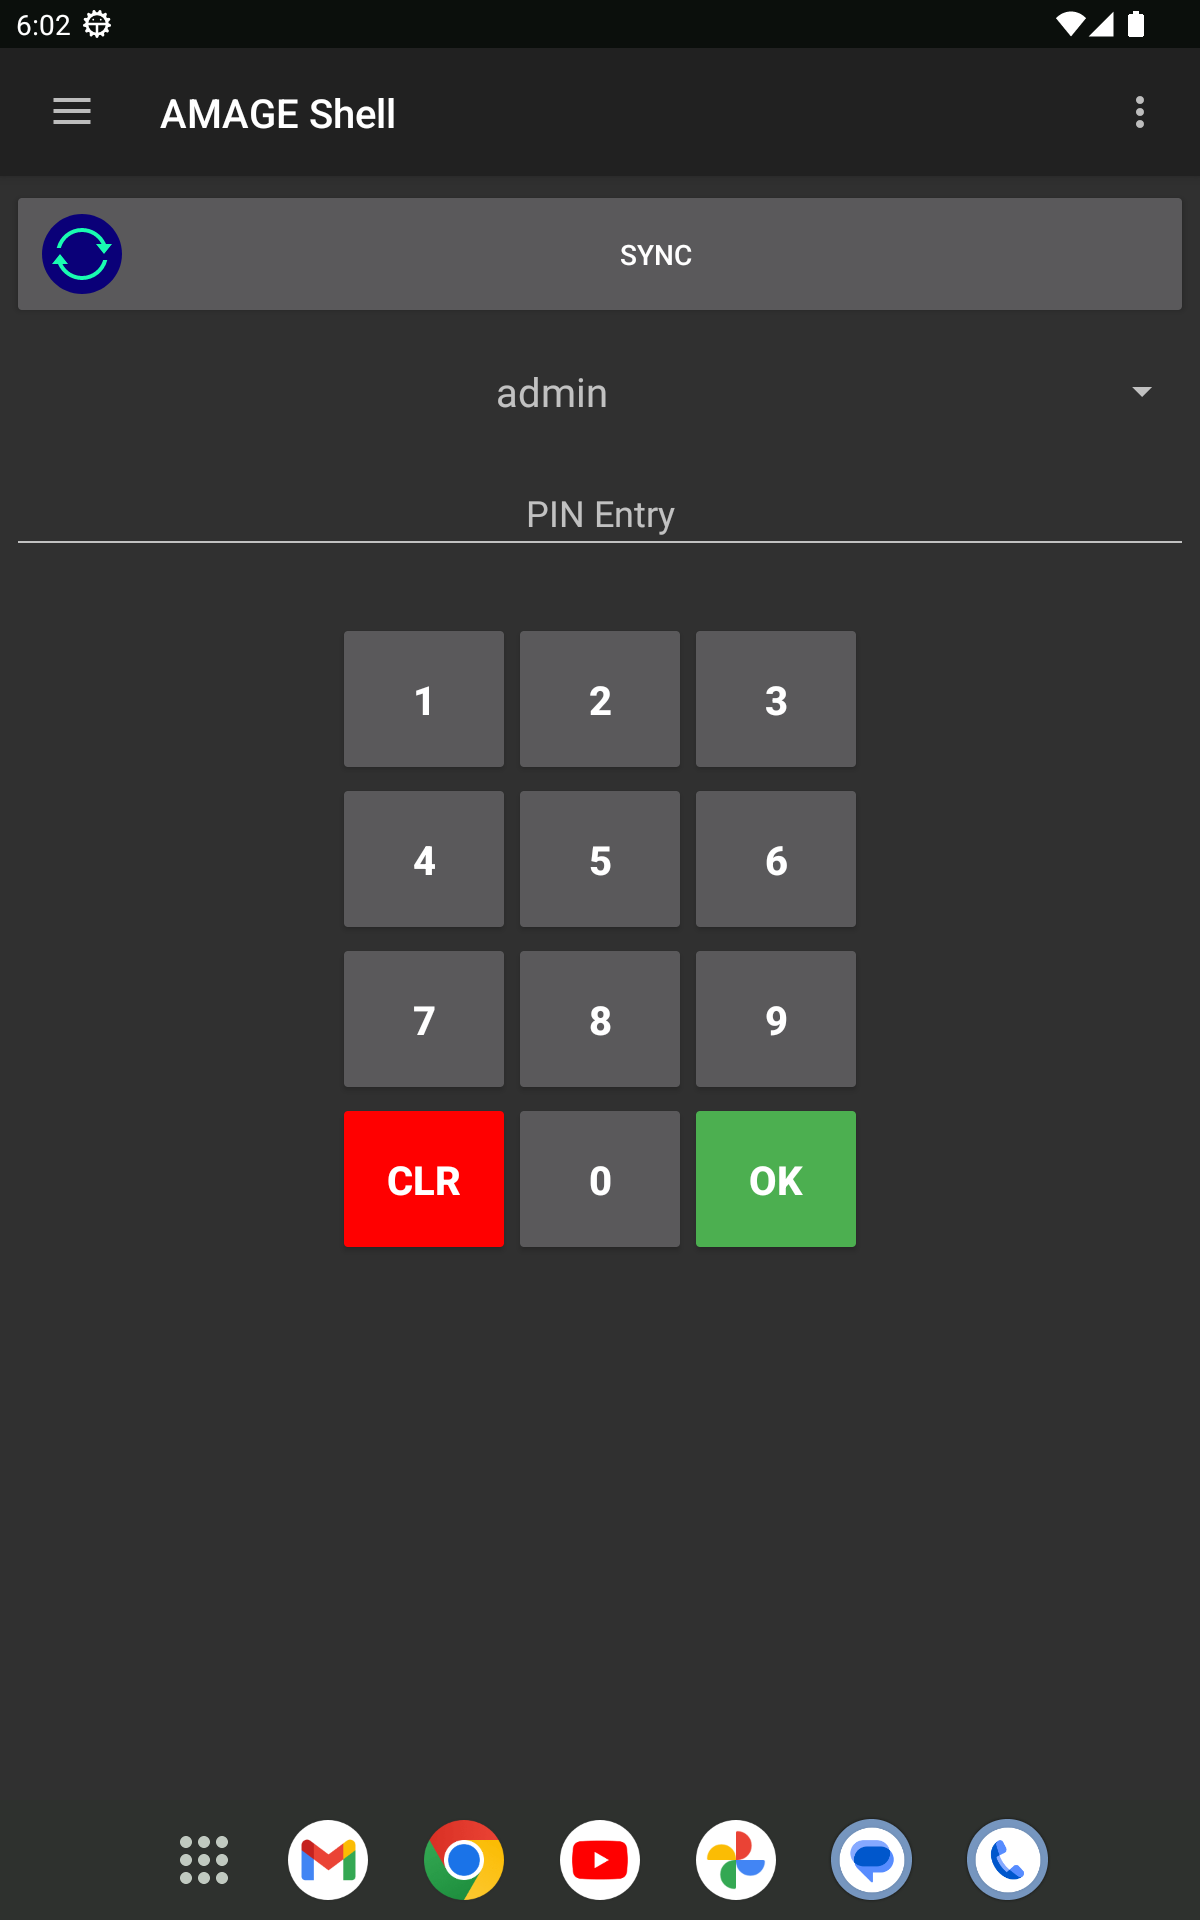
After selecting offline mode and after initial synchronization, the offline mode login window appears. Using it, we can log in to the application.
| We log in to offline mode using the login PIN (4 digits), which is defined in the main system configuration. Please note that after changing the PIN in the online application, it is necessary to re-synchronize user data to offline mode. Users are authorized using data saved in local data stores on the device. |
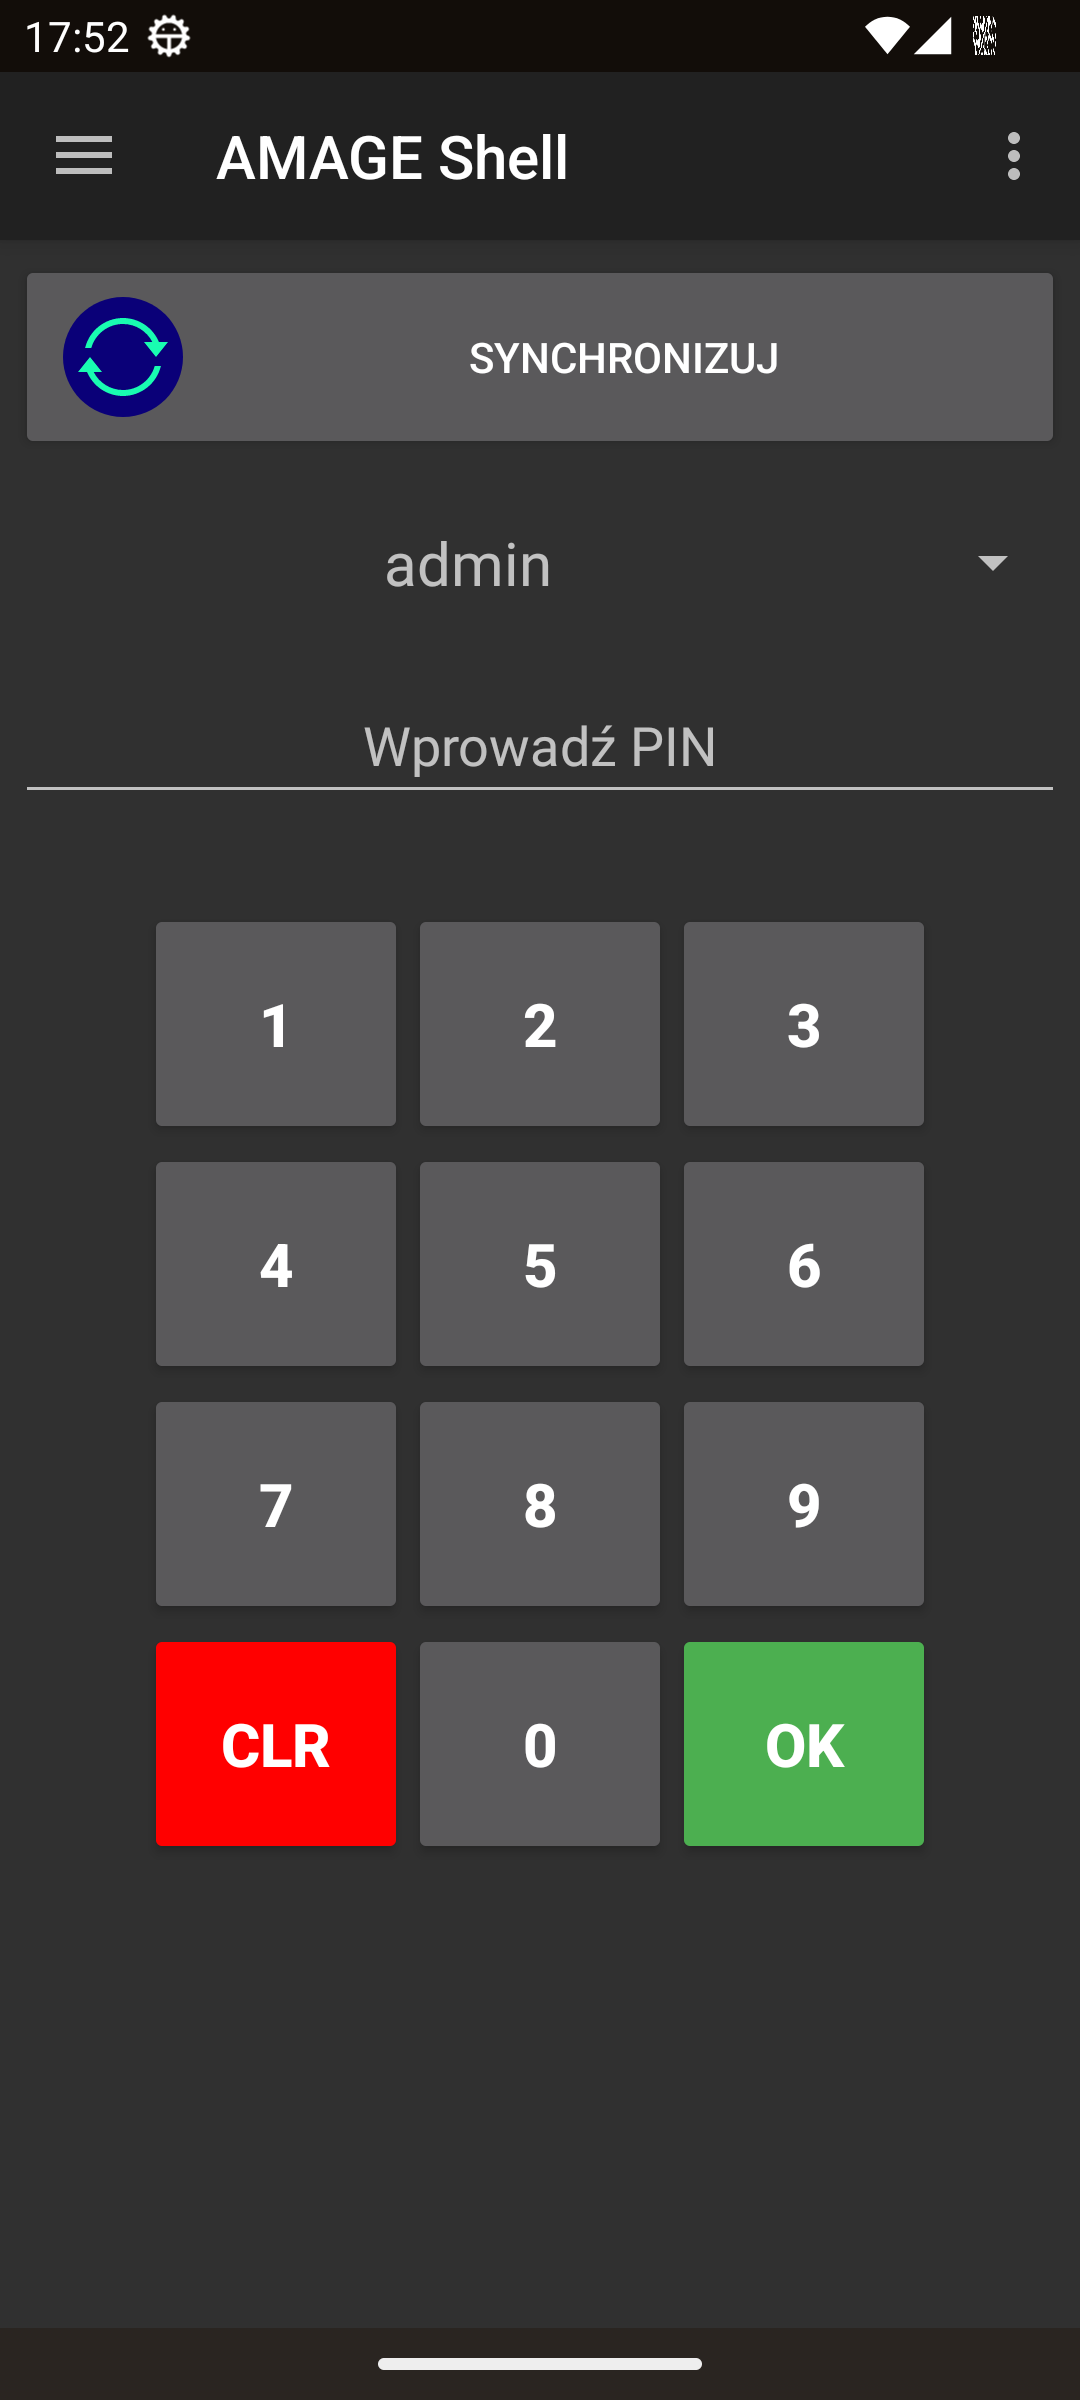
The following elements are available in the login window:
-
Synchronize button - enable synchronization with the central system
-
User Selection - User selection field. Only users who have the mobile access flag set appear here.
-
PIN field - a field for entering the PIN for a given user
-
PIN-PAD - numeric field for entering data and confirming login
| Please note that only users who have set access to the application’s mobile interface appear in the selection list. |
After logging in to the application in offline mode, a window is displayed to select the functions available for the given user and instance.

Available items in this view:
-
Sync button - goes to the data synchronization window
-
Logout button - logs out of the application and goes to the PIN login view
-
Action buttons - list of available functionalities for the user
After selecting the appropriate action, we move on to the selected functionality.
Sync
Synchronization allows you to transfer data from the server to the local database on the device. When working offline, synchronization is one of the key elements of work. During synchronization, local data created on the device will be sent to the server, and data necessary for the implementation of a specific functionality will be downloaded from the server and saved in the local database.
The main data that is always downloaded during synchronization are:
-
List of users with access to mobile devices
-
List of departments of these users
After selecting the sync action, the sync window appears. Depending on the screen size of the device, the sync window may look slightly different, but there is always a start sync button and a log of the transfer and data progress.
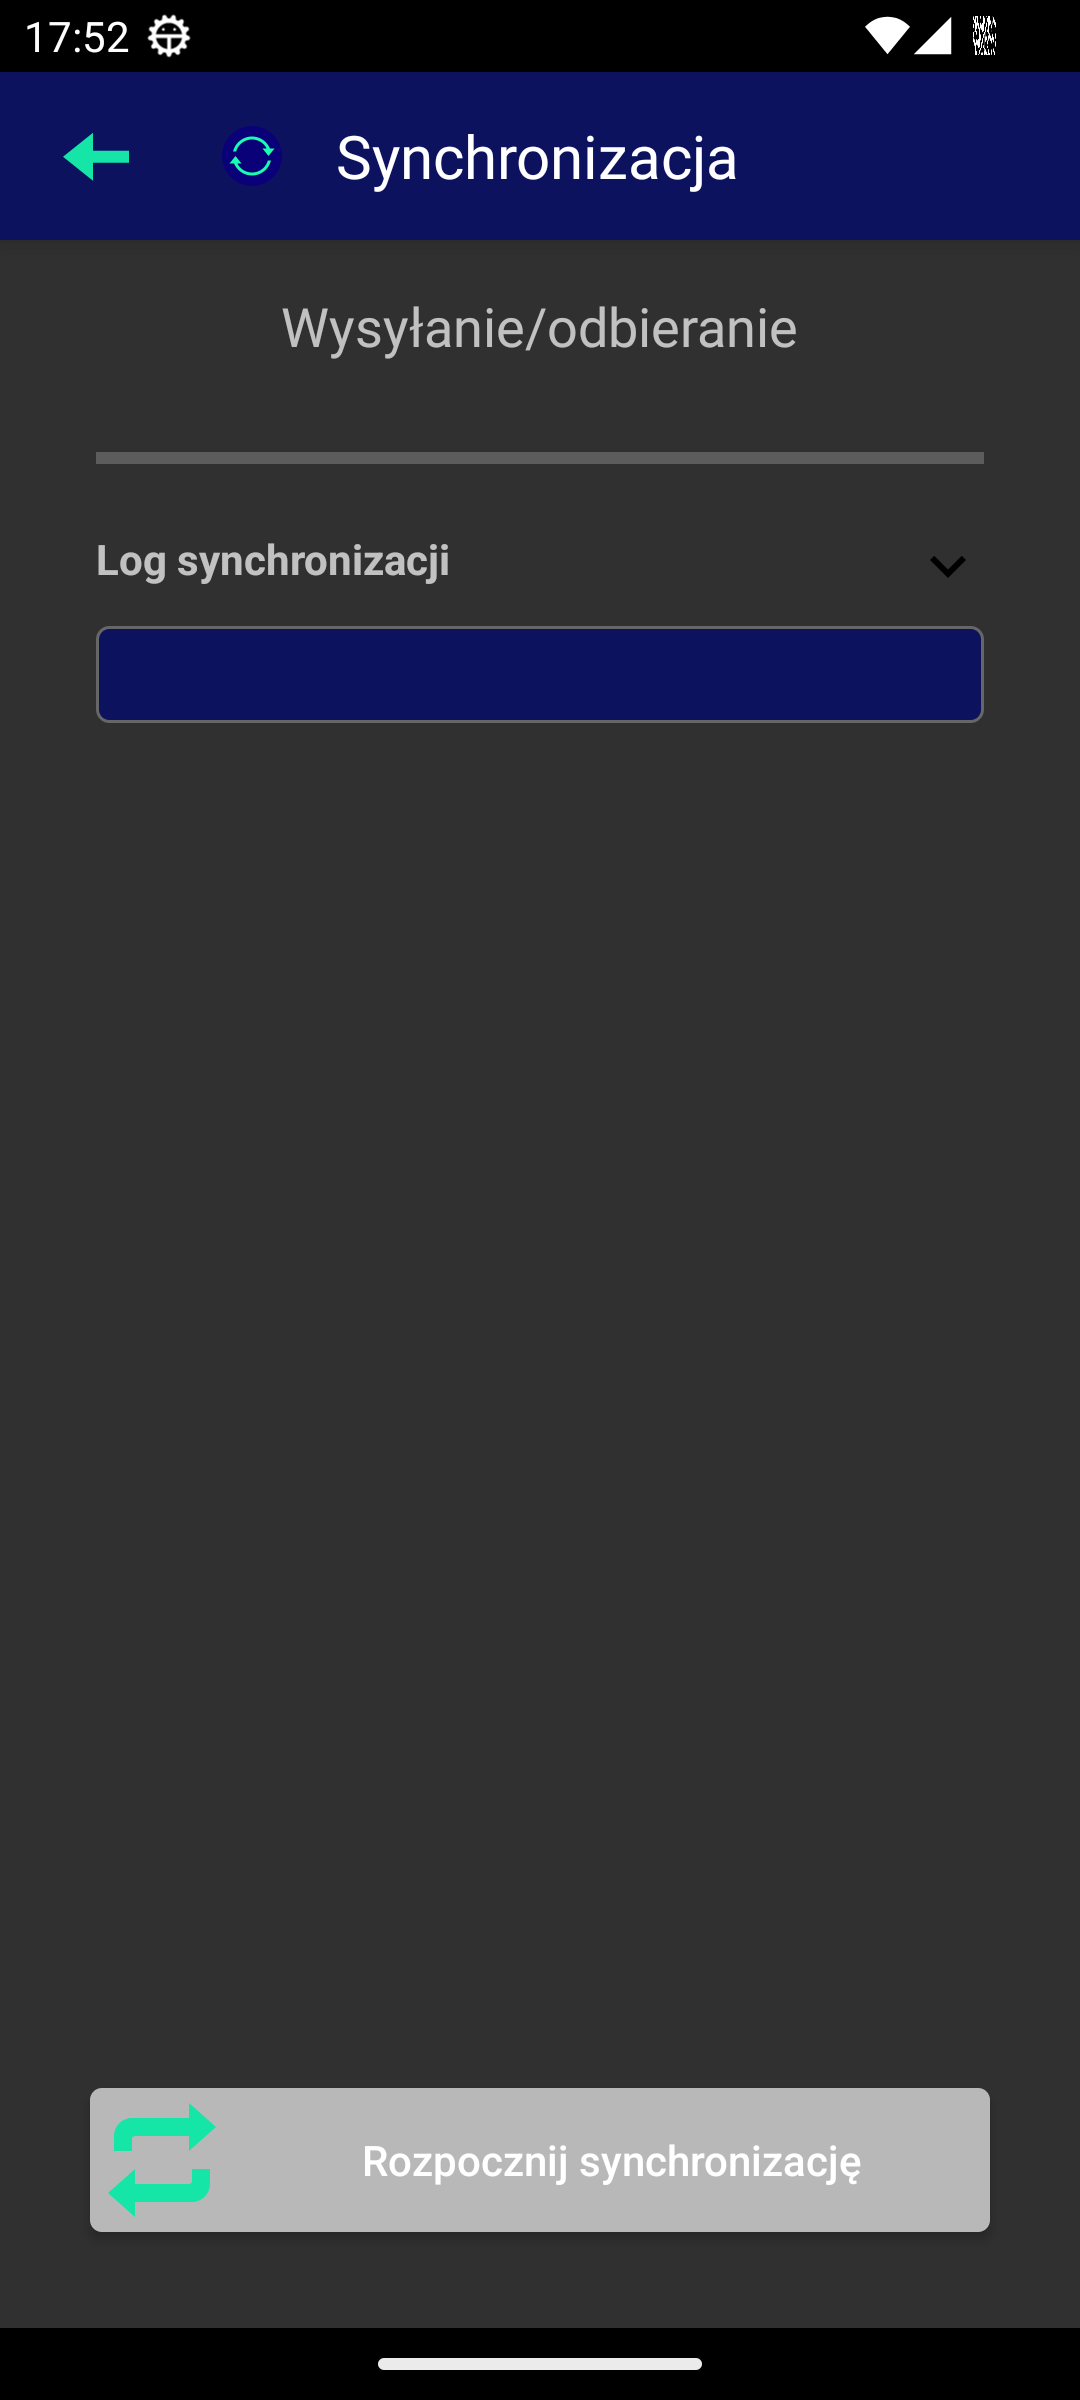
After enabling synchronization with a server supporting these operations, communication is initiated and data is transmitted to/from the server. All information about the exchanged data is displayed in the transmission log field.
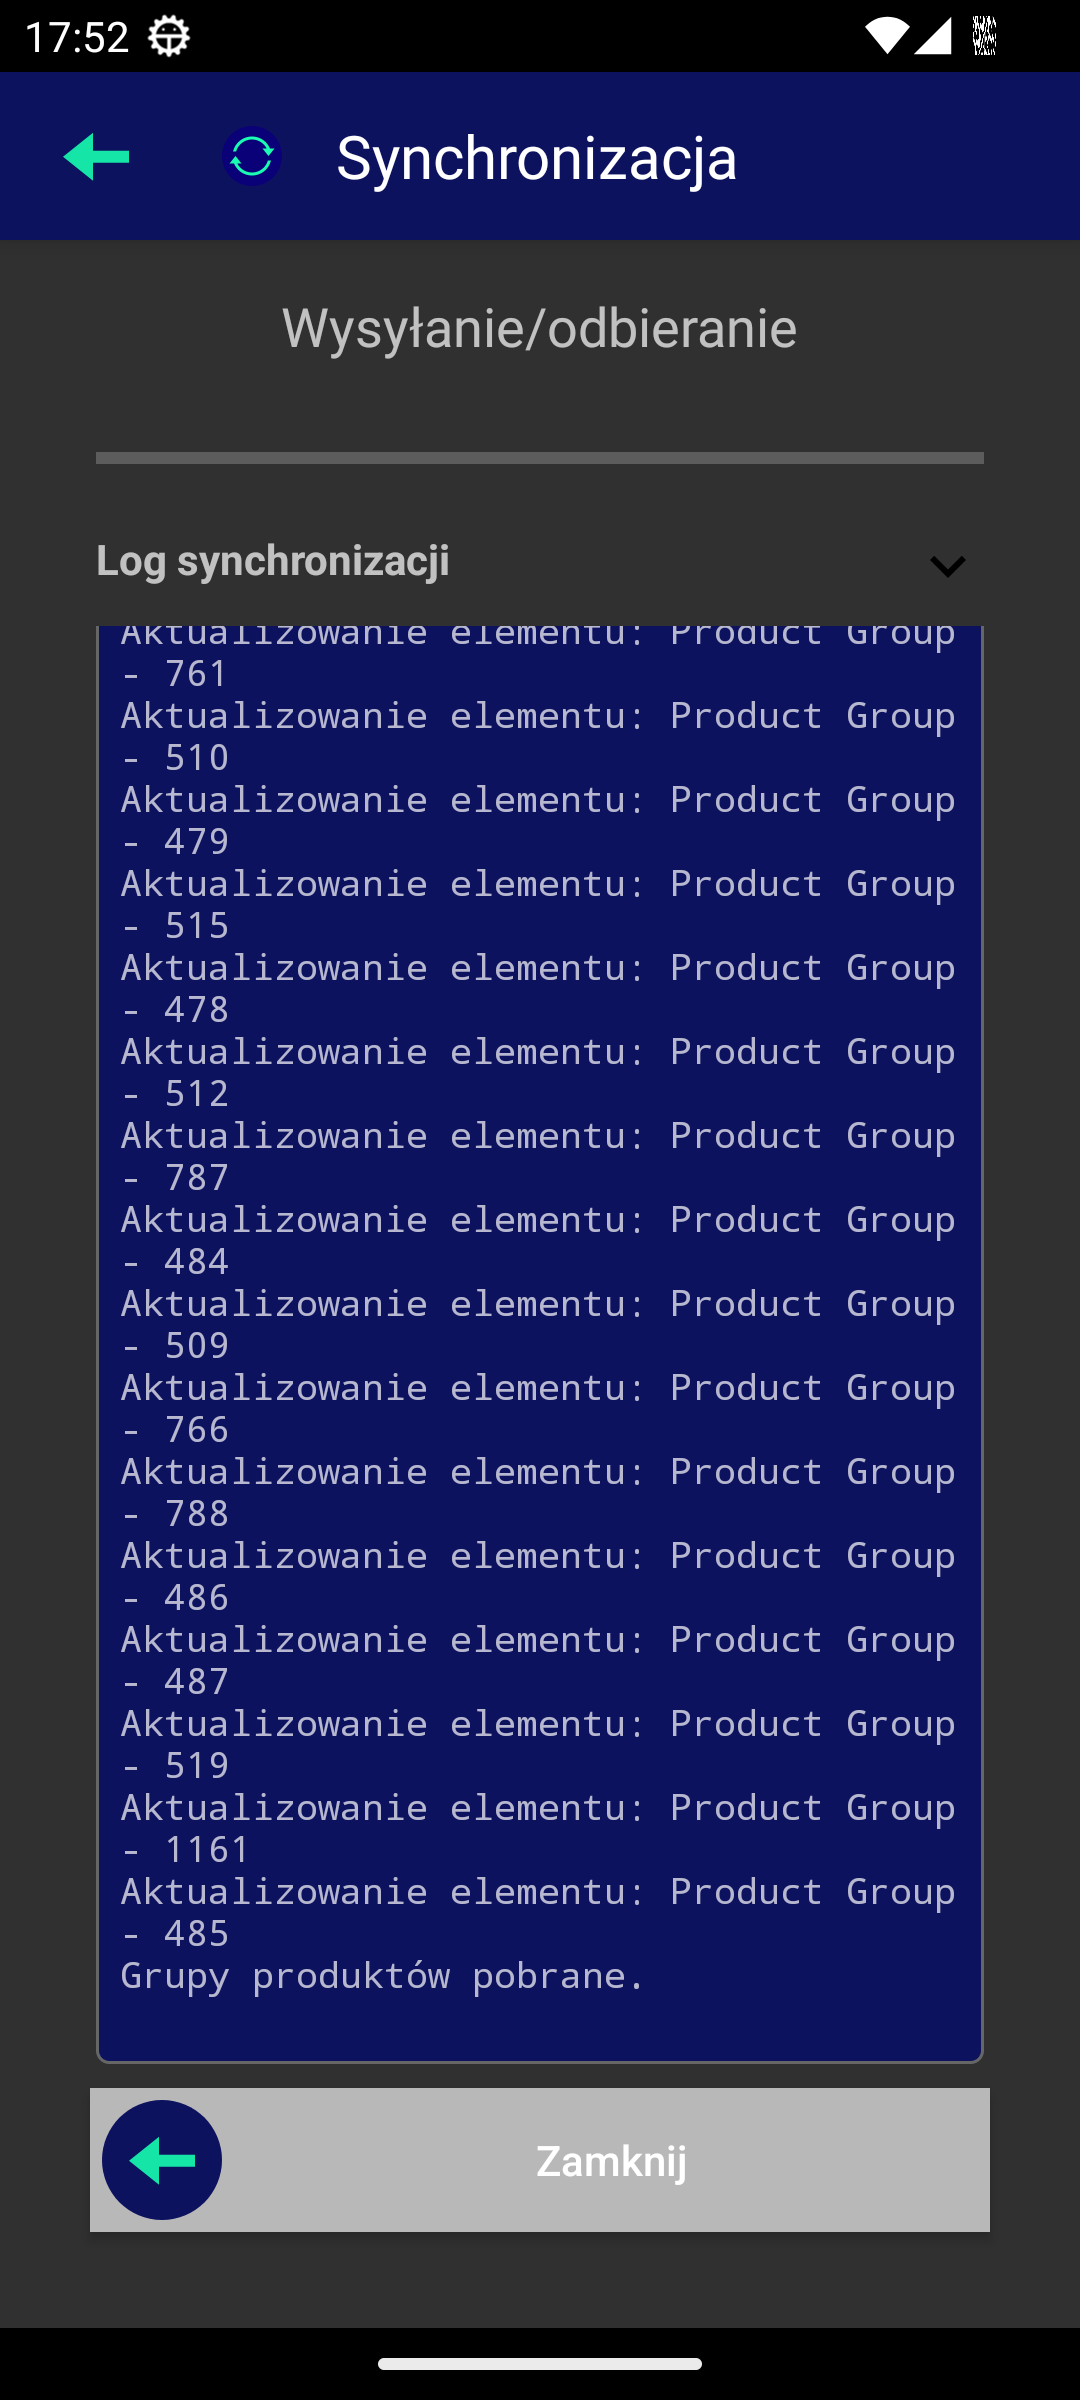
Once synchronization is complete, the "Sync" button changes its function to a close view button.
Deleting the local database
In case of problems with the local database, it is possible to delete it. The option is available in the application settings menu in online mode. It allows you to completely delete the local database in case the database contains errors that cannot be fixed by synchronization.
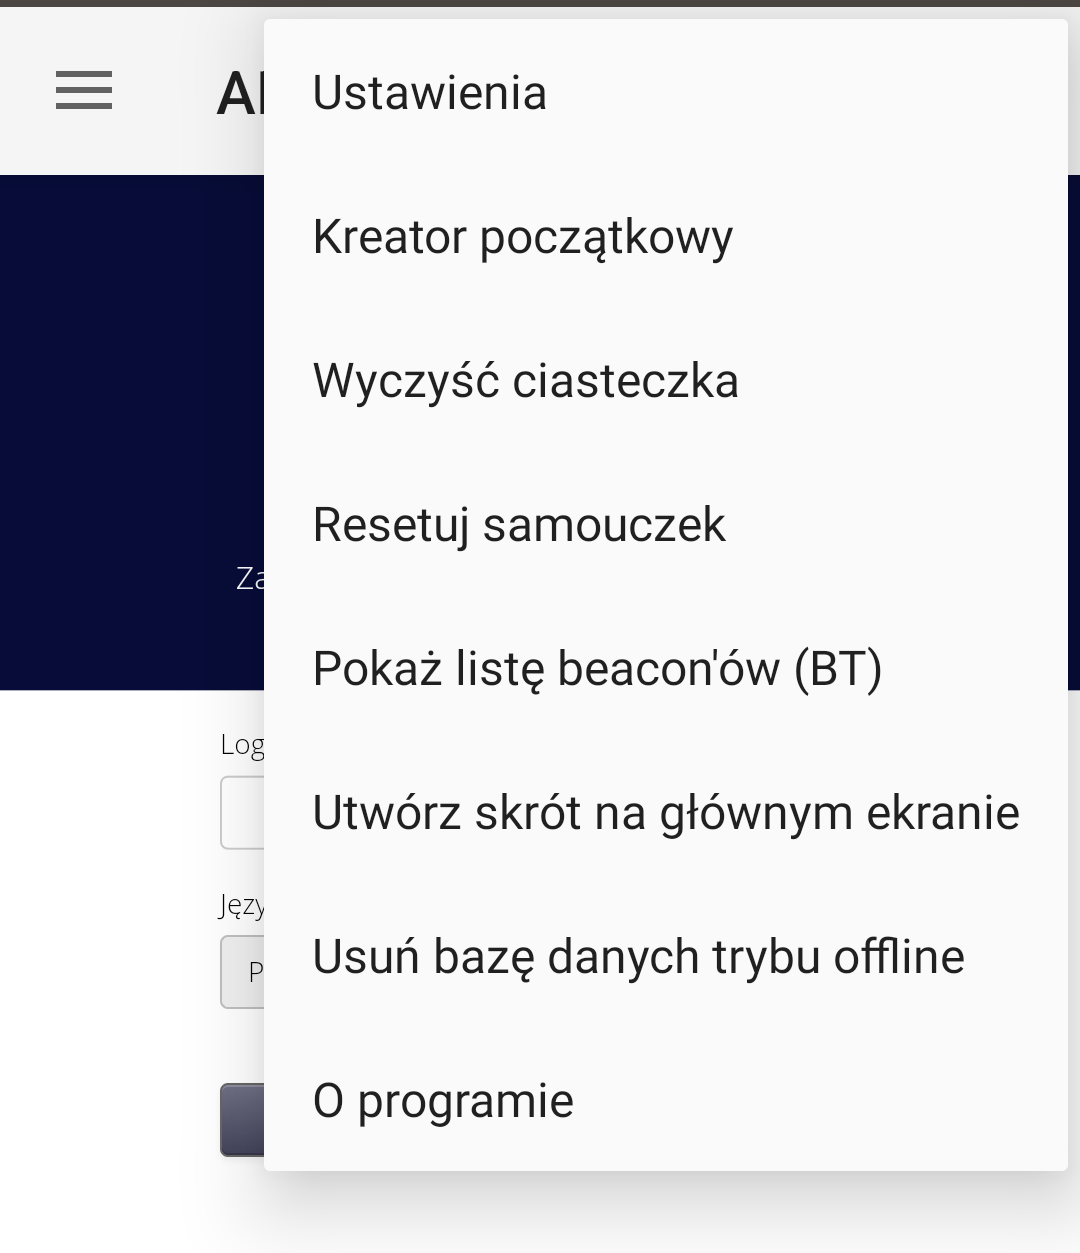

The database will be deleted. If the offline mode was loaded earlier, you must restart the application so that the database is reinitialized.
Light/Dark Mode and Screen Formats
The mobile application adapts to the selected device mode and automatically adjusts colors and style to light/dark mode. Depending on the screen format and device type - terminal/phone/tablet, data is presented in a way that allows you to work with the application. The application is available in two languages by default - Polish and English. The application language depends on the system settings of the device.
