AMAGE Shell
Installation
We install the application from the official online store of the Android platform i.e. Google Play Store or from Huawei’s online store i.e. Huawei AppGallery.
We search for AMAGE Shell and we can now install the application.
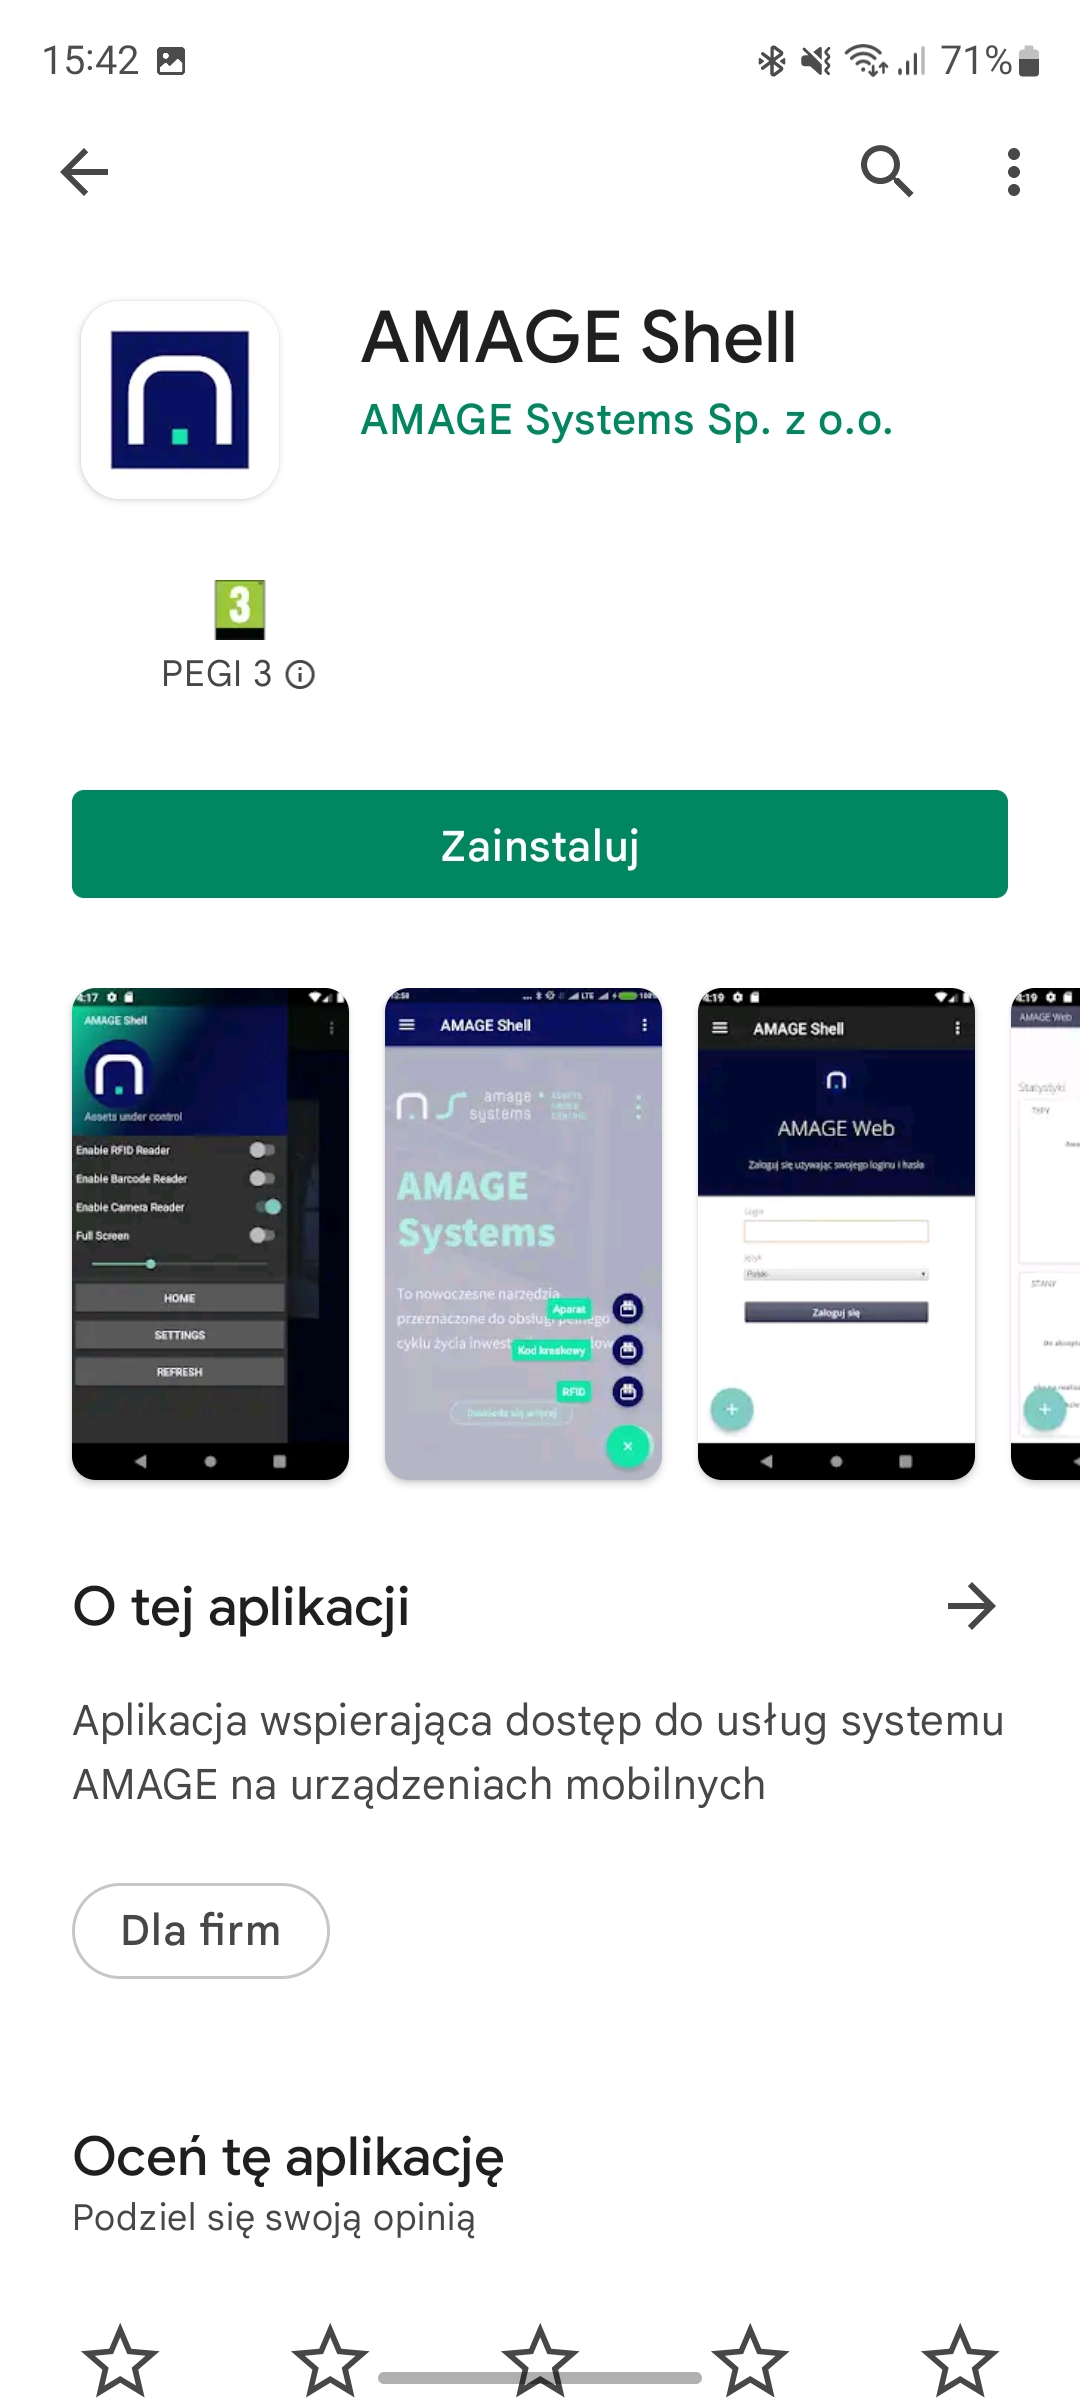
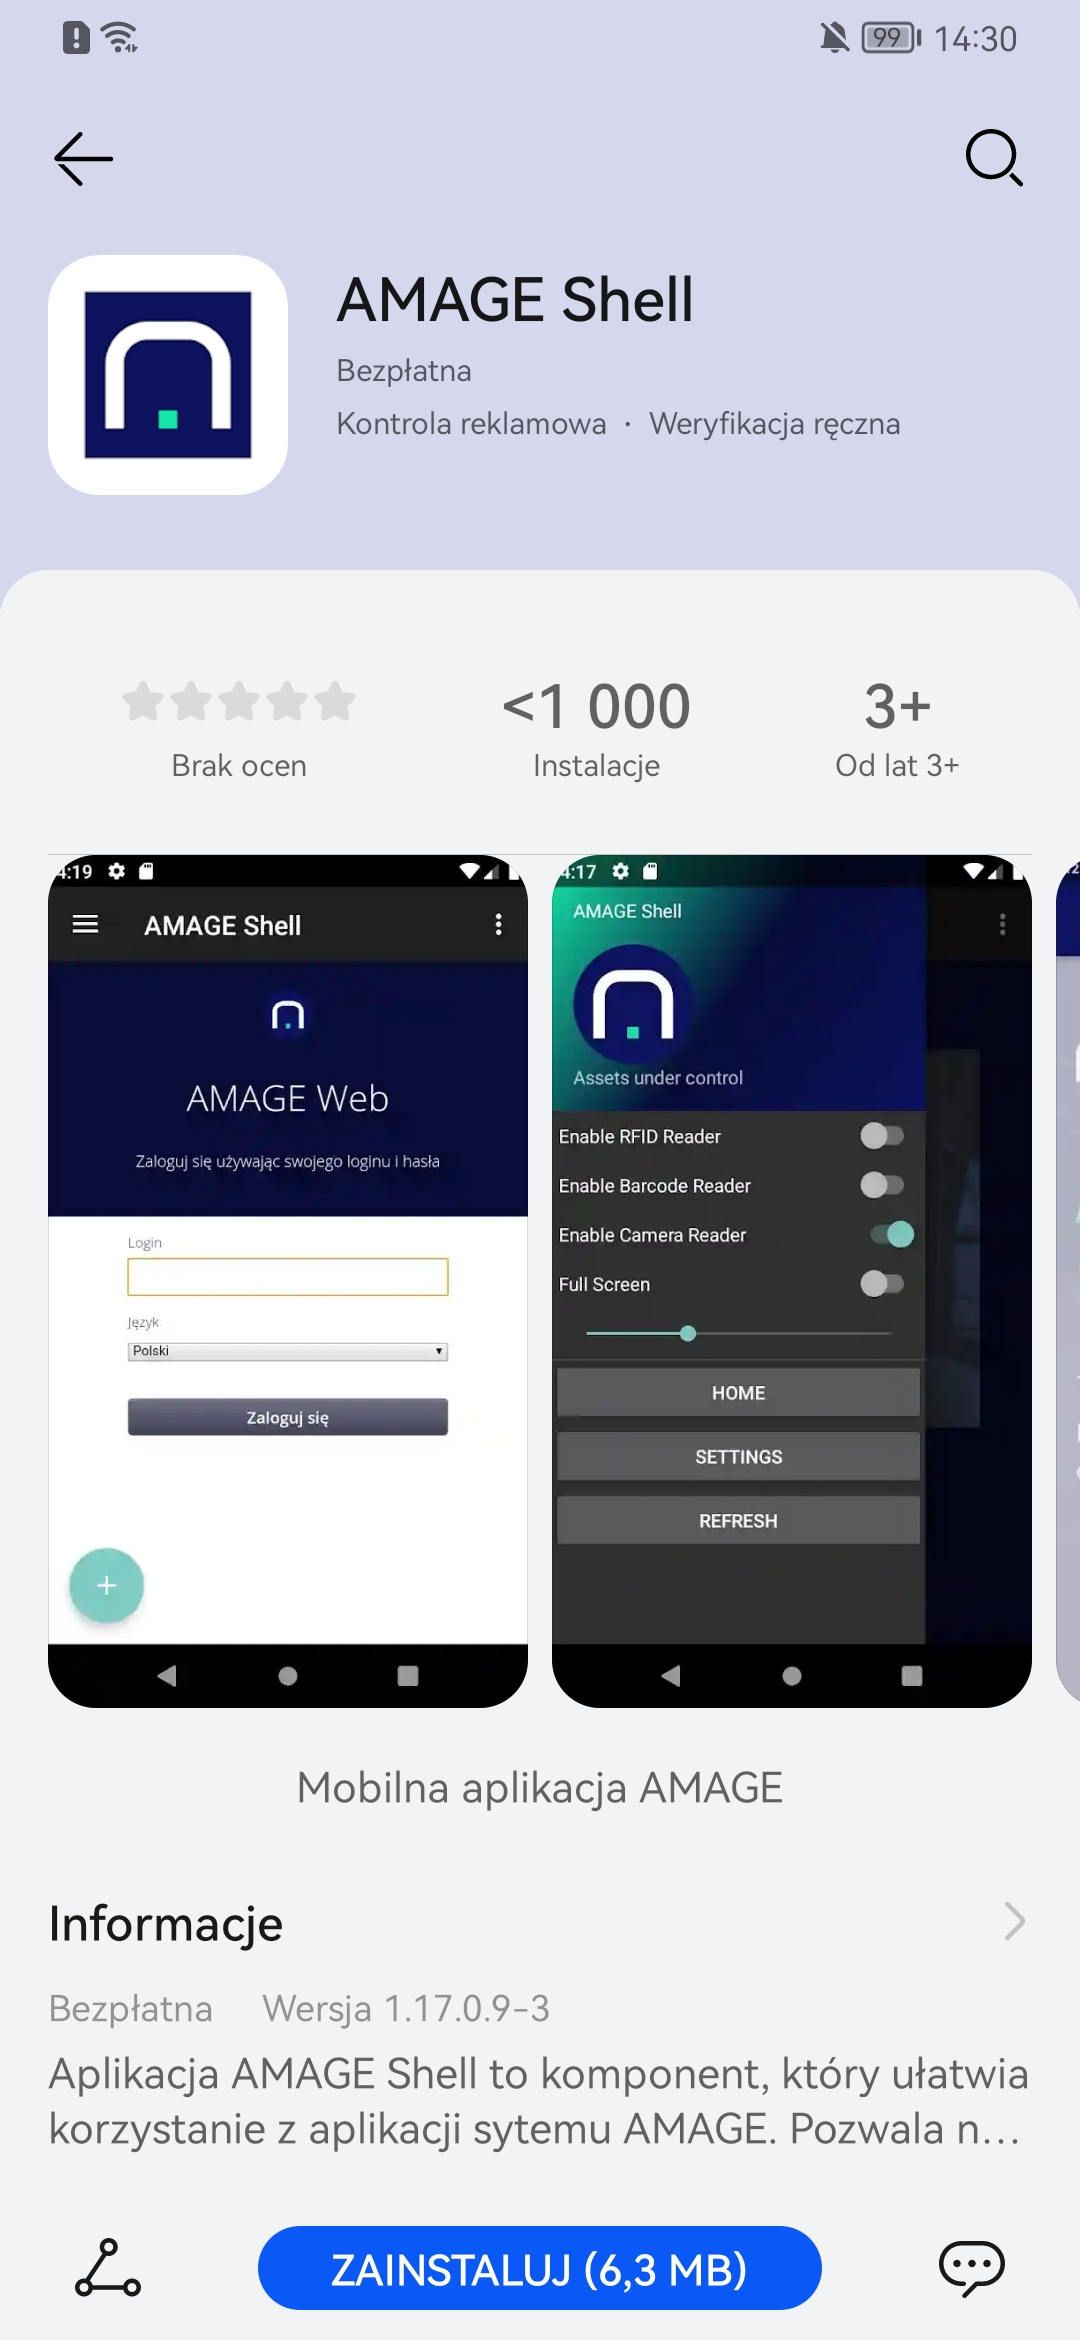
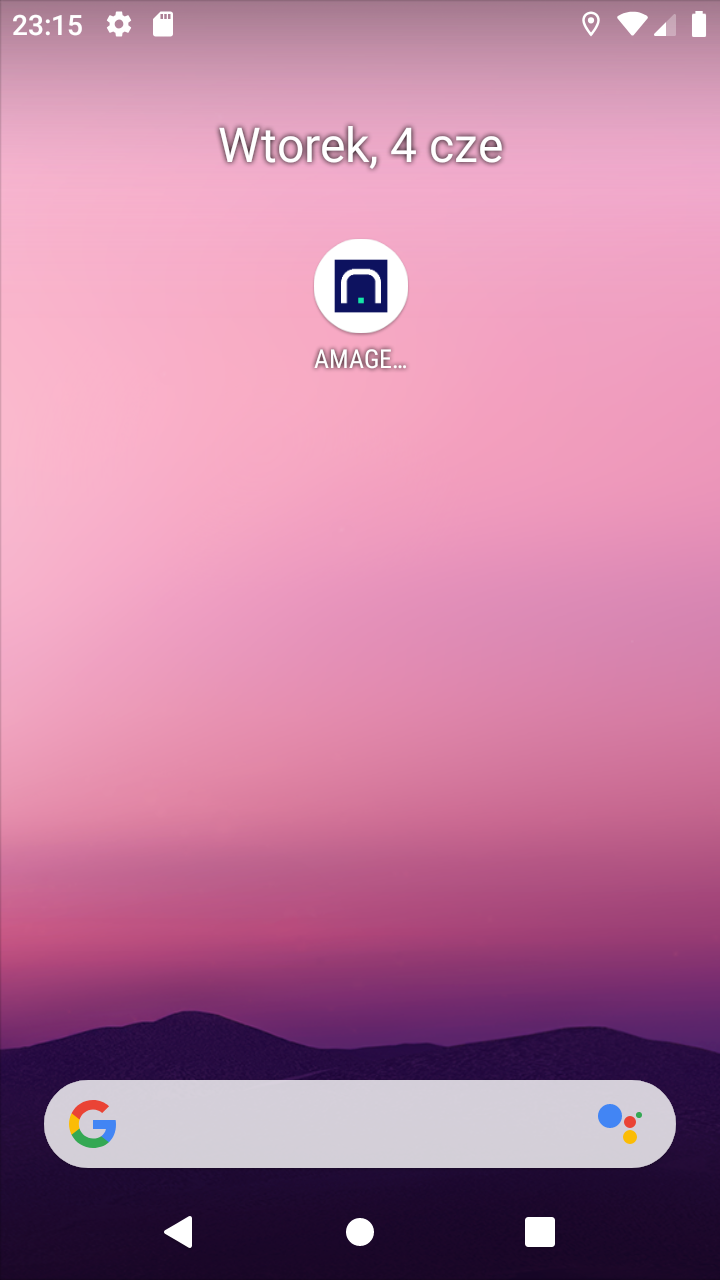
Once installed, it creates an entry in the main menu and (depending on the version of the operating system) also appears the application icon on the home screen.
When the application is launched, the startup screen appears and the system loads the necessary libraries and runtime environment.
The application allows you to exit by double-tapping the back button. This is useful when navigation is carried out using the back buttons, but also in the case of newer versions of the Android system through gestures.
Initial configuration
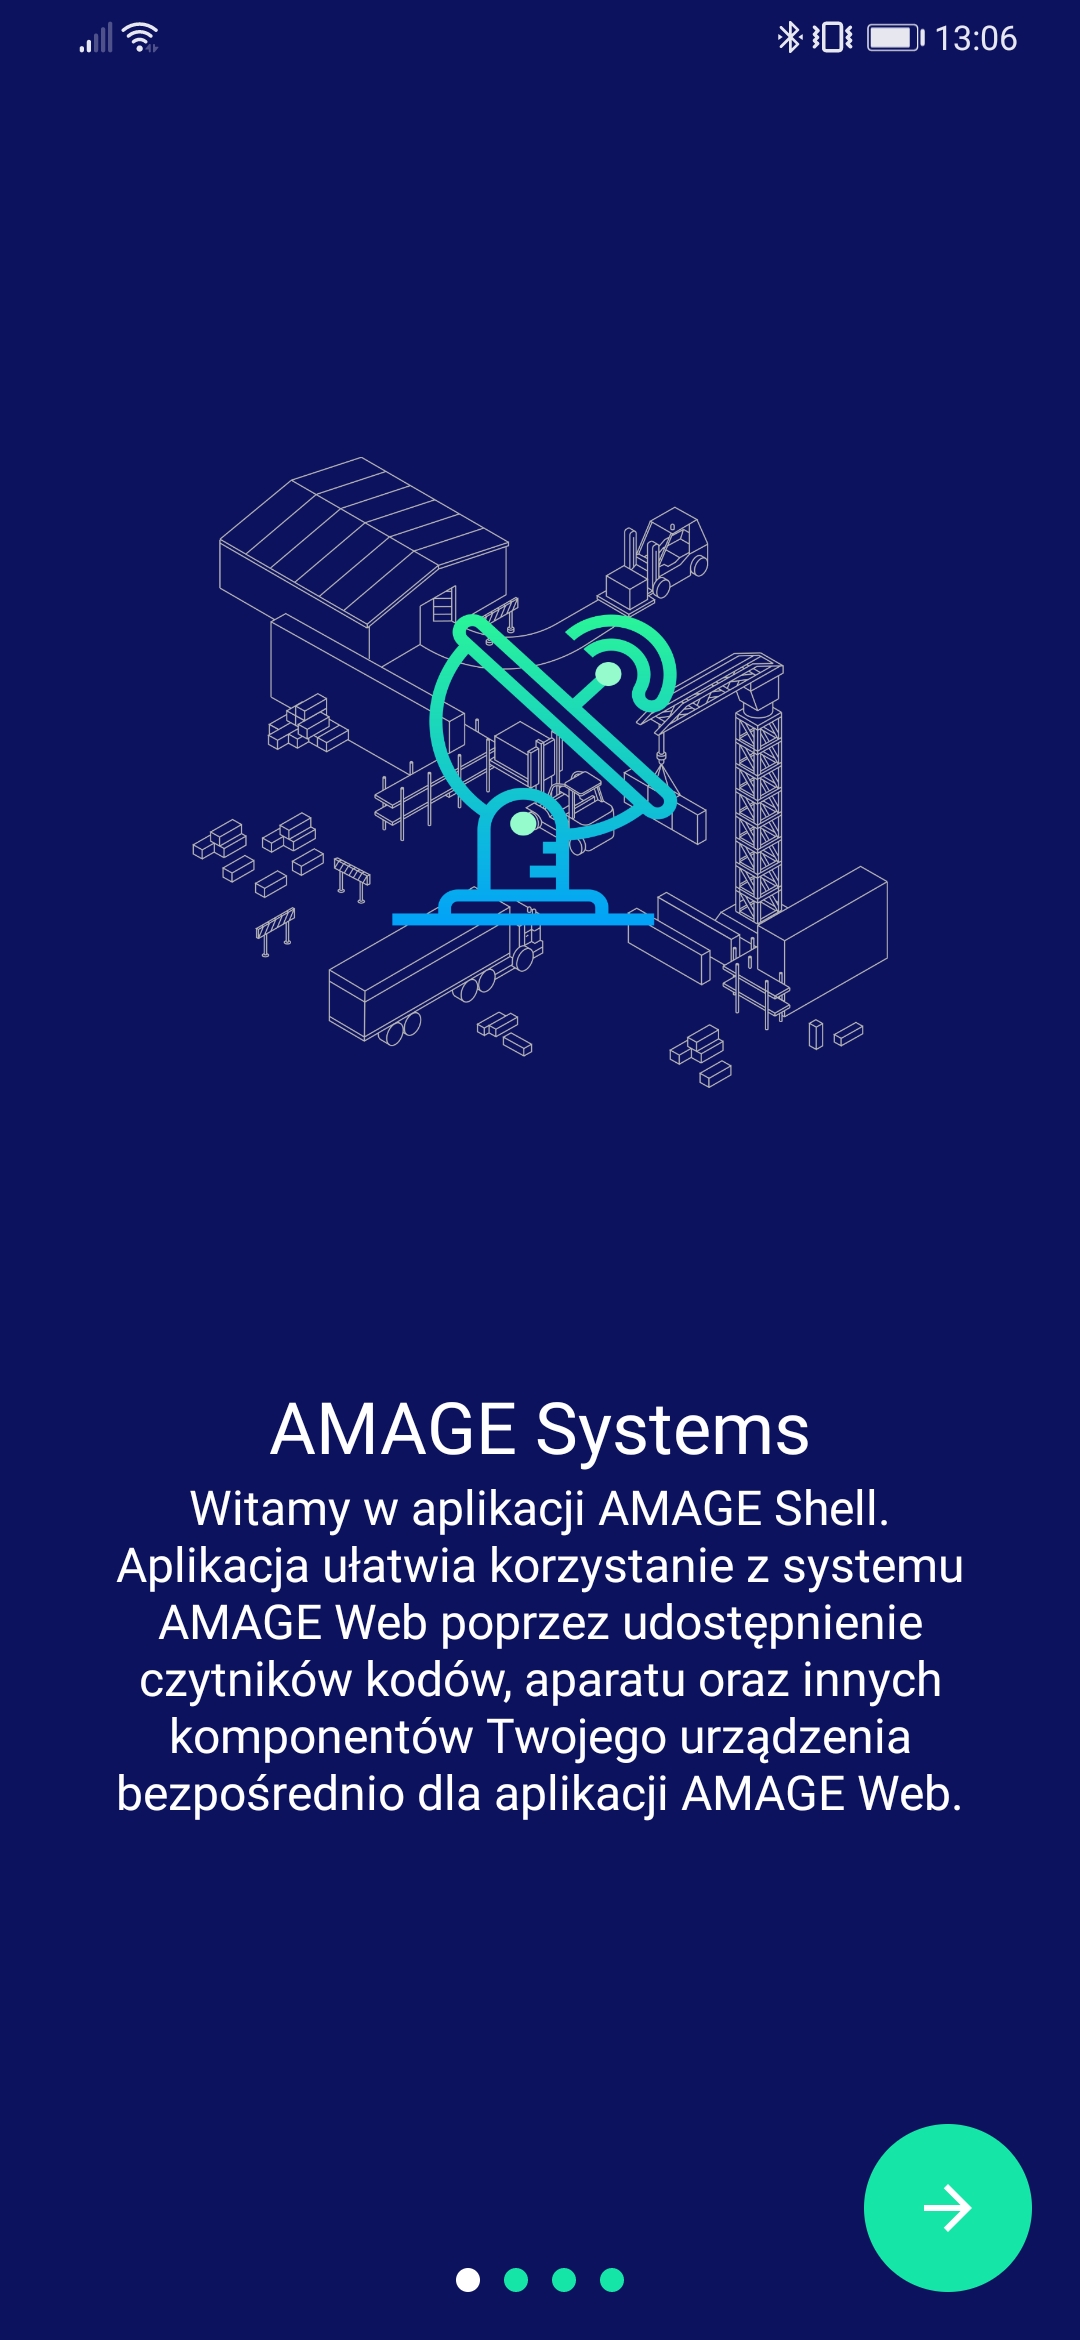
When the application is first launched, the user is presented with an initial configuration wizard. The individual steps inform you about the application’s tasks and allow you to configure the necessary components.
| All the settings made during the wizard stage can be changed later in the application settings. |
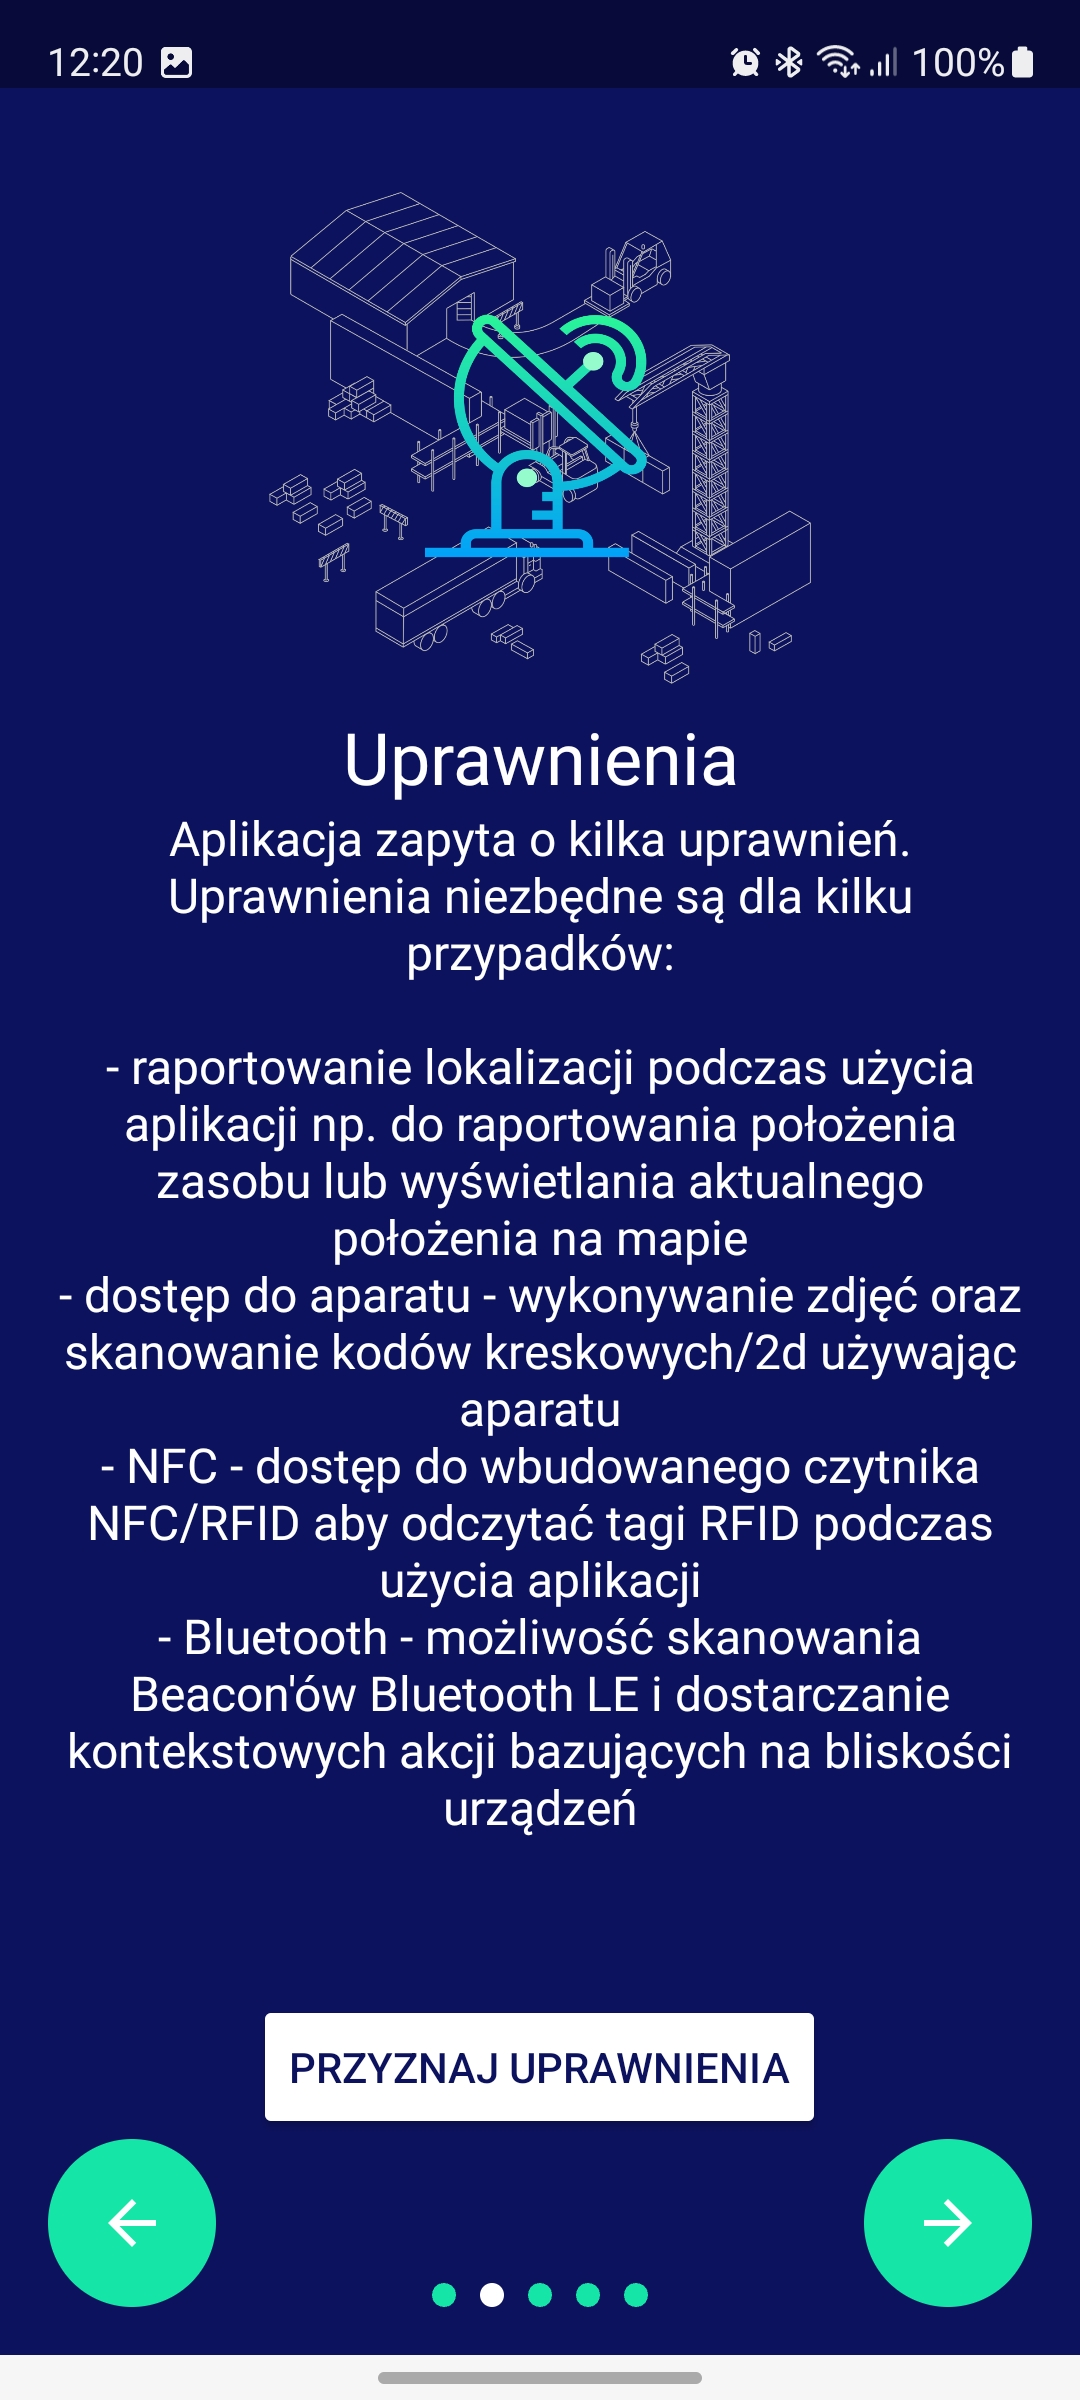
The next step shows information about the permissions necessary for the operation of the application and their use. Use the Grant permissions button to grant all required permissions to the application. This makes it easier to work with all functionalities.
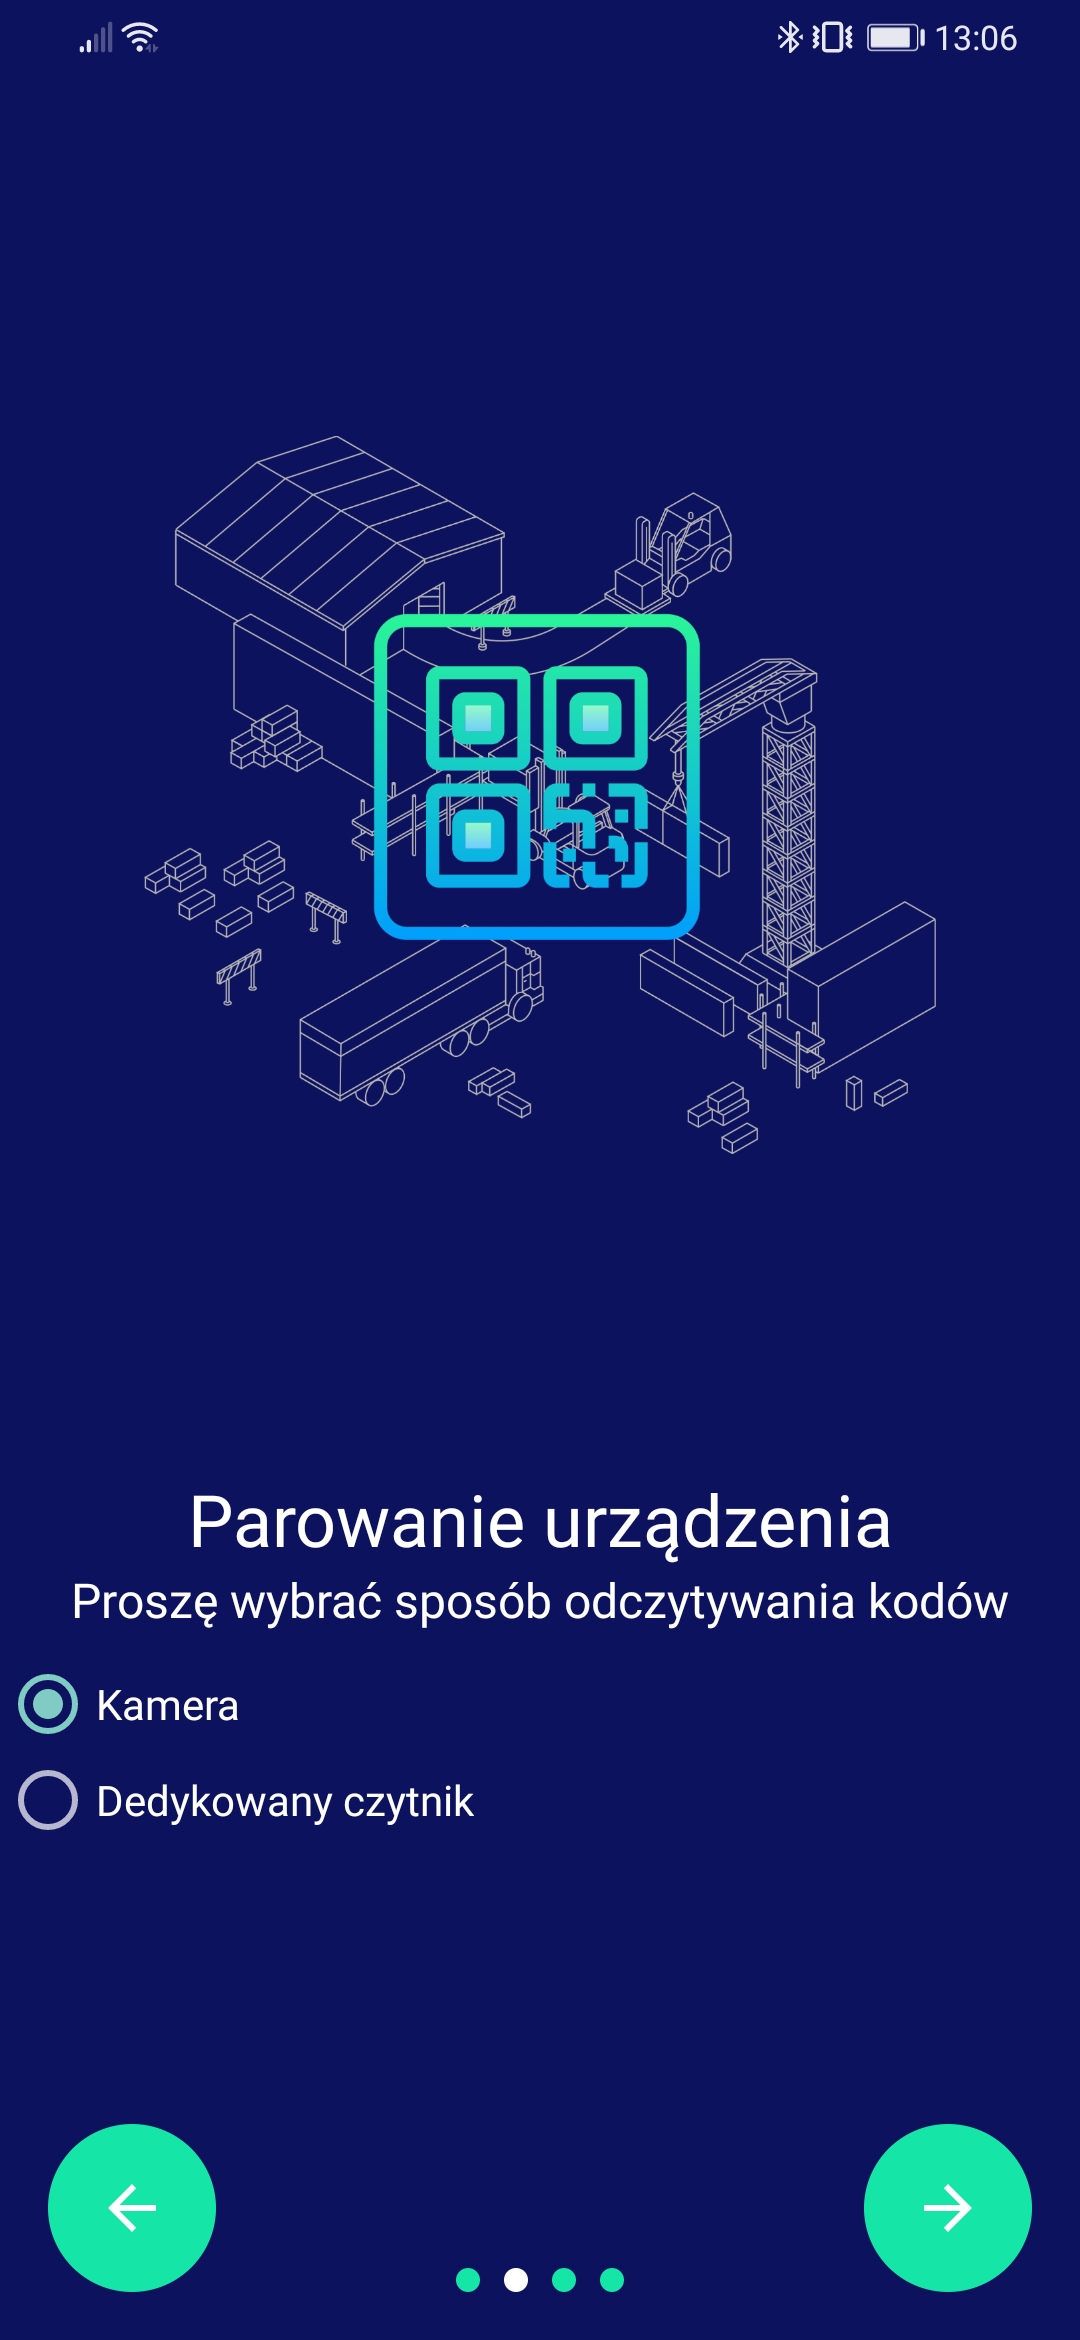
In the next one, the user decides which interface for reading codes is his choice. Depending on whether we run the application on a regular phone/tablet or on an advanced device equipped with industrial code readers, the appropriate interface should be selected.
-
For phones, tablets with only camera available, choose camera
-
For industrial devices with built-in special code readers, we choose the second option.
In the third step, the system asks you to scan the code available in the login window of the AMAGE Web application instance you want to log in and use for work. The code is available in the login window (QR code). After scanning, the server data is saved in the application configuration and this interface will be loaded by default.
Step 4 is the final configuration step.
After completing the wizard, the application loads the default interface, which will now be available every time you start the application (skipped initial wizard).
Application interface
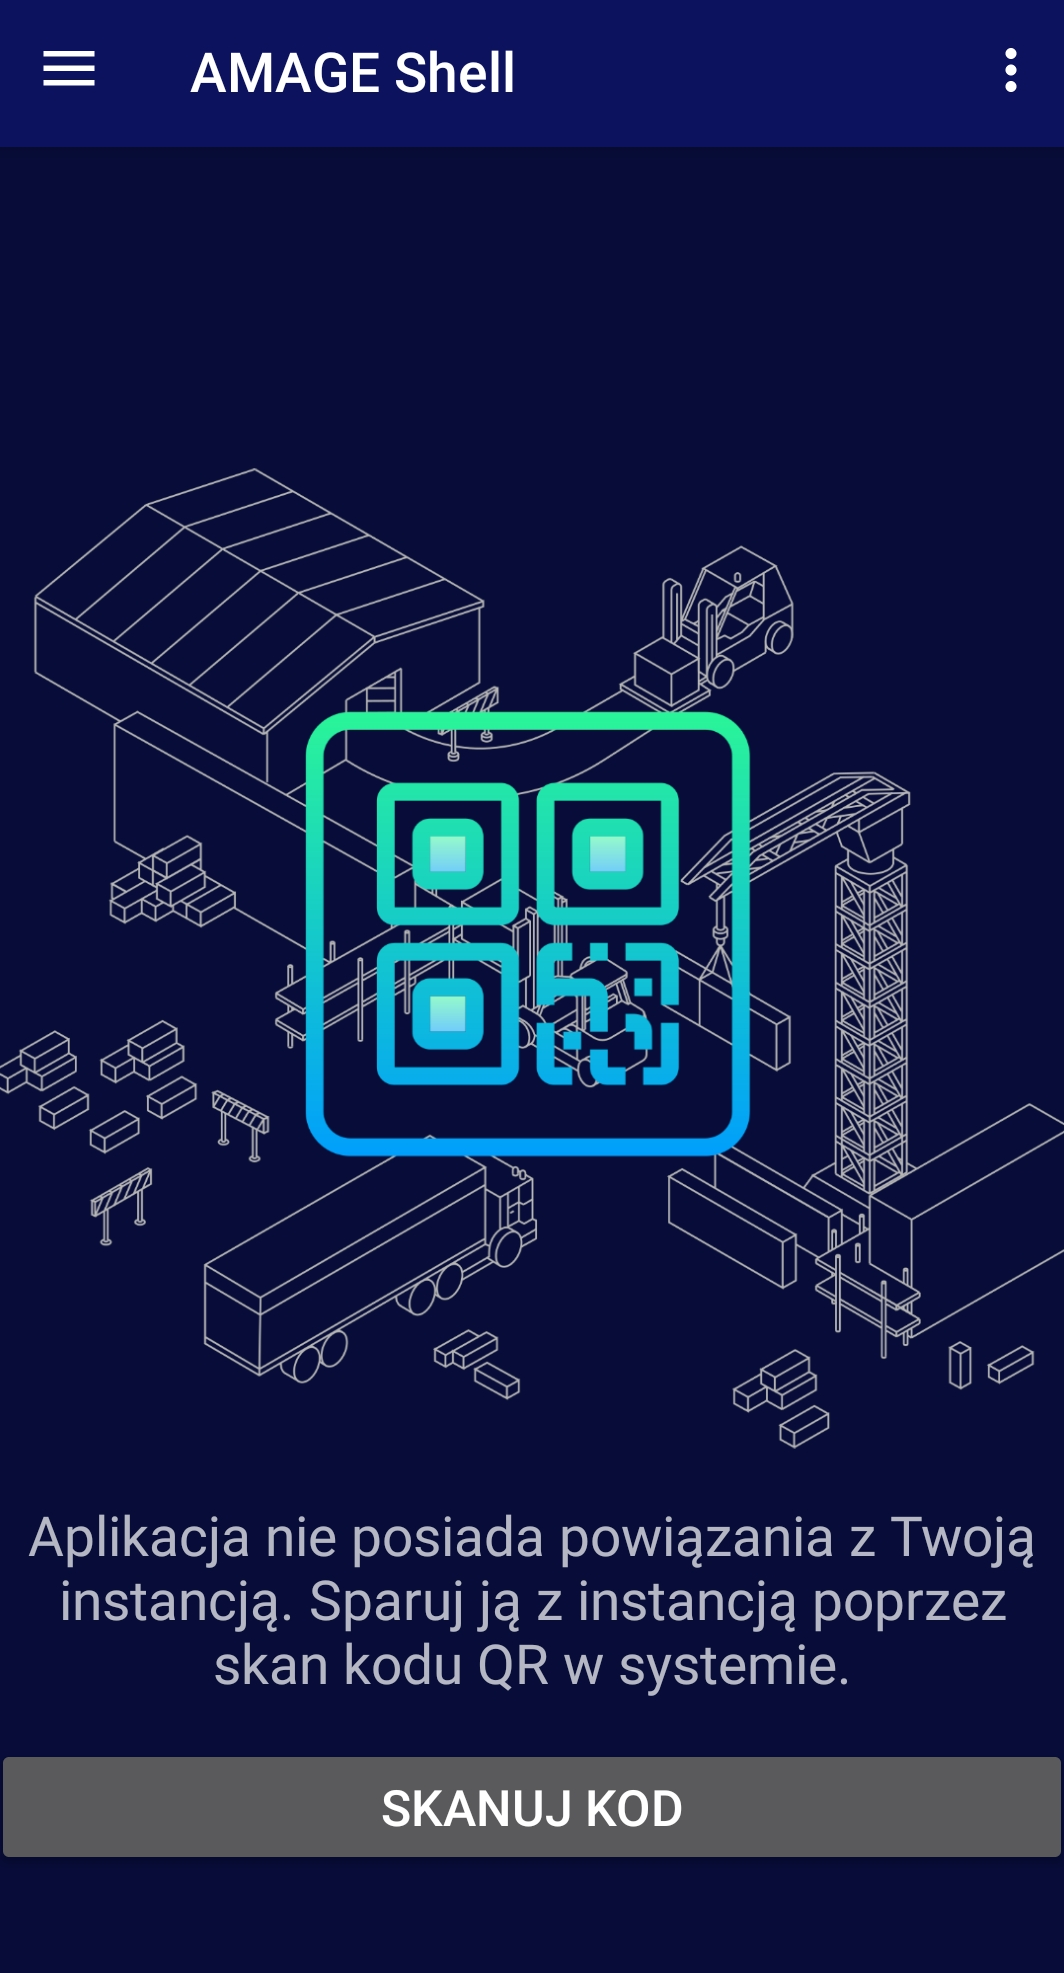
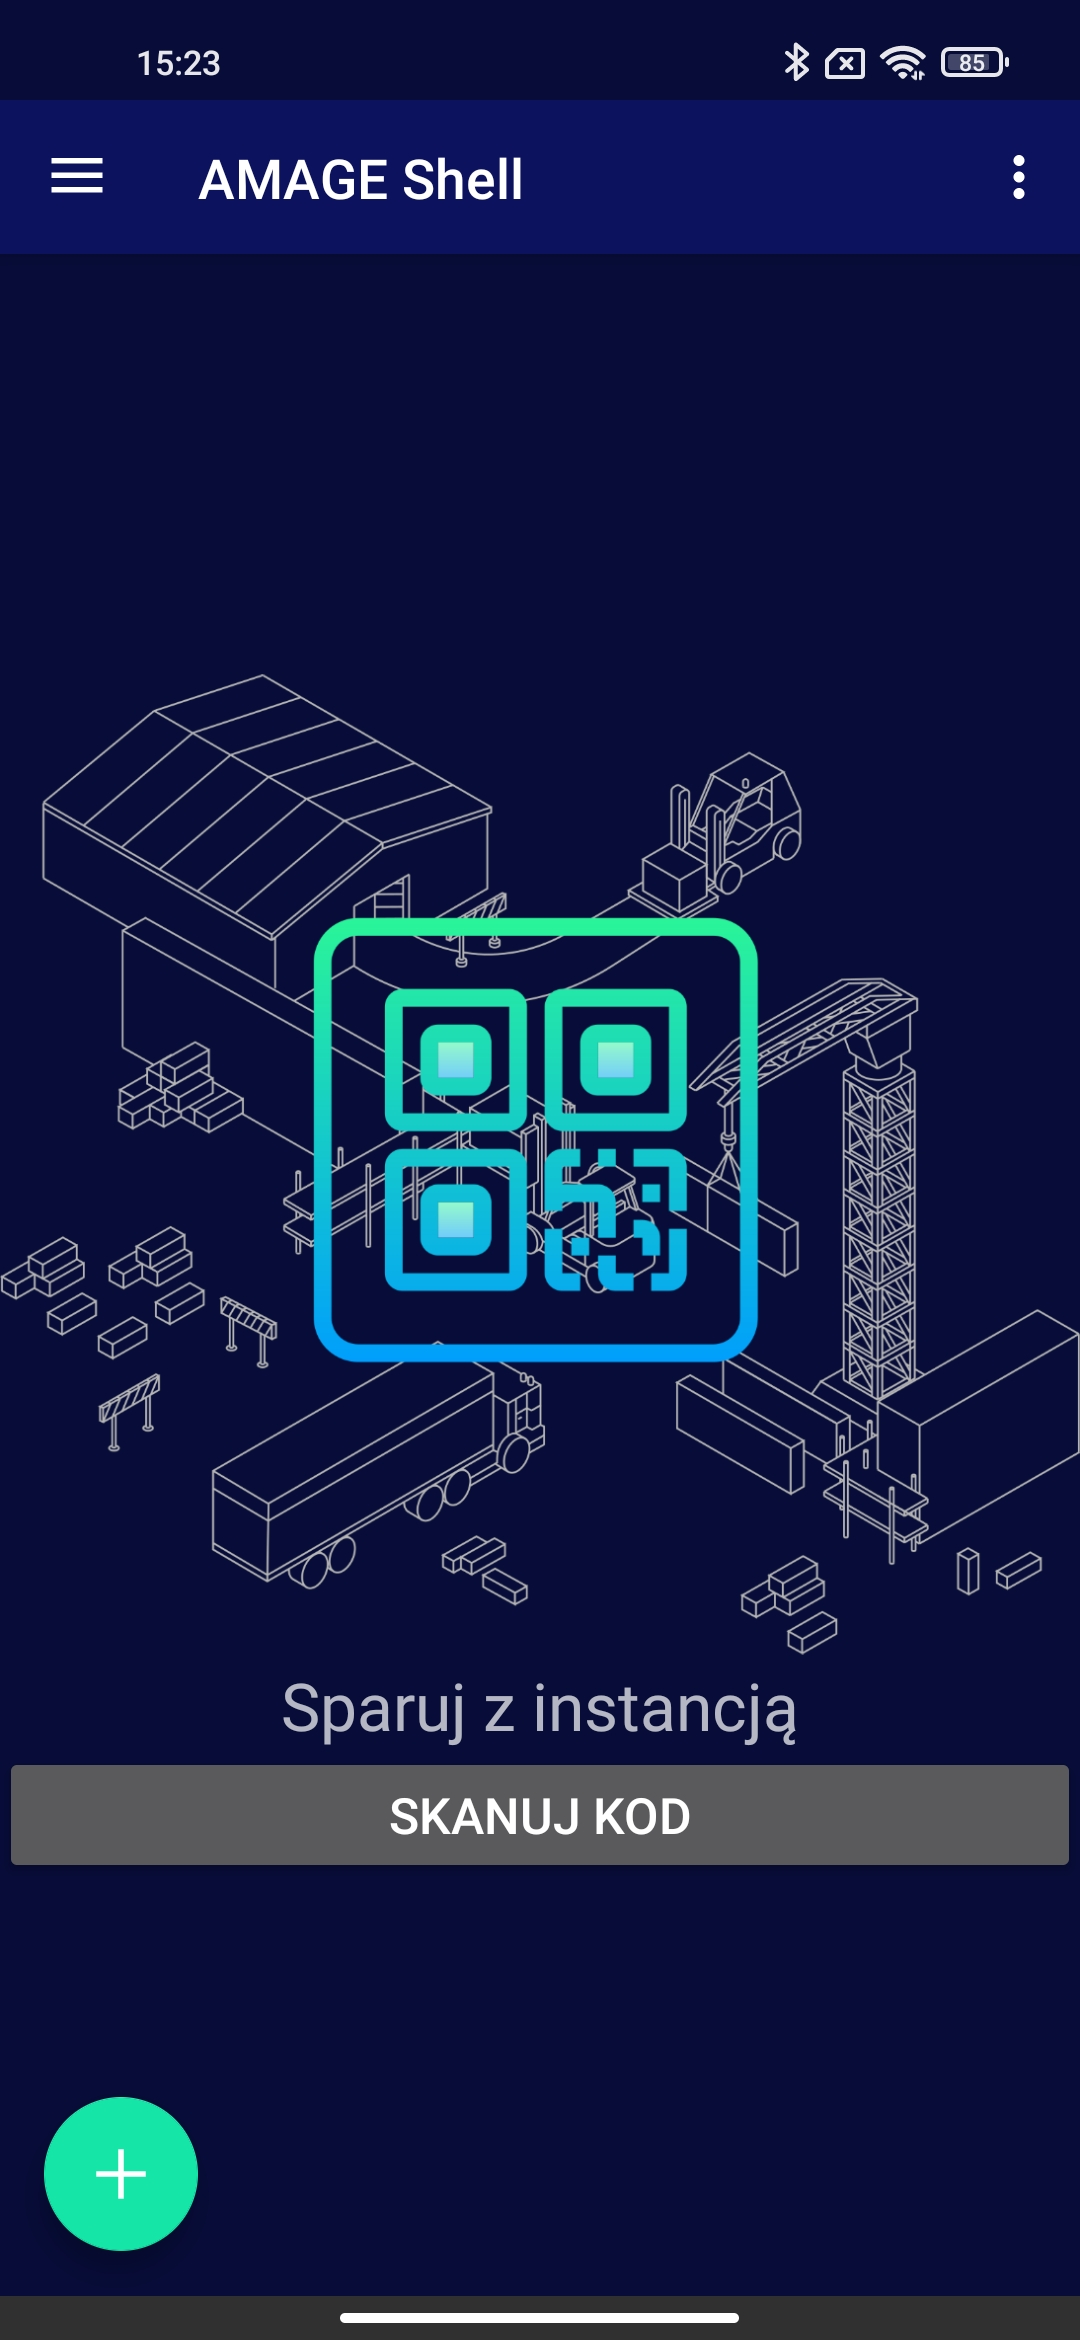
If we have not entered/scanned the configuration data of the instance, the system will show a window with the option of calling the scanner and pairing with the AMAGE/AMAGE24 system.
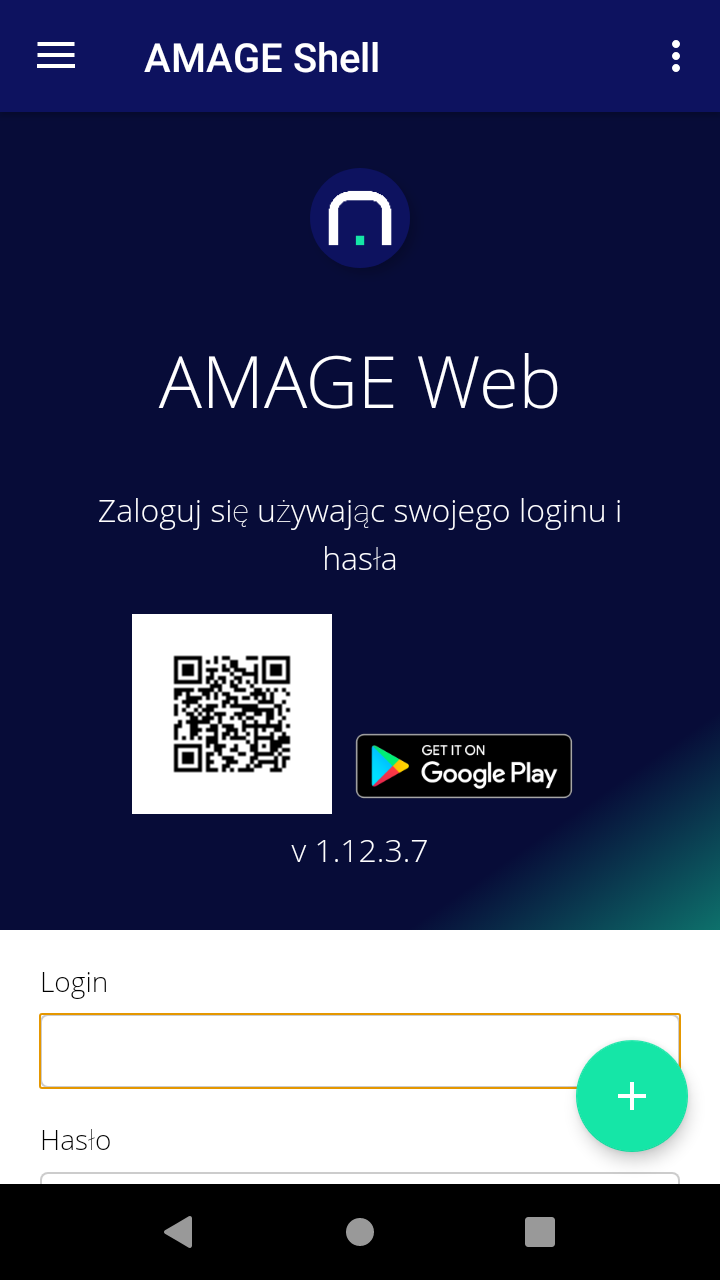
The application interface runs by default in the standard interface. The main area is occupied by the AMAGE Web system loaded from the server selected during configuration. In addition, a menu is available in the top bar, with access to settings.
If you configure the full screen setting in the side panel (see below), the main interface is maximized and uses all available screen space.

| Settings for individual components and functions are available in the side panel. |
Tutorial
When you run the application for the first time, a tutorial is enabled. The tutorial shows the various components of the interface and explains their use. The tutorial shows the components both in the main window and in the side menu with all additional options.
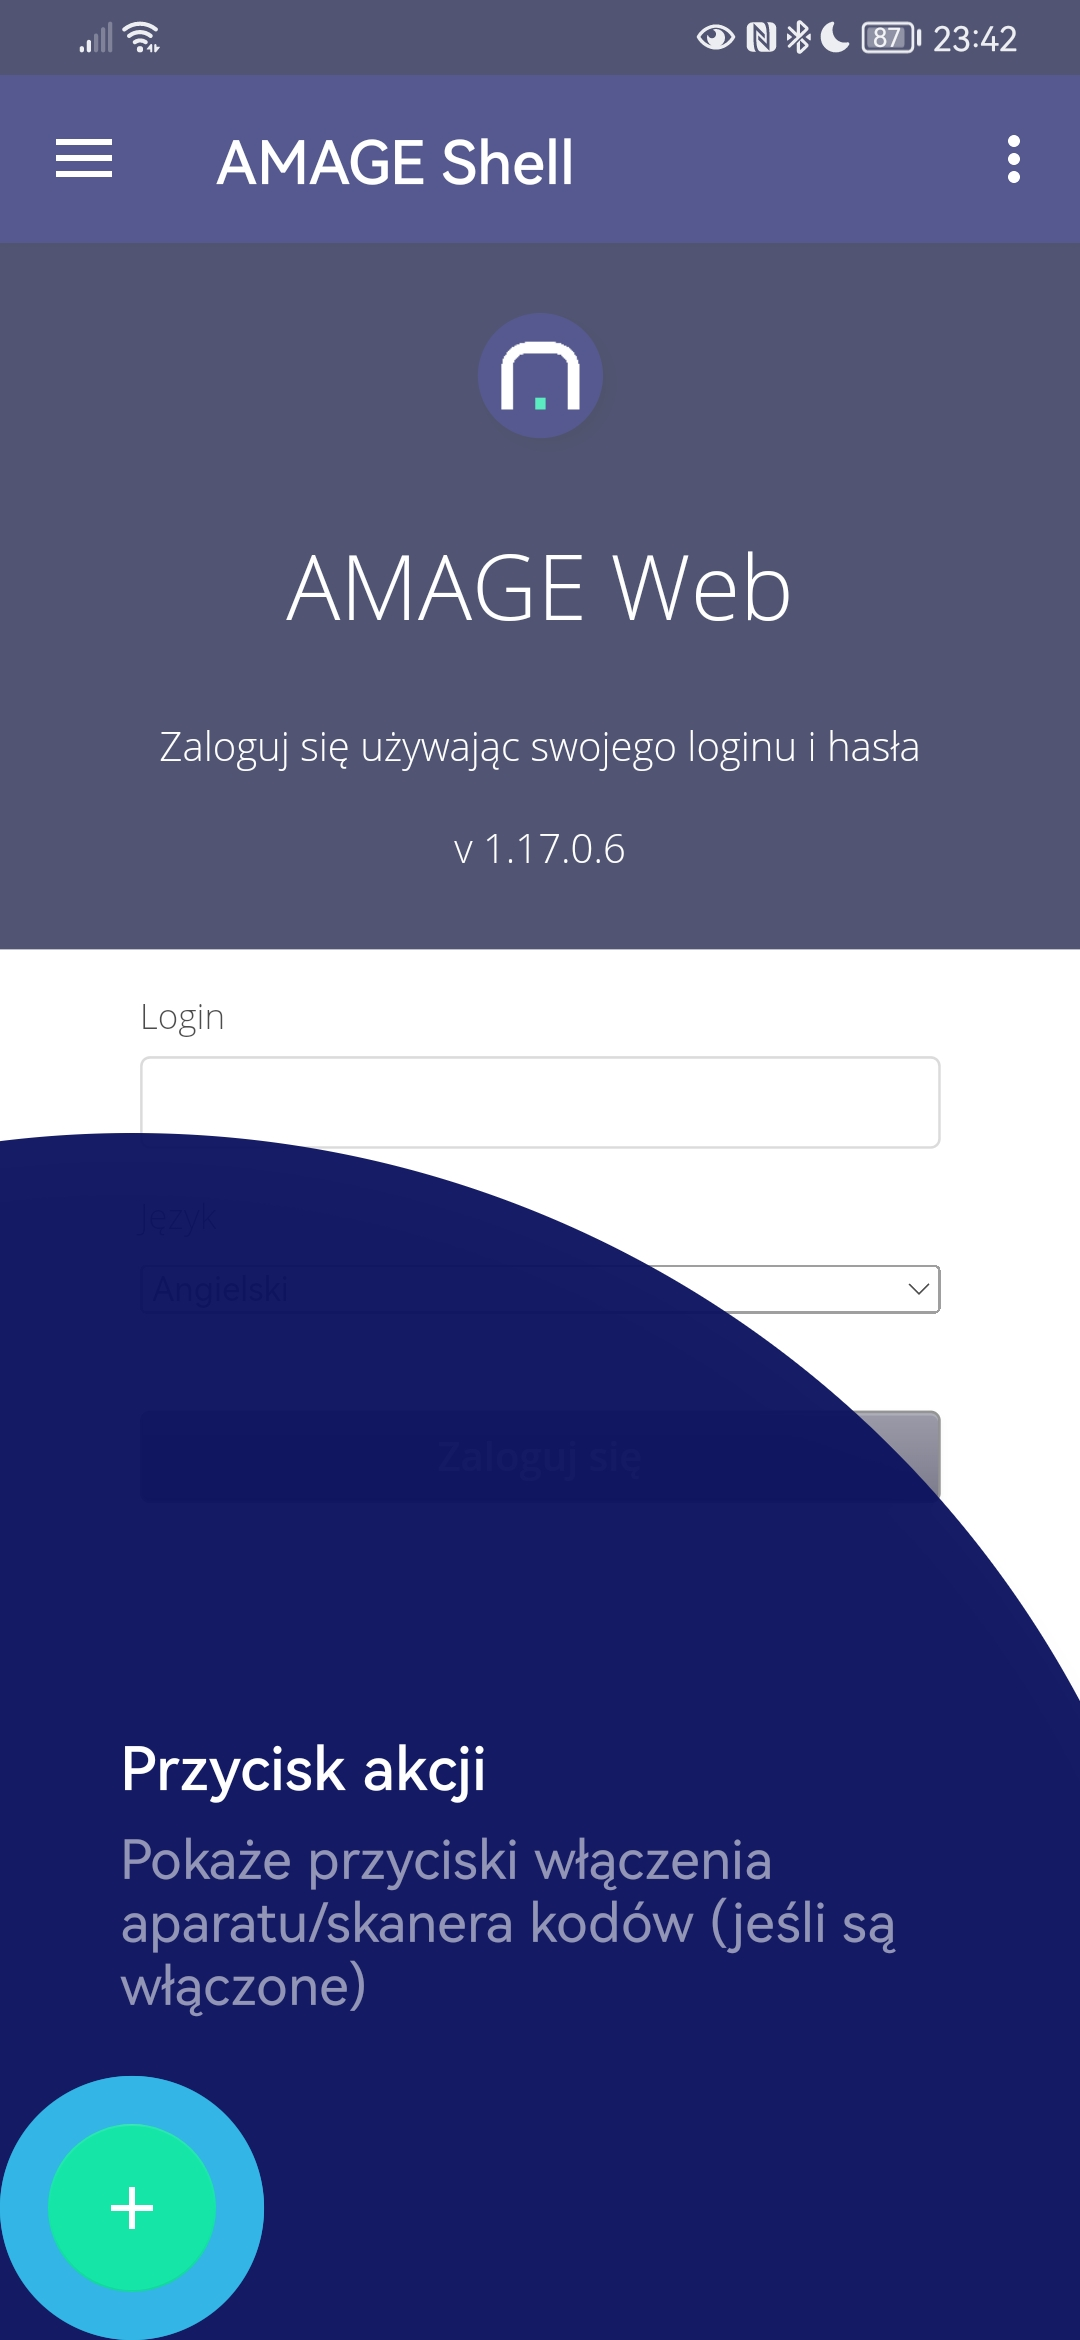
After passing the entire tutorial cycle as well as after cancelling it, the system does not show it again unless the Reset Tutorial action is enabled from the application’s main menu.
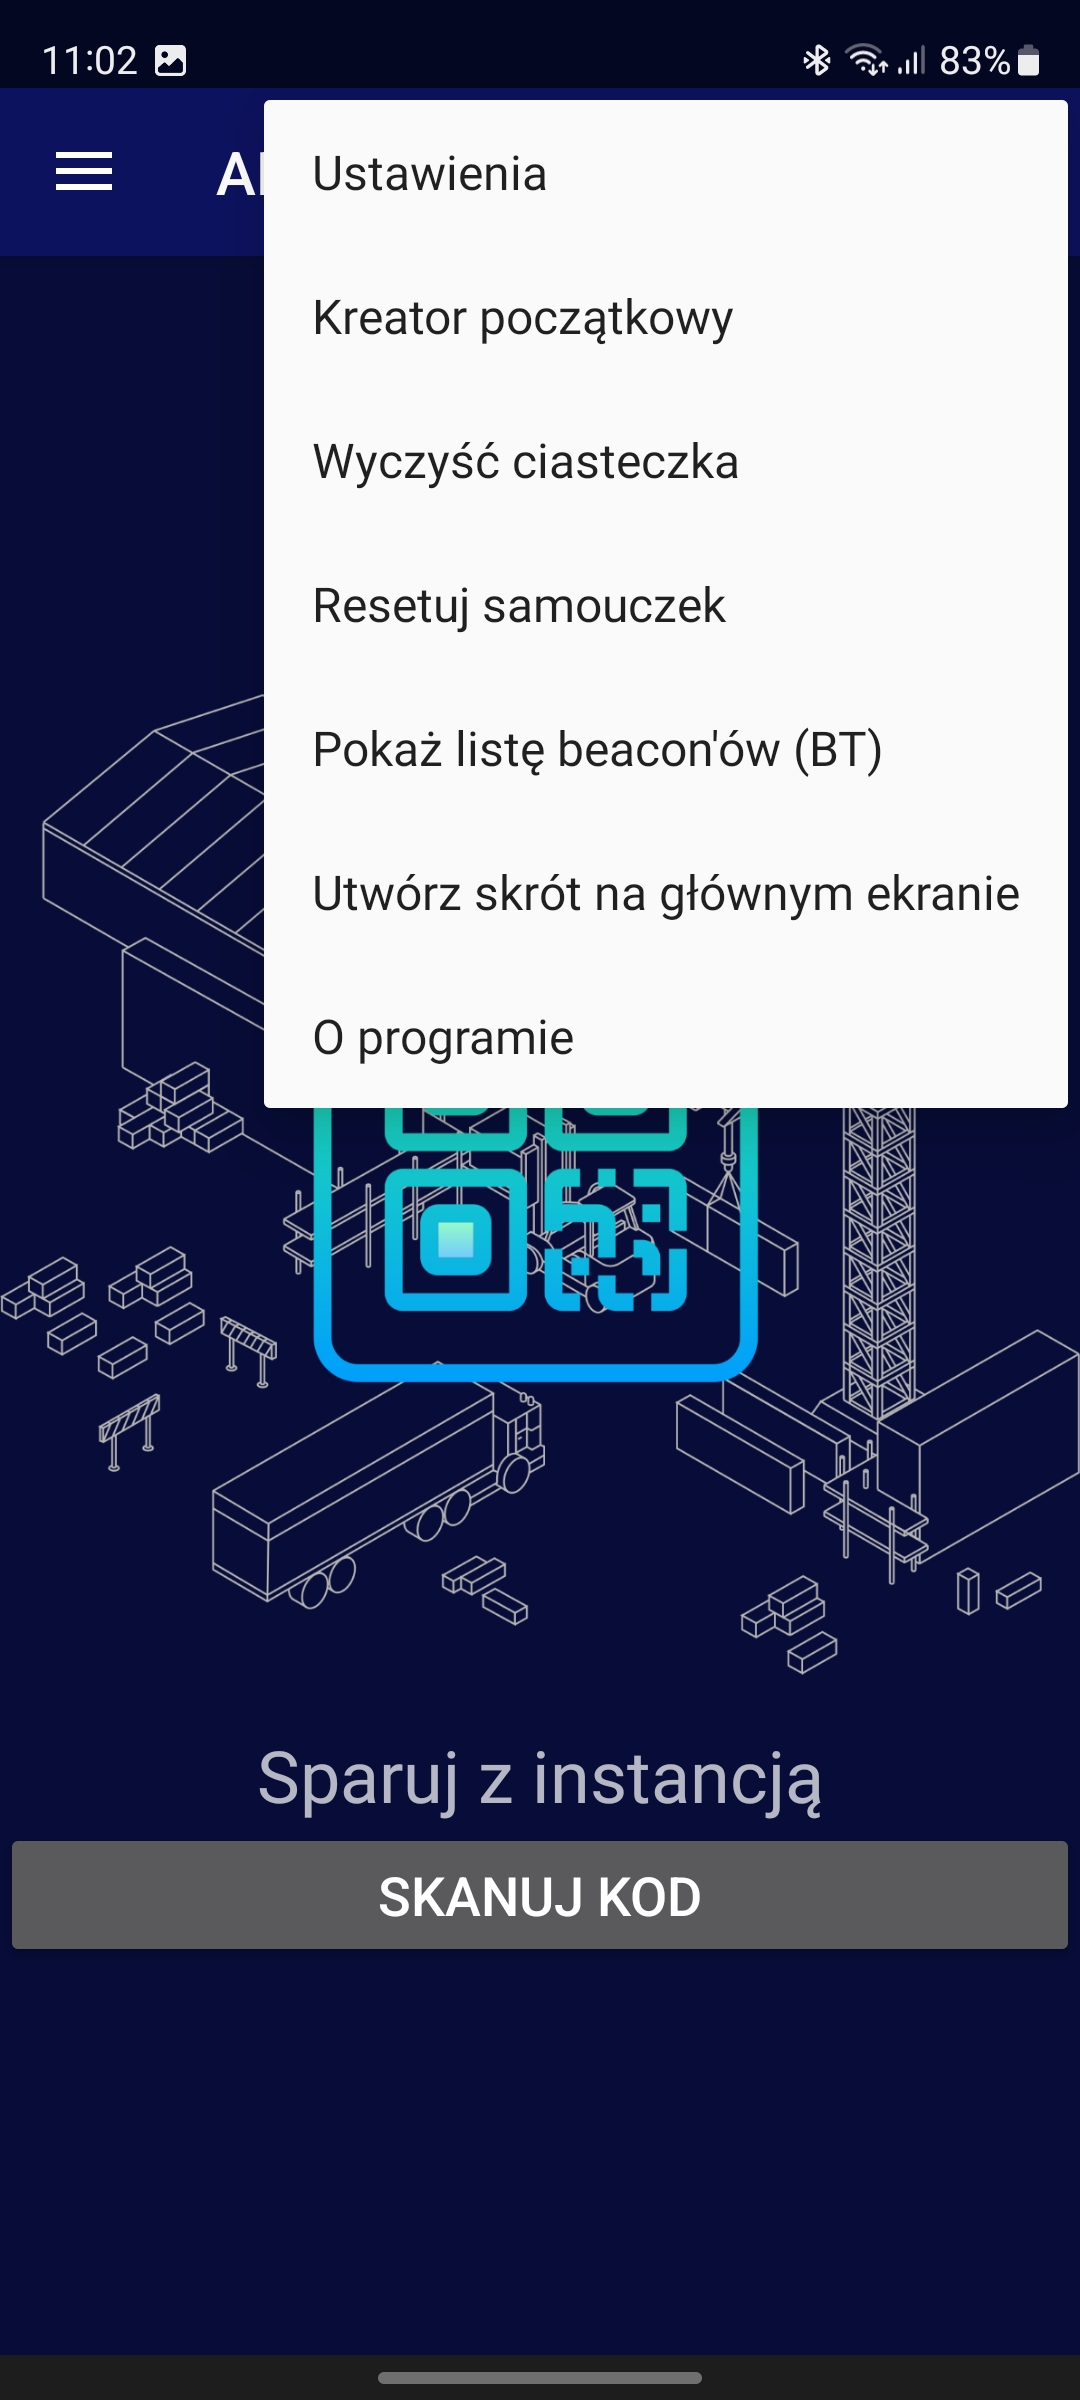
Main menu
The main menu of the application allows you to access:
-
Settings - access to application settings.
-
Initial Wizard - restart the initial wizard.
-
Clear cookies - clearing cookies of your web browser. It can help in some cases where the application remembers, for example, a user’s login.
-
Reset Tutorial - restarts the tutorial at application startup (for main window and side panel).
-
Show list of beacons (BT) - displays a window with information about active and visible Bluetooth beacons in range
-
Create shortcut on main screen - create a shortcut to the current application instance on the main Android screen (shortcut).
-
About the program - program information window
Side panel
Depending on the interface selected (normal, full screen), the side panel can be accessed through a hamburger-type menu and/or by swiping from the left edge of the screen toward the center.
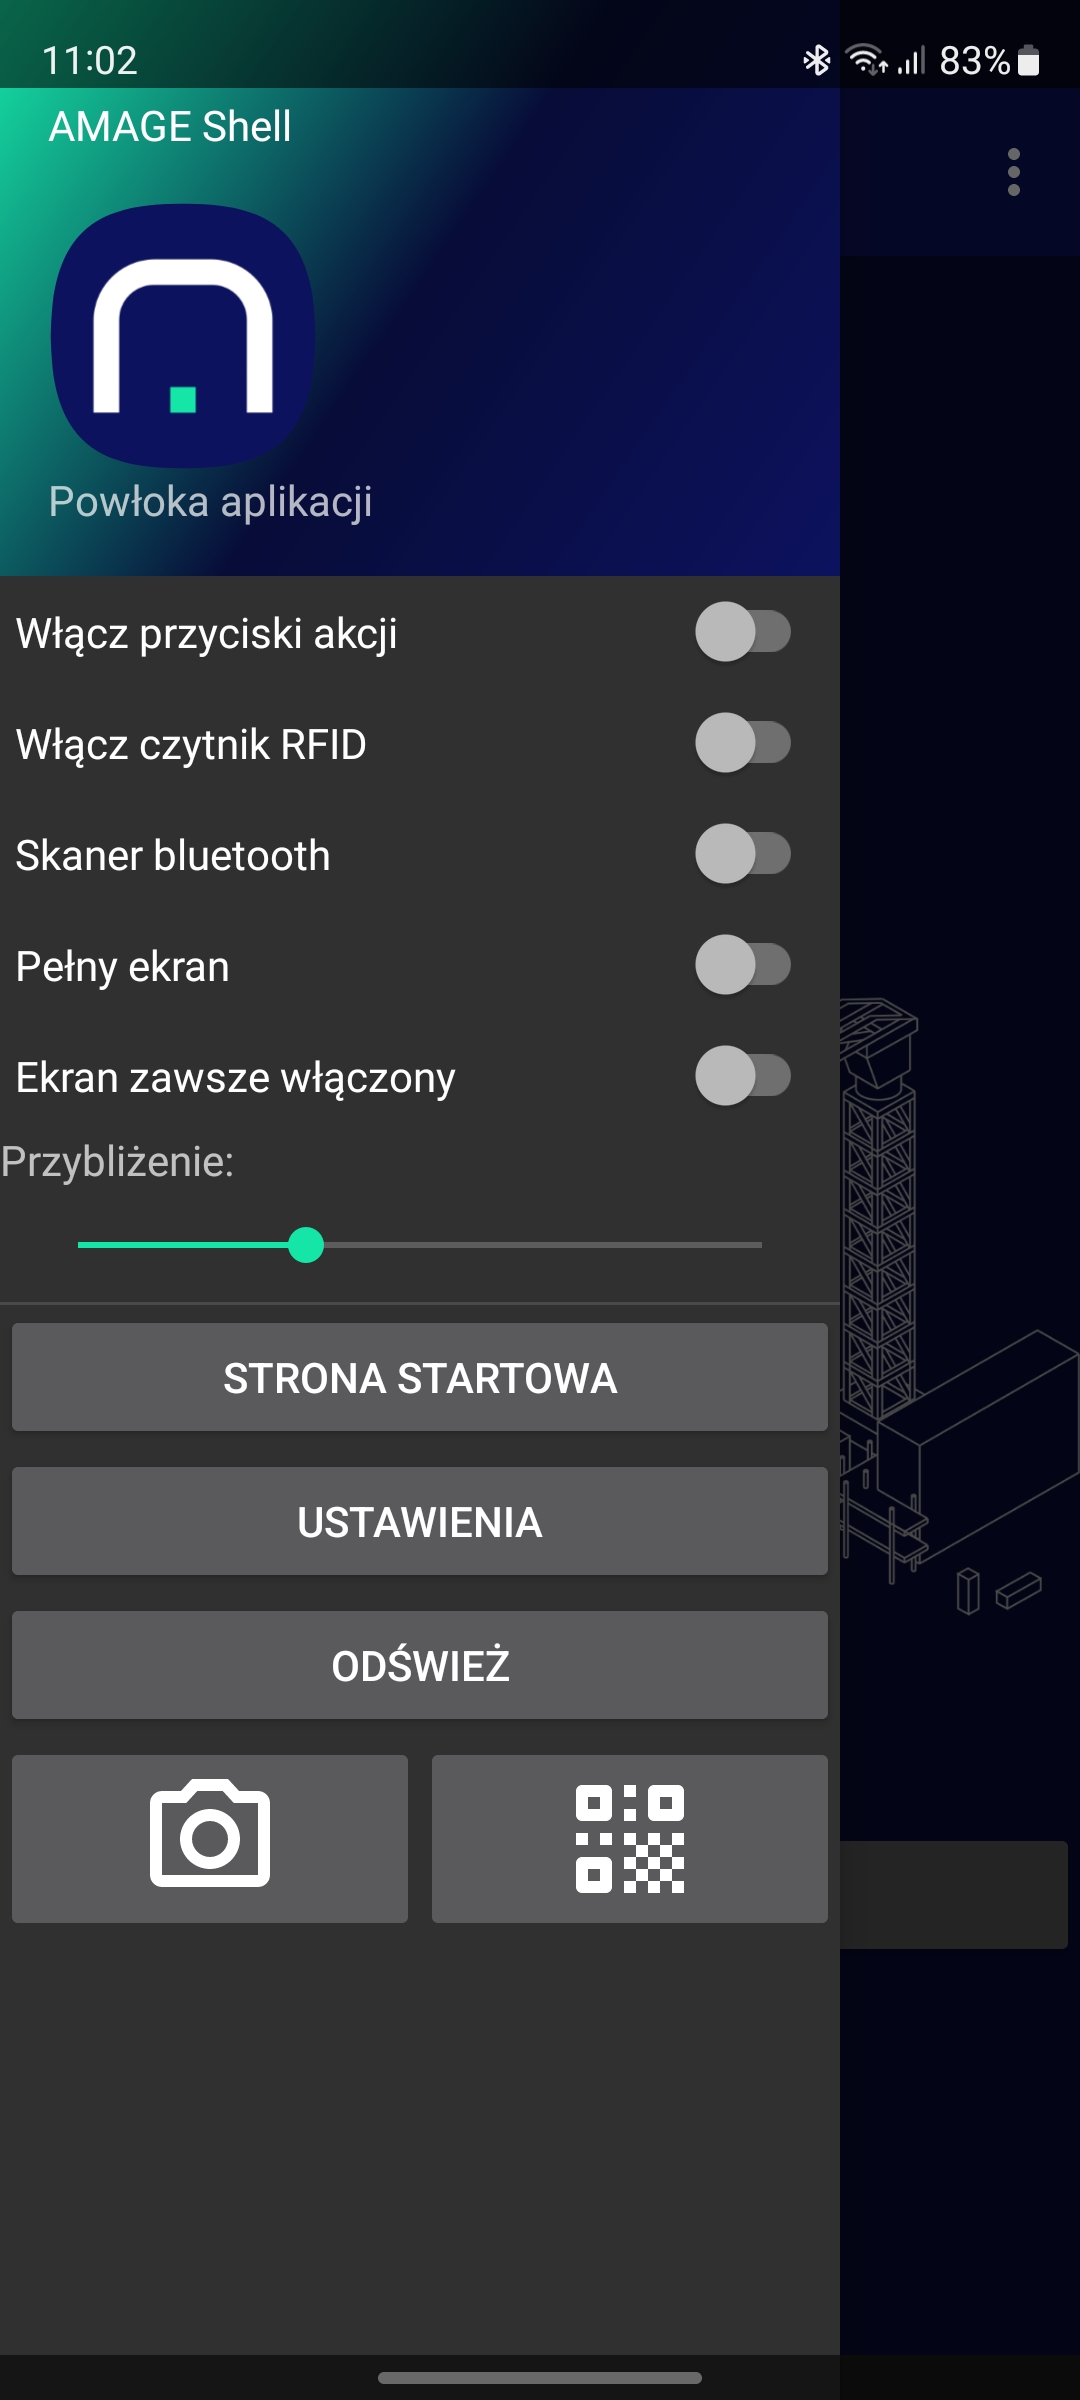
The side panel offers configuration options and additional action buttons.
-
Enable/Disable Action Button.
-
Enable/disable RFID reader support.
-
Enable/disable bluetooth scanner - for Bluetooth beacons
-
Enable/Disable Full Screen.
-
Scaling bar that allows you to adjust the size of the fonts in the main view to match the screen resolution of your device.
And buttons: * passing to homepage. * passing to application settings. * refresh view. * application call buttons for camera and barcode scanner
| When the buttons are enabled, a "+" button appears at the bottom of the main screen, which allows you to view all the buttons and perform these actions. |
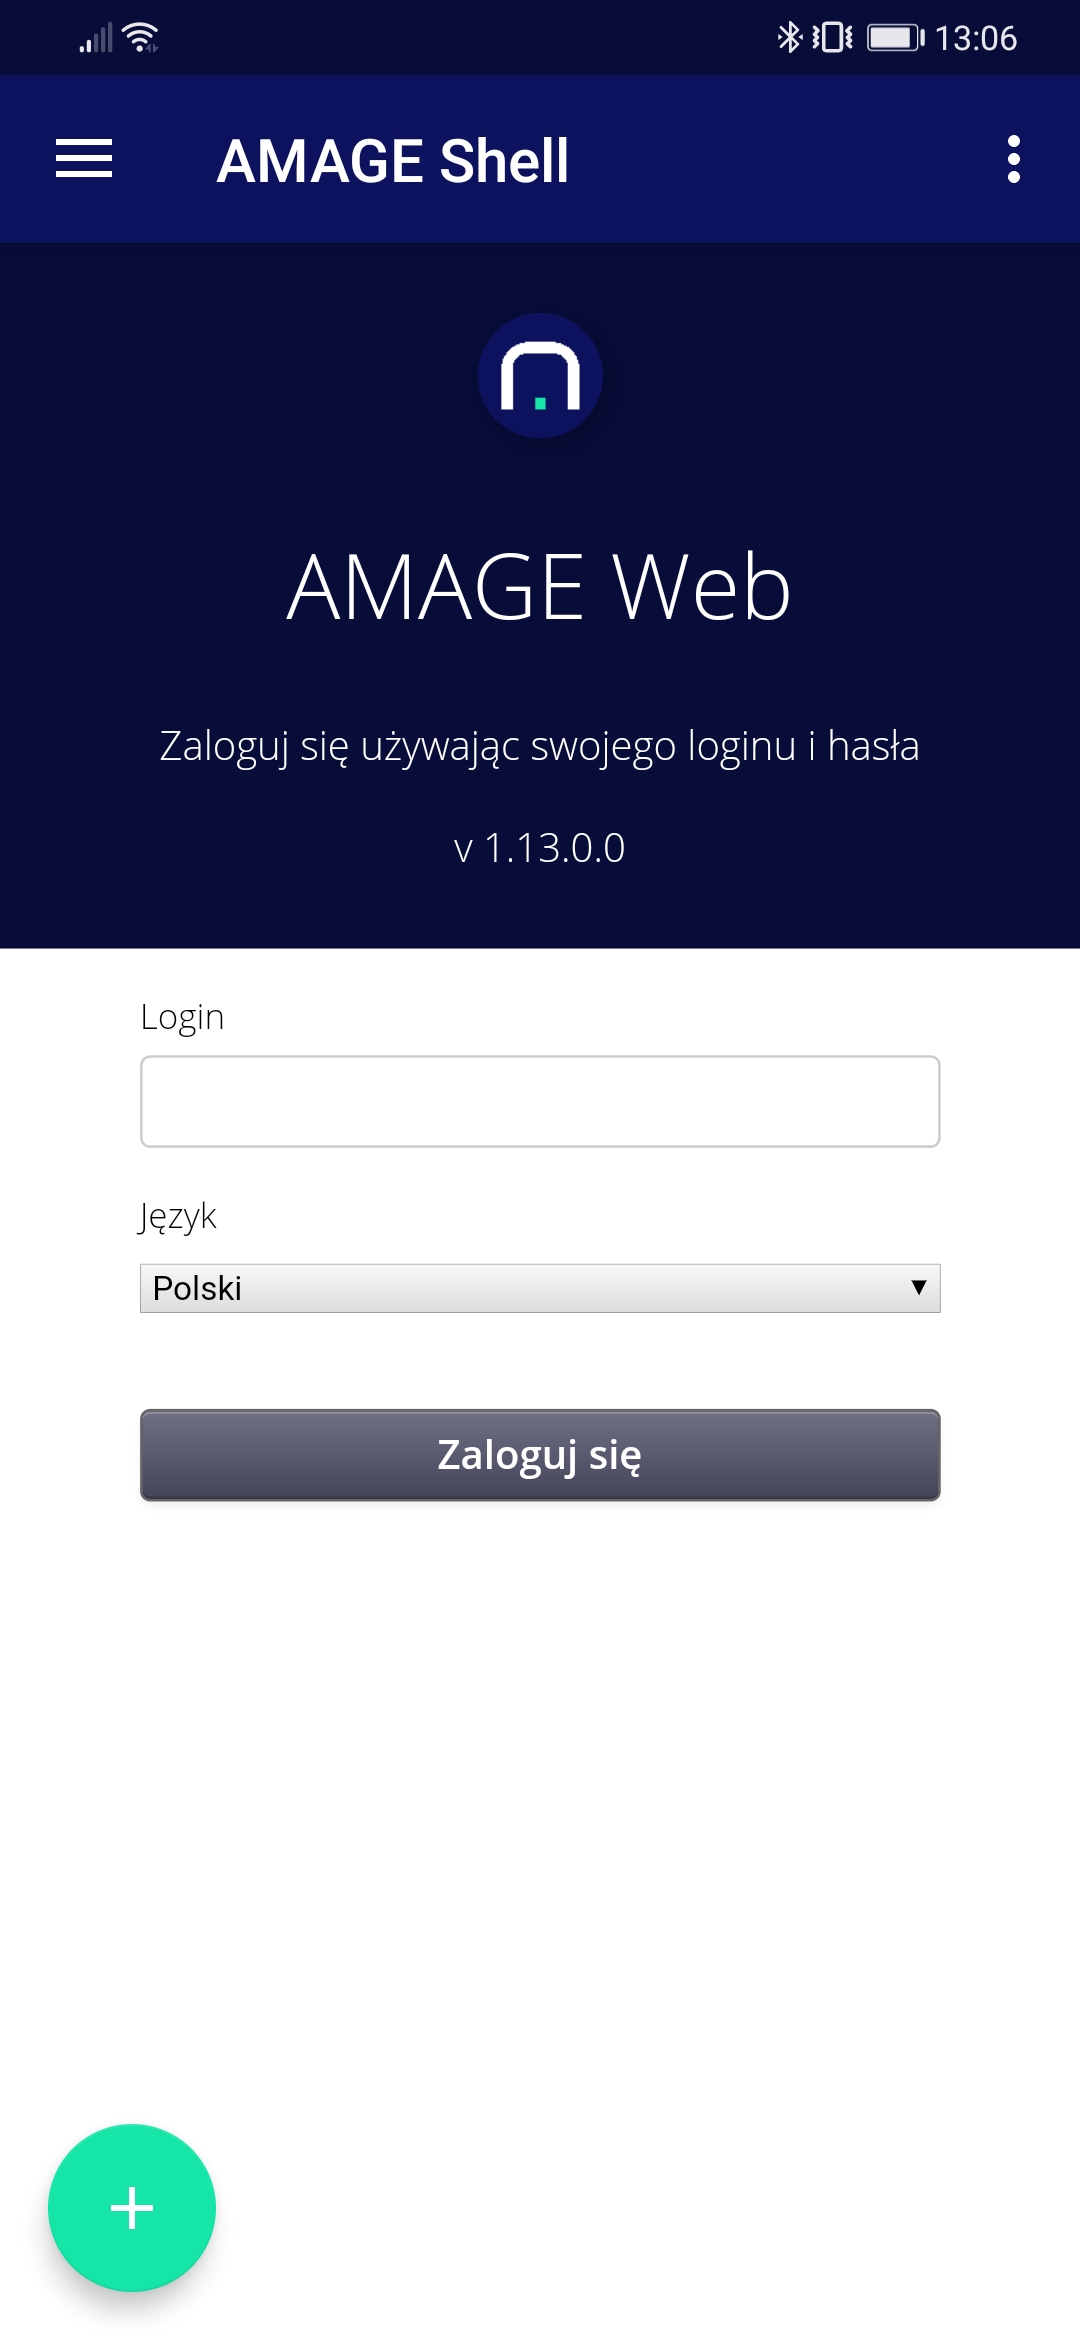
When the button is selected, it expands to the available actions (photo, code scan).
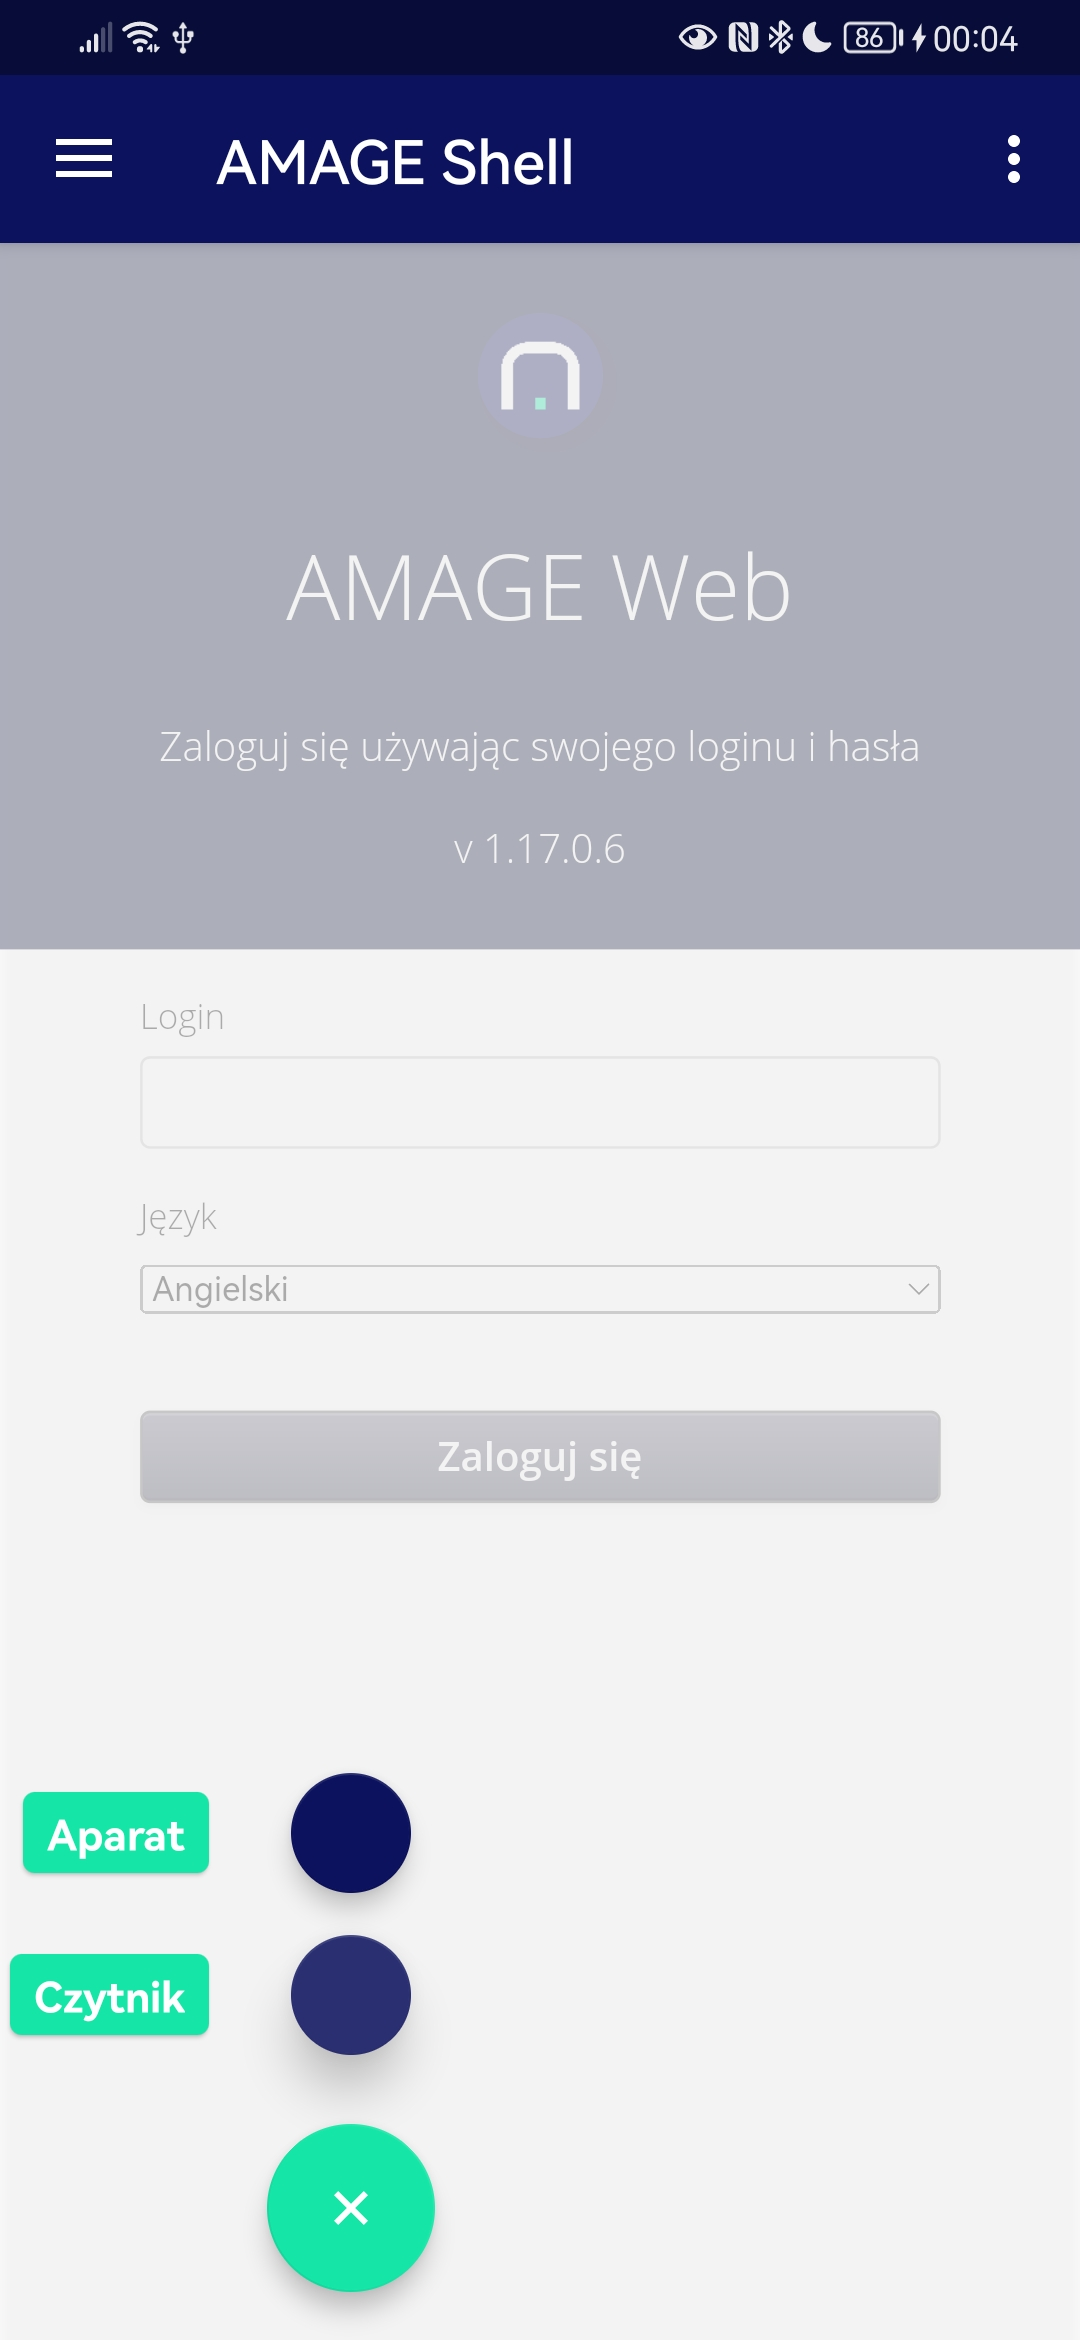
| The camera function allows you to invoke the default photo-taking application. Photos, once taken, are saved in the device’s memory and are NOT sent to the server by default. This is done by a dedicated action in the application’s main interface. This allows the camera to take multiple photos and then load them all in one step into the system |
Application settings
When you go to the application settings either through the menu at the top of the application in the standard view or through the action in the side panel, the system presents the available main settings. These settings were entered when the initial wizard was shown, but they can always be changed later in using the application.

The available settings are the AMAGE Web application address (read from the QR code from the login window) and the type of code scanner. All these settings can be changed in this settings section.
In the server settings, we can manually enter the address of the instance (if we do not use wizards/scanning/pairing). If we use devices that work in corporate networks and use Azure AD/Microsoft Intune authorization for devices, we can select "Use client certificates" for multi-stage authorization when logging into the AMAGE instance.
The reader type can be selected from the options. For most users, we need to select the 'Integrated Camera' option. For specialized devices with industrial readers built into the device (or connected via bluetooth), we can use the "Dedicated scanner".
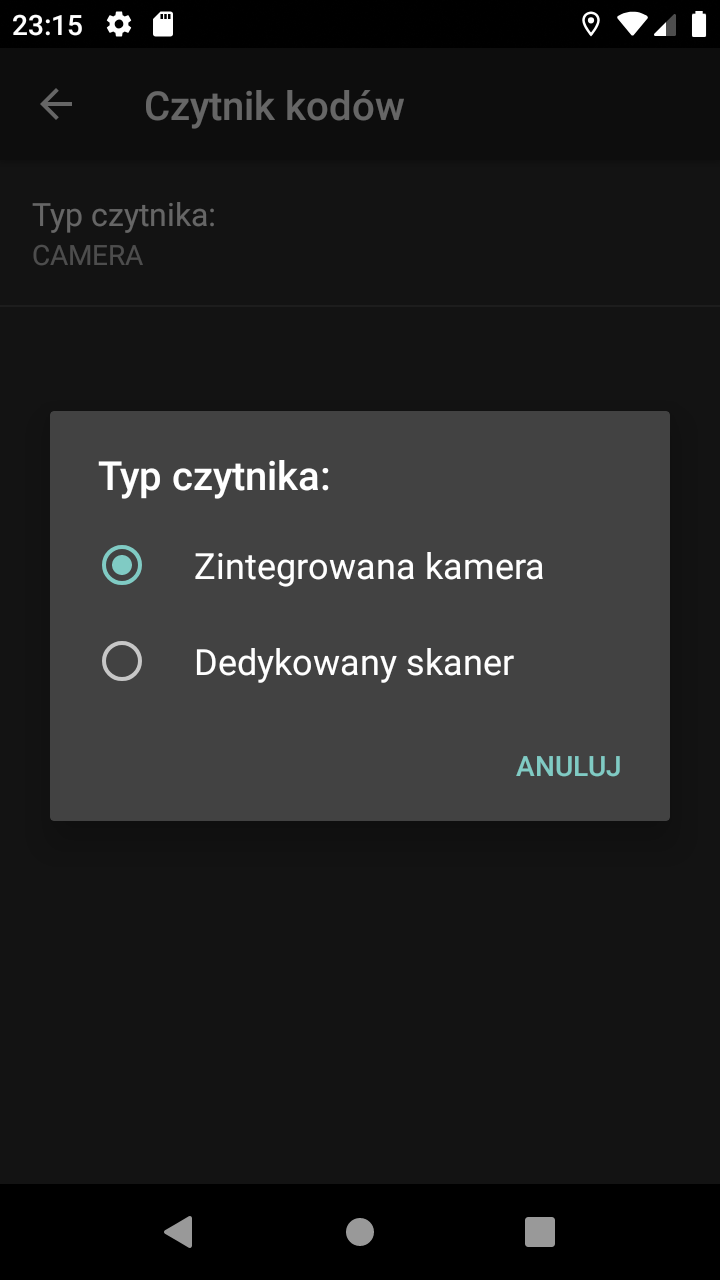
The data is saved and will be used each time by the application in subsequent launches.
| The address of the application when creating a shortcut on the Android desktop will be changed according to the address that was active when the shortcut was created. |
Bluetooth tag viewer
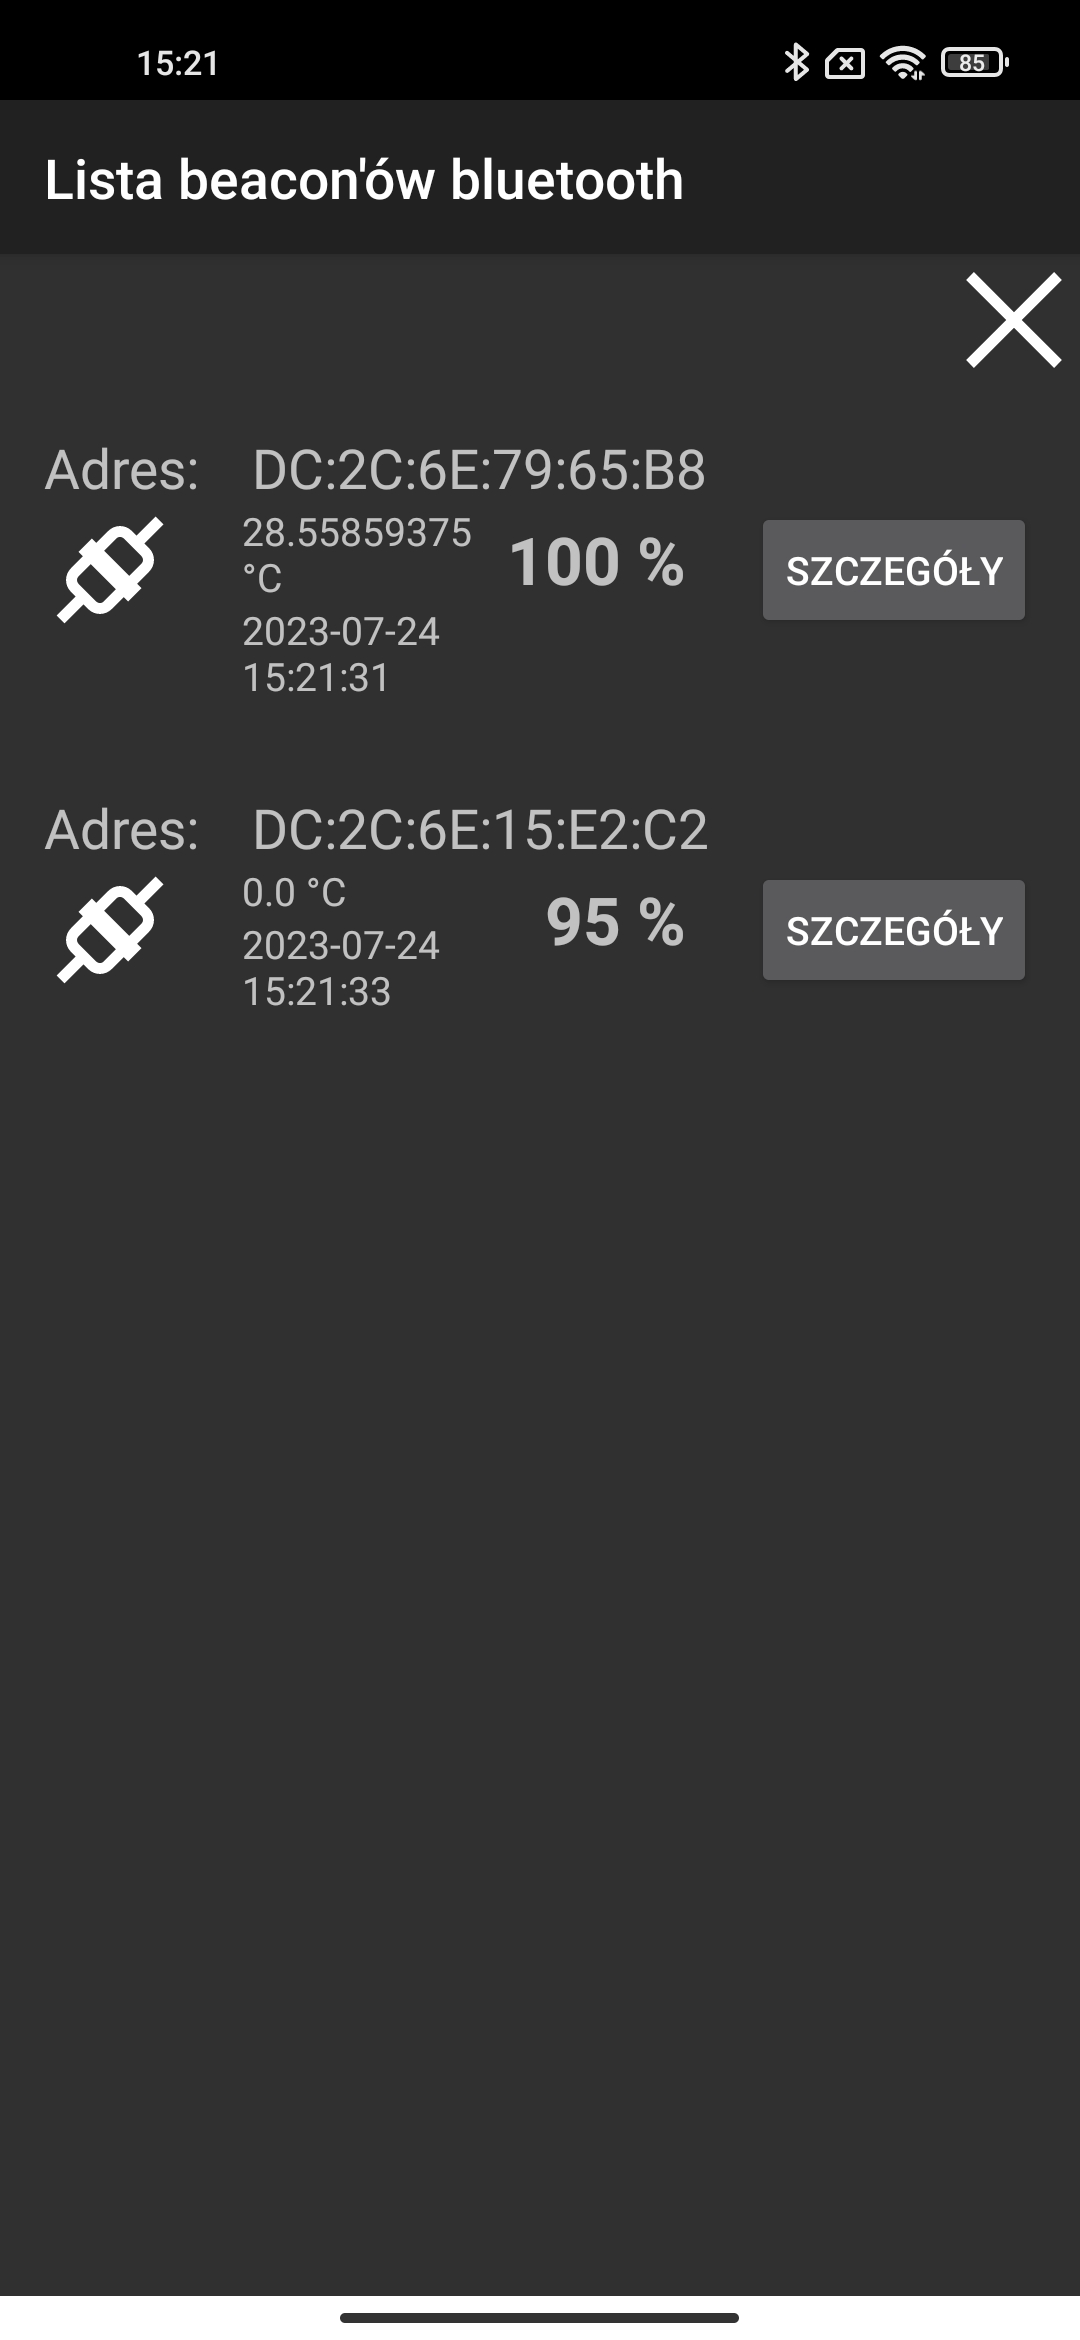
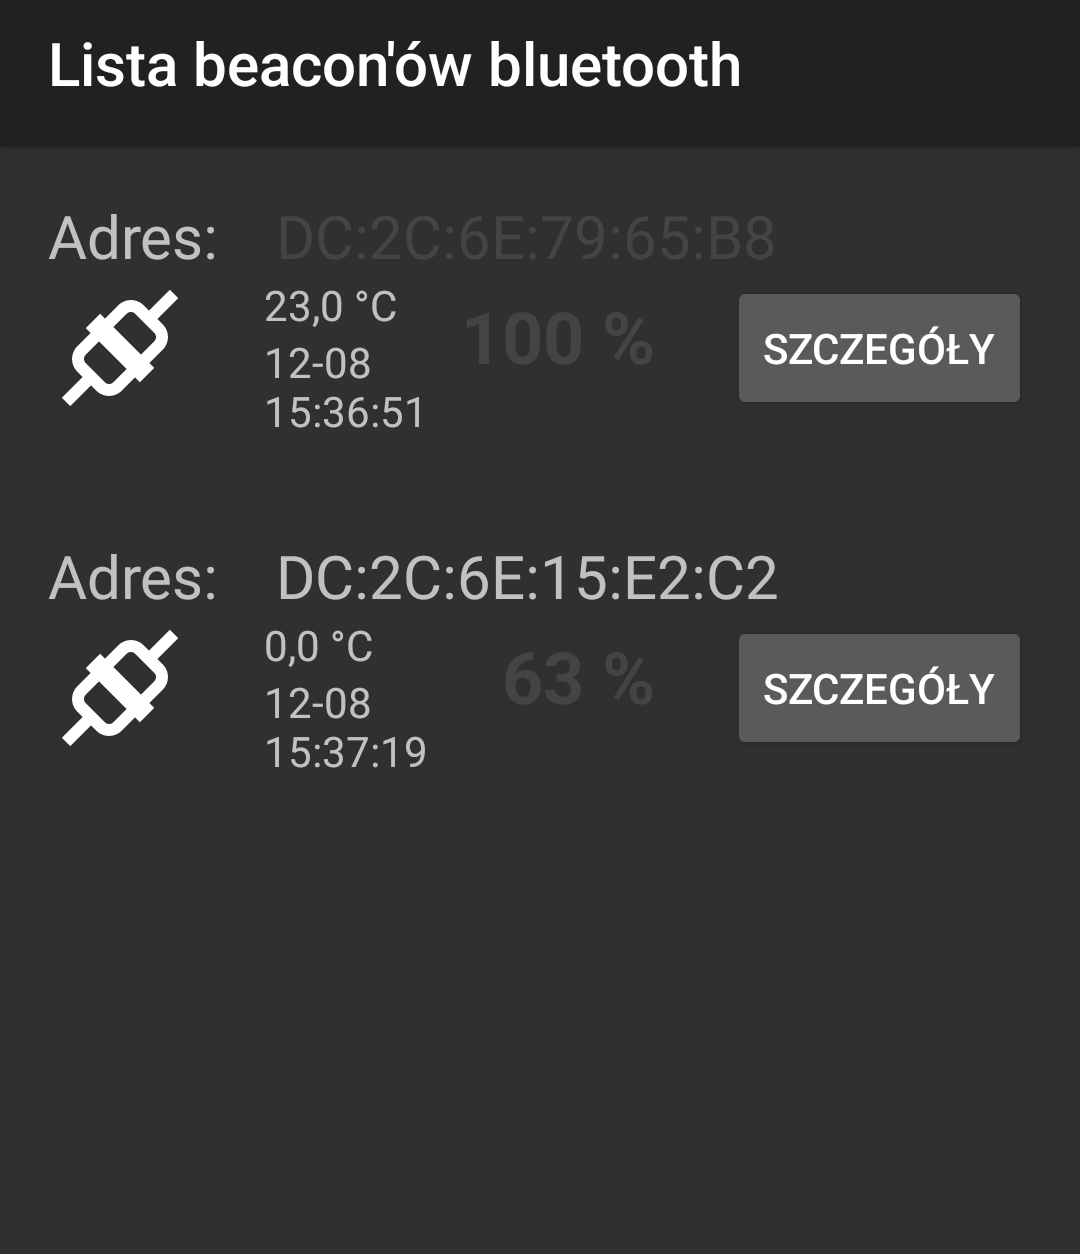
The application has a built-in browser for available bluetooth tags/beacons supported by the system. Using the browser, we can view the markers visible in range, their battery status, temperature and date of last visibility.
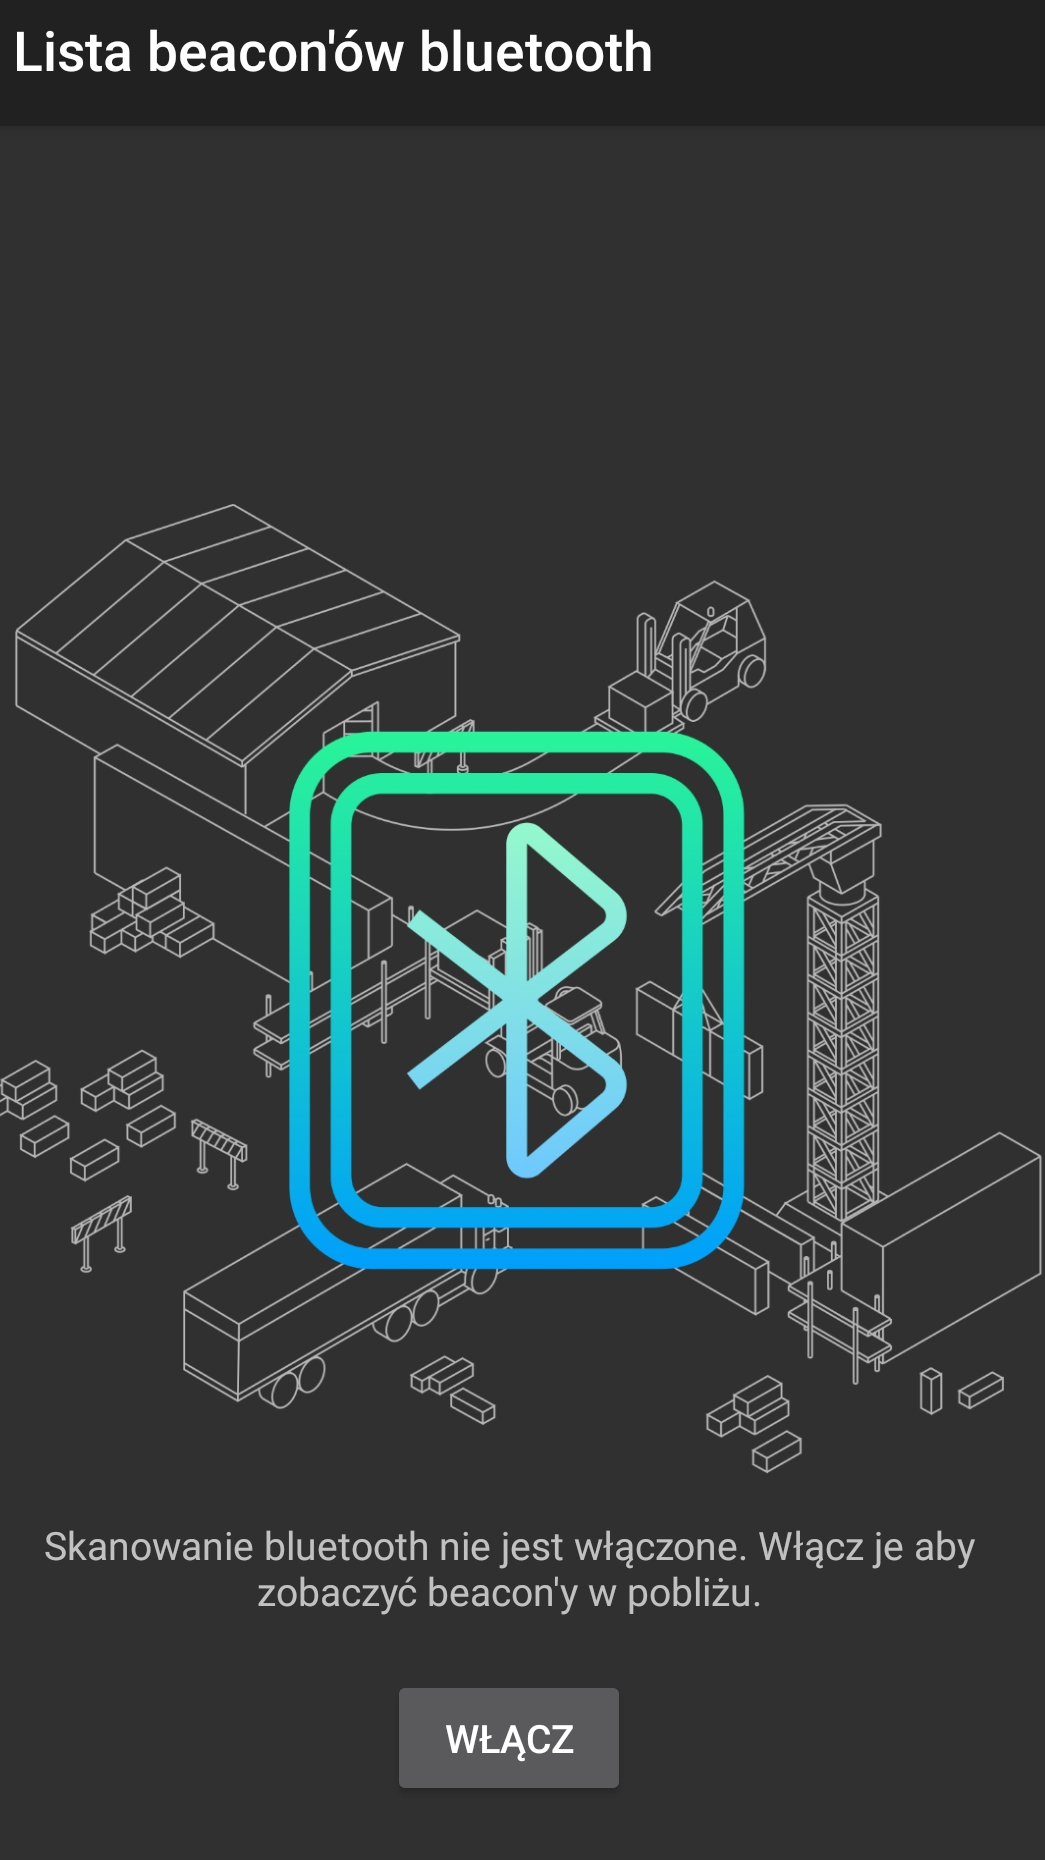
If the Bluetooth browser is not enabled (in the drawer in the main options), information about the lack of Bluetooth scanning enabled and a button to enable this scanning will be displayed by default.
If a beacon that was previously read disappears from range, its text description changes to dark gray. If the range returns, its address color will change to the default one.
Registration on the notification server
After correct user authorization in the target system (only then!), the application sends additional information to the central notification server. The information includes data identifying the user (his UUID and the instance to which he logged in). If the user enables sending notifications to a mobile device in the notification configuration of the AMAGE application, then notifications will be sent to this device.
Other actions
In the main menu, next to the transition to the main application settings, there is an option clear cookies. When the application works with a web server, the application saves all cookies sent by the web application locally. When the application is closed, this data is saved in non-volatile memory and restored when the application is restarted. This allows cookies to be remembered between application launches, such as remembering user login information.
Shortcut to the application
The app can create an app shortcut on the Android desktop that corresponds to the currently selected AMAGE Web server address. This allows you to have shortcuts to different AMAGE systems on one mobile device.
To create a shortcut, you need to call the Create Shortcut action from the main menu. After confirming the creation of a shortcut, you can change its title.
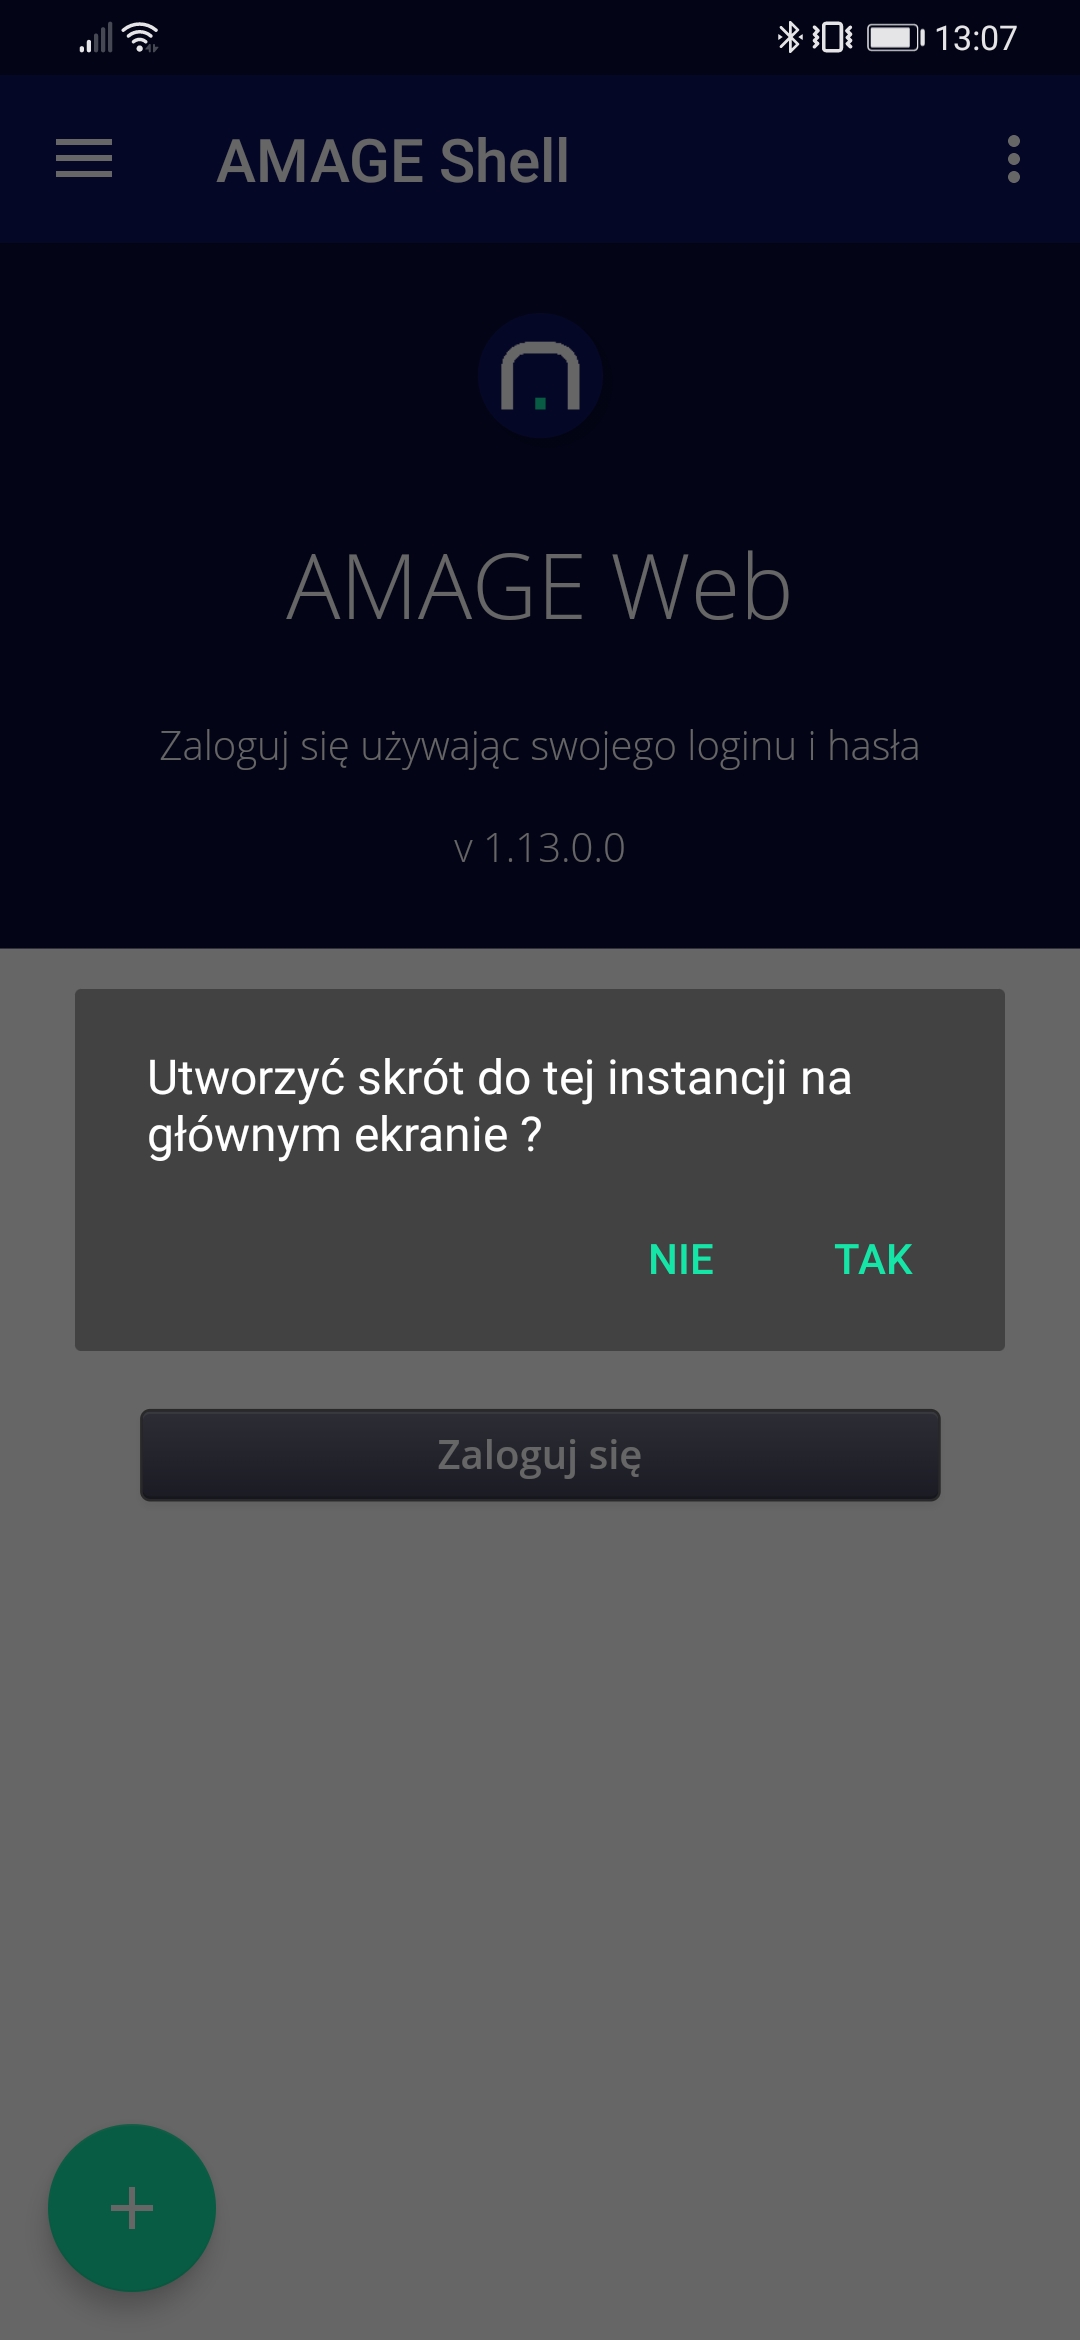
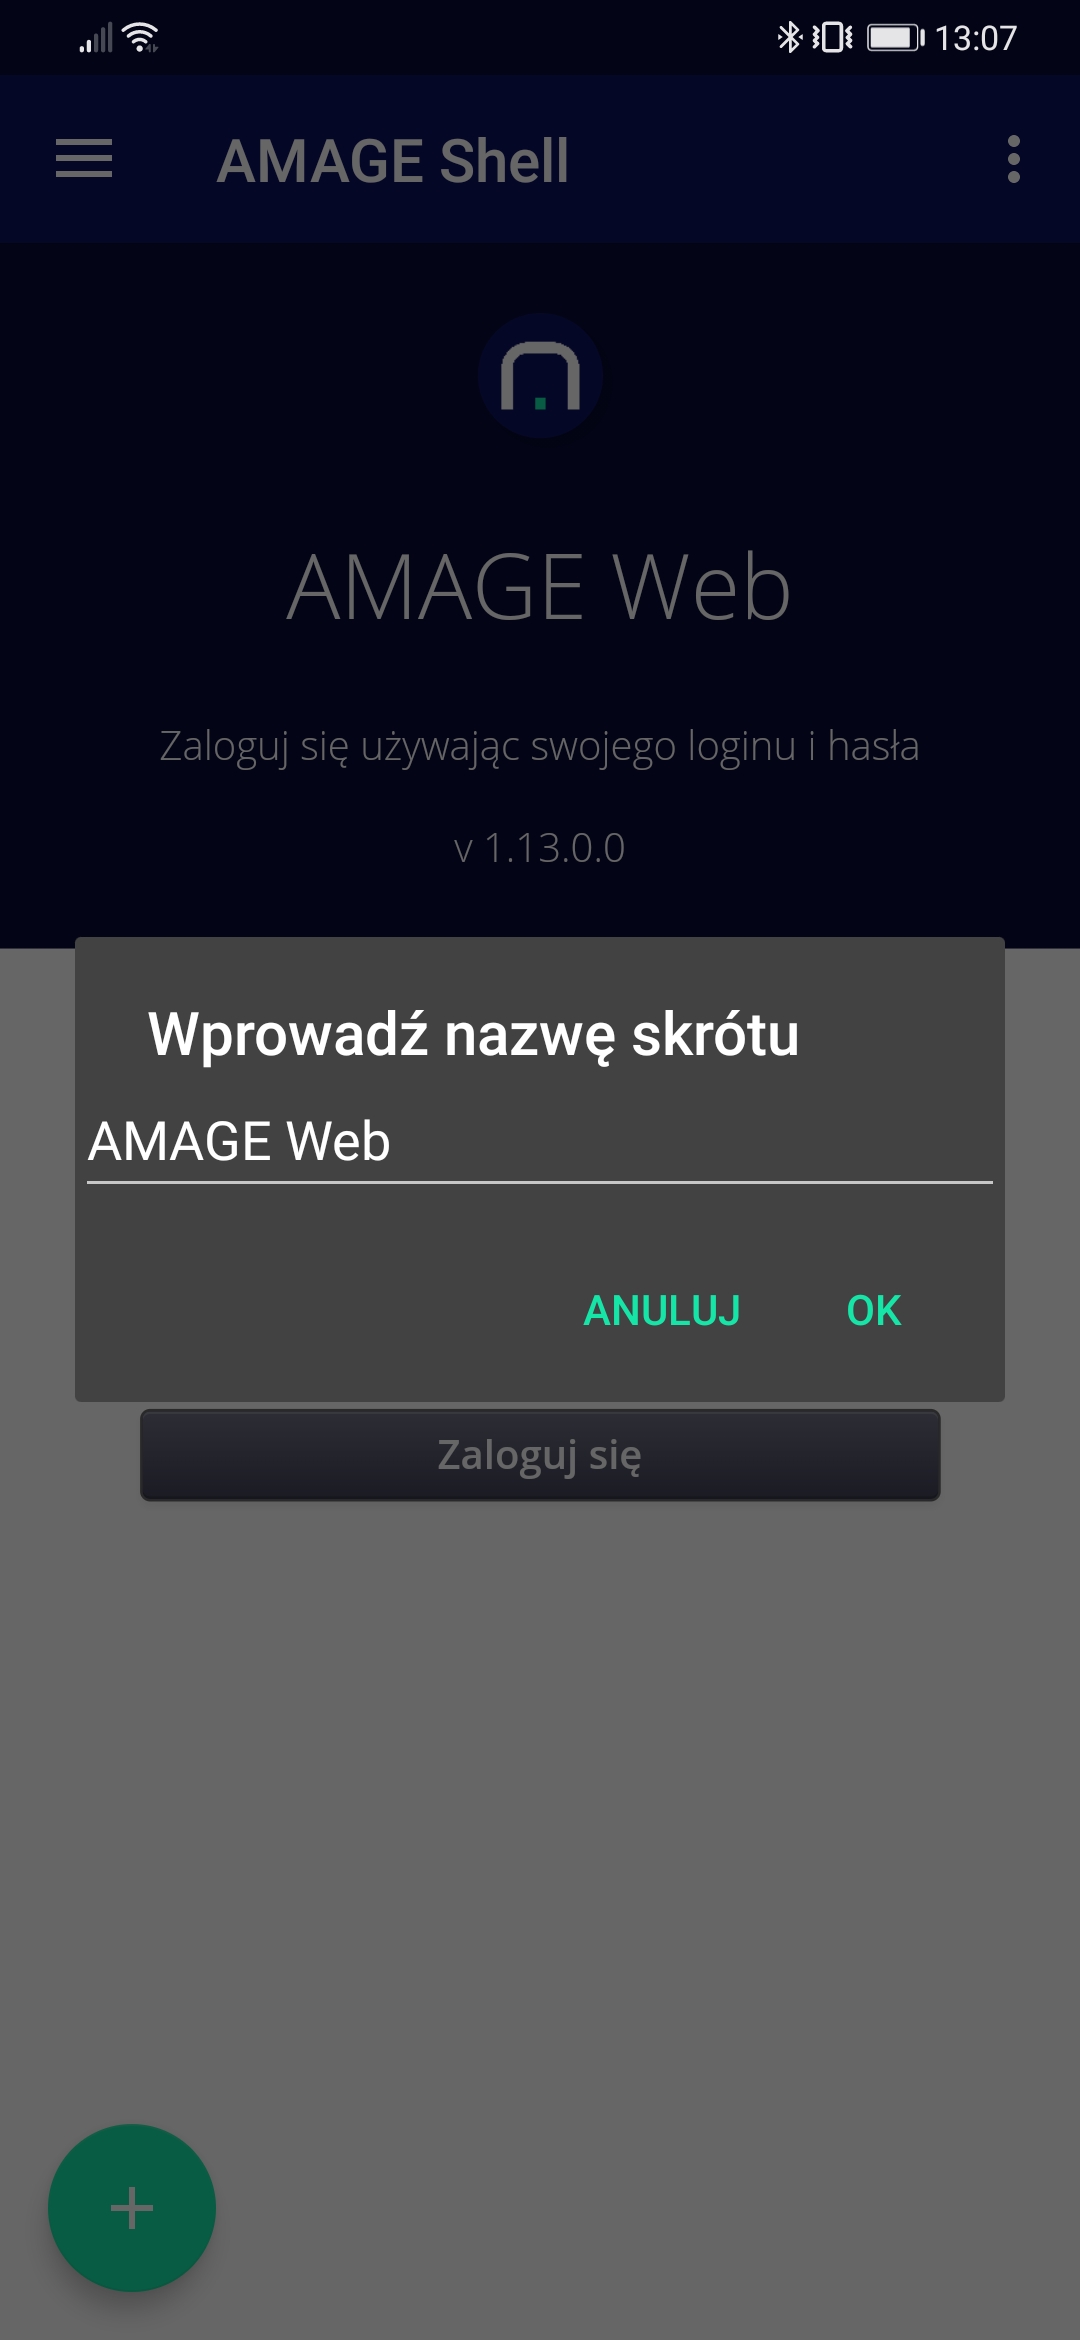
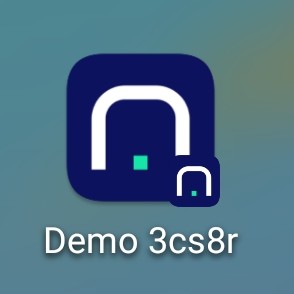
Approving the shortcut creates a new icon on the Android desktop with an additional AMAGE system emblem.
Application information window
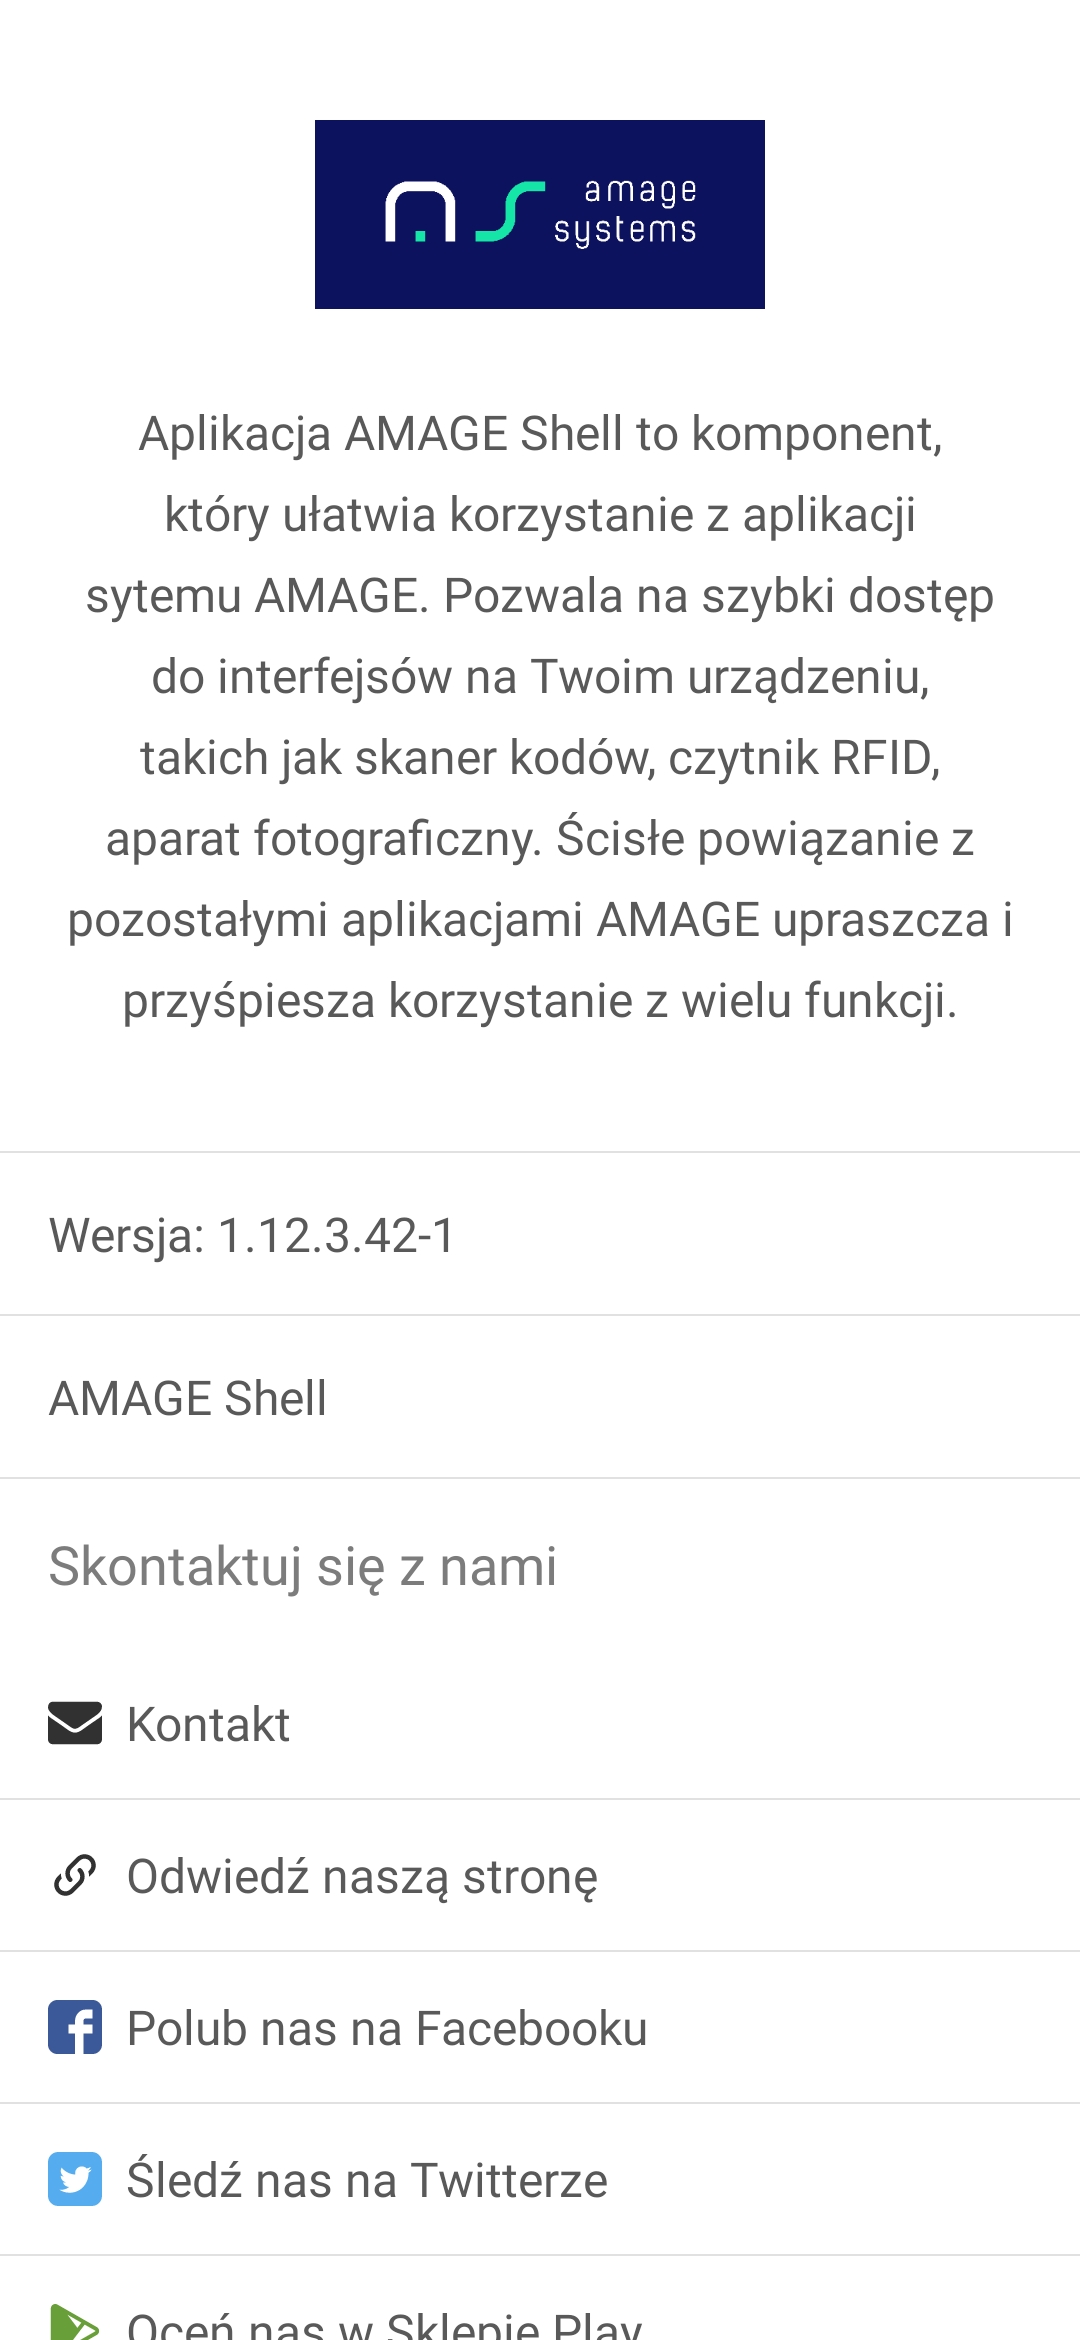
The application information window includes basic information, version number and addresses and links to social network channels, email and the manufacturer’s website.
Login passwords
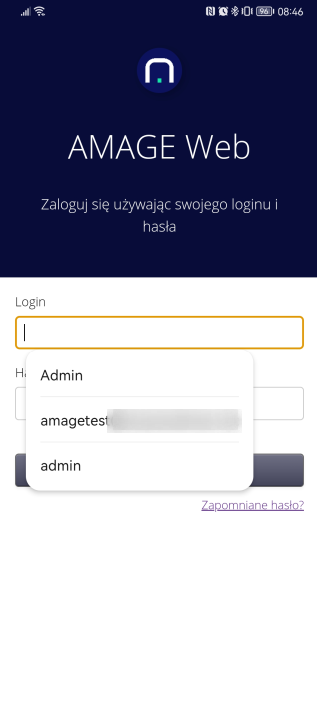
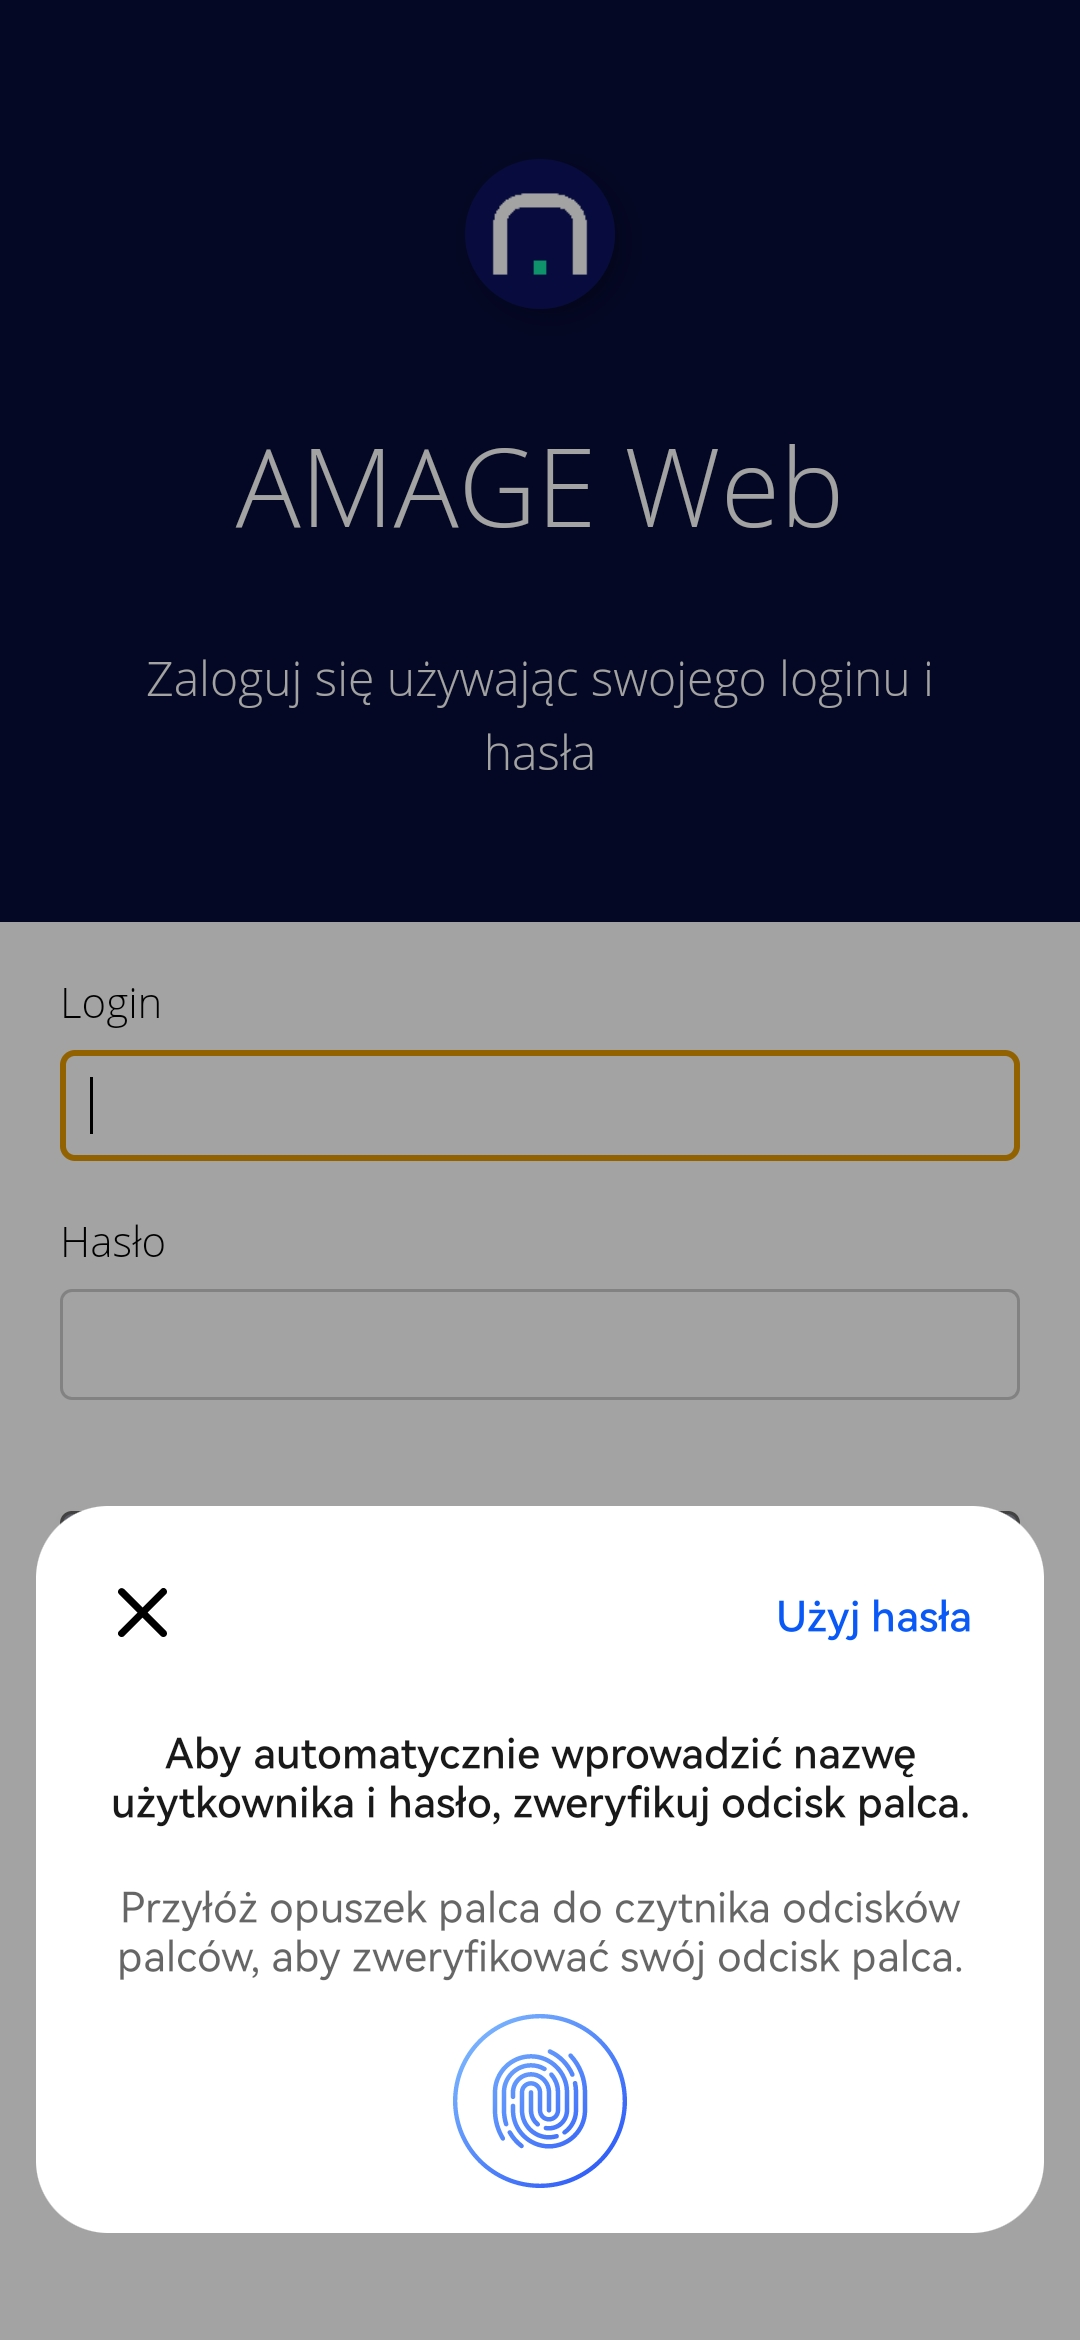
Remembering login passwords depends on the Android version and the functionality provided by the device in question. Most such devices should provide automatic memorization of passwords using the device’s native system. Passwords in such a case are protected by the security of the operating system, which increases the security of their storage.
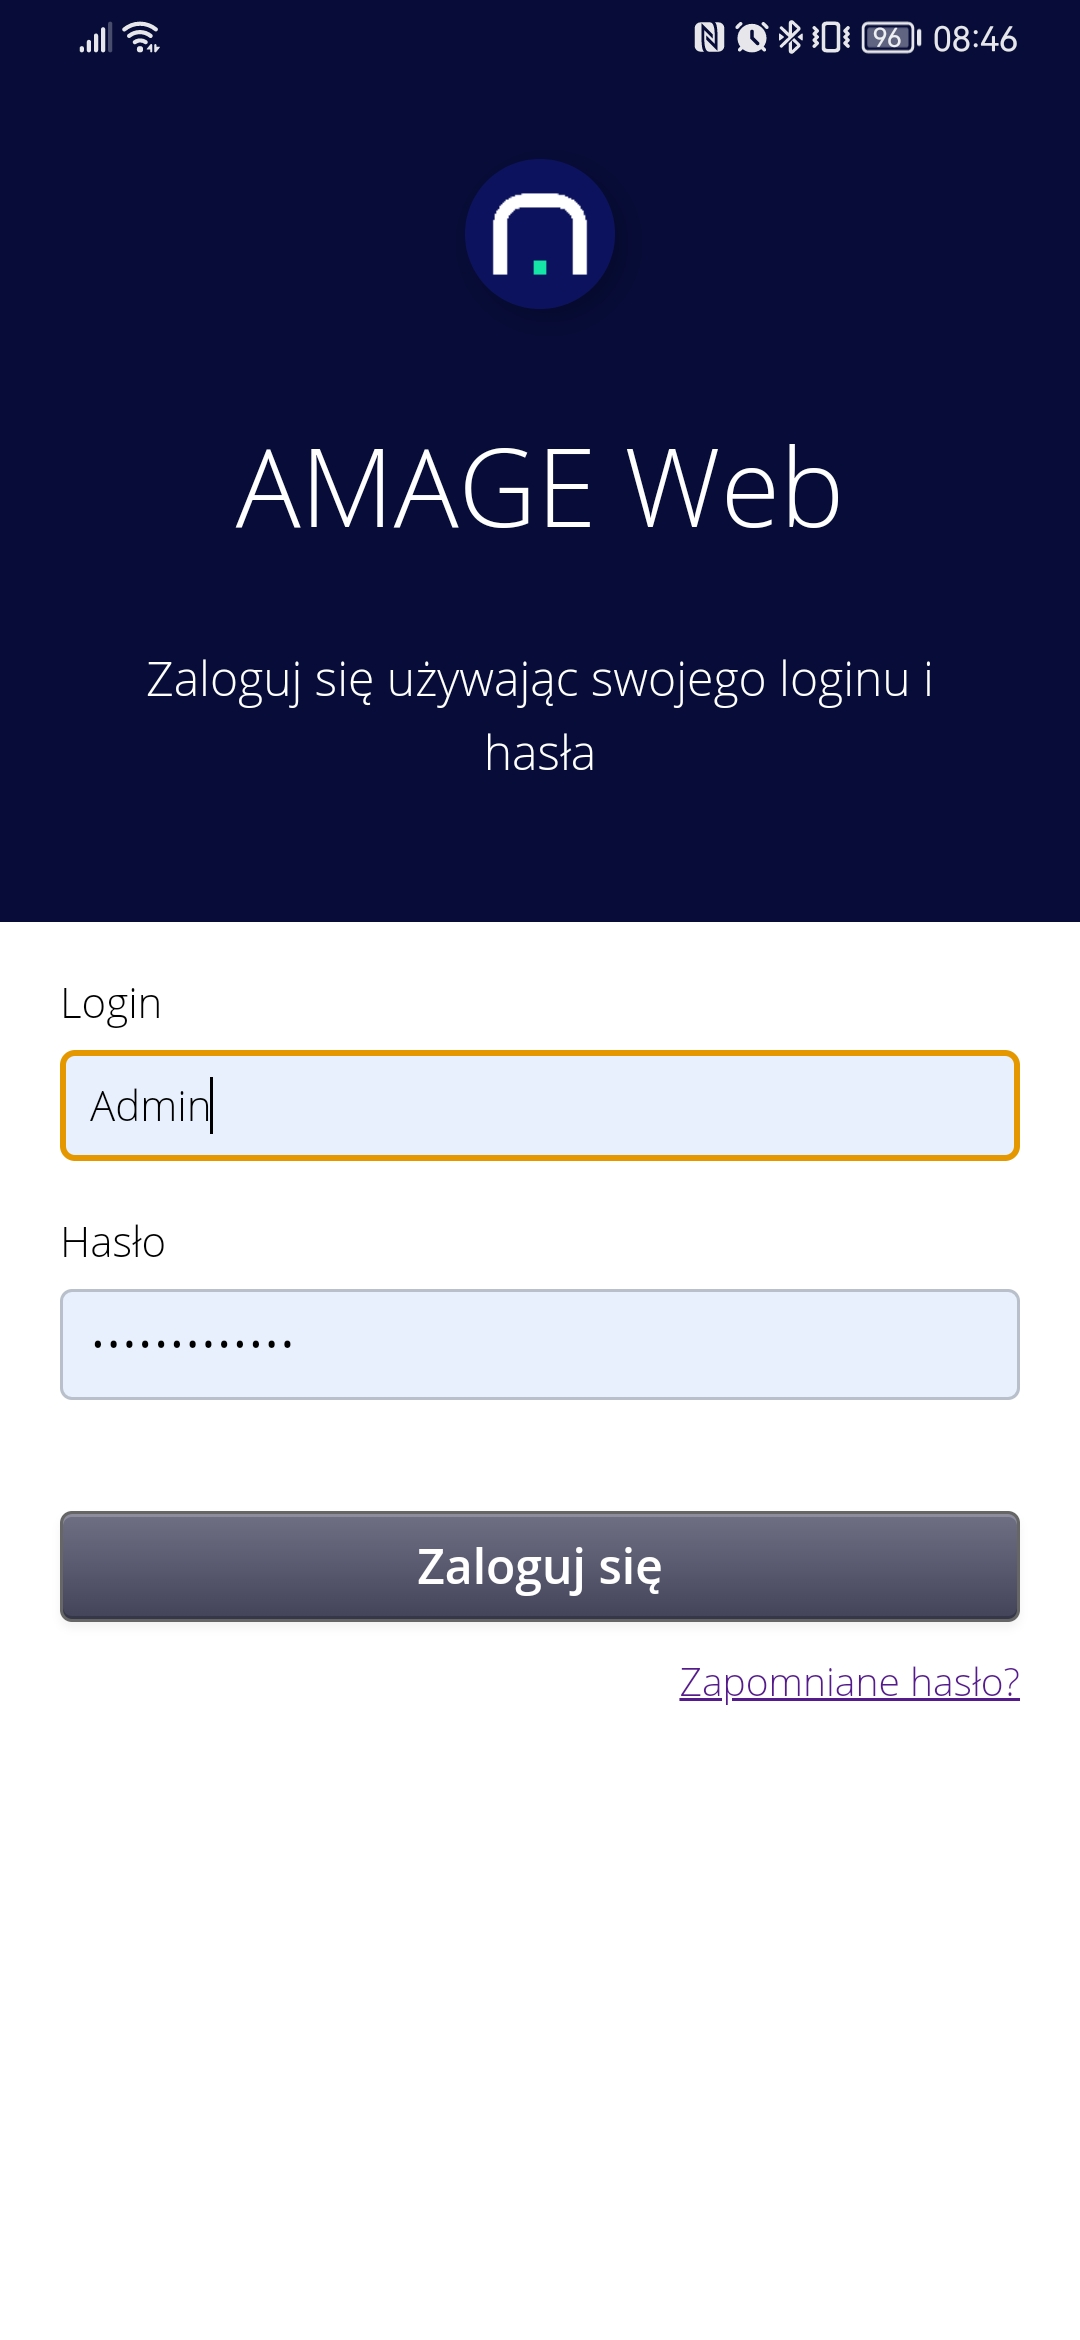
| Depending on the deployment configuration, the system has logon status memory enabled for 5 days (configurable). Once the user has logged into the application correctly, the system remembers and automatically logs the user in until the time has passed or the application configuration data is cleared. |
