Users
User management interface. Allows you to specify the permissions and identification data of employees participating in the process. The default action displays the list of users with all the basic parameters of the users.

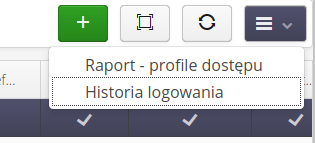
The context menu of the main view provides actions to present additional data about the user(s).
Available actions
-
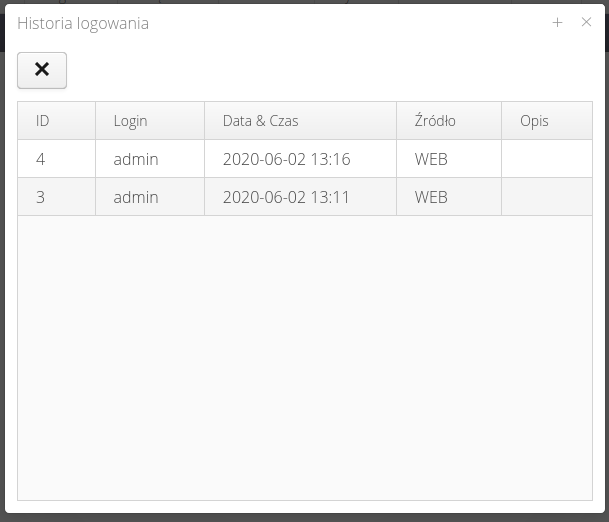
show login history - displays a window with the user’s login history and its source (Web application, Fx mobile application, etc.)
-
access profiles report - a report with a list of access profiles for a selected user along with a list of active functions (and their IDs)
User properties
Properties are divided into sections with separate functionality:
-
General - general user data
-
Access - access to individual system sections/system flags
-
Data - identification data
-
Identifiers - badges in the form of bar codes, RFID cards, etc.
-
Profiles - a list of access profiles to which the user is assigned
-
Photo - a photo of the user (e.g., for control functions)
-
Signature - user’s signature - for use in document generators
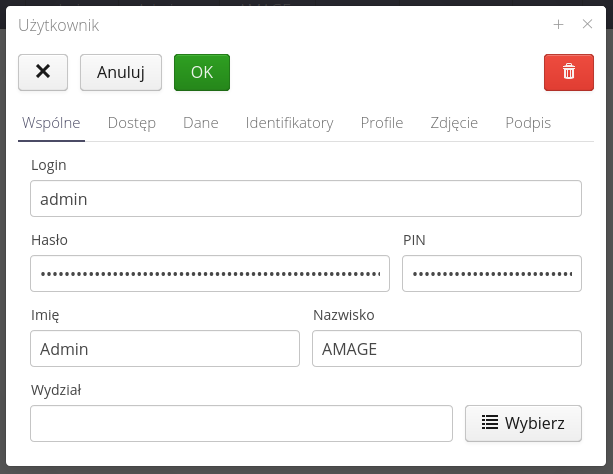
In general, information includes login dale, first name, last name and departmental classification in the organization.
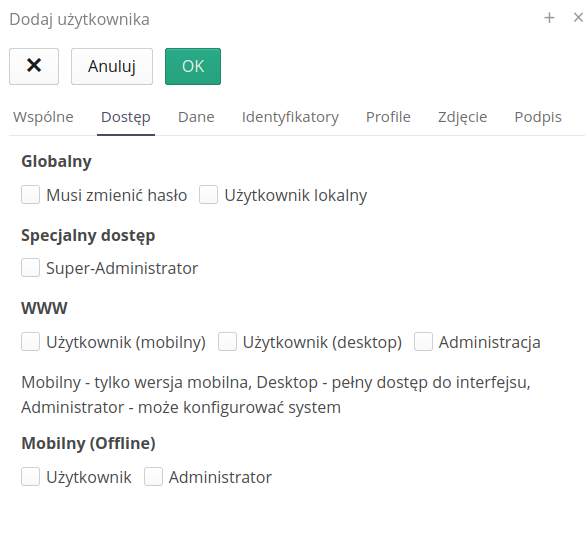
Access flags determine a user’s privileges to access dedicated application sections or various system applications. Flags:
-
Must change password - local user will be prompted to change password the next time they log in
-
Local user - the user authenticates with a password/pin stored locally on the system (as opposed to corporate users who authenticate with external systems - OAuth/Active Directory/LDAP)
-
Super-Administrator - enabling this flag skips permission checking against access profiles (the user will always have access)
-
WWW - define access to the section of the WWW application (current)
-
Mobile user - only access to the mobile part of the interface
-
Desktop user - access to the main part of the system for computers
-
Administration - access to the system configuration section
-
-
Mobile (Offline) - defining access to the mobile application enabling offline work
| User activation/deactivation is performed in the user list view using dedicated buttons. |
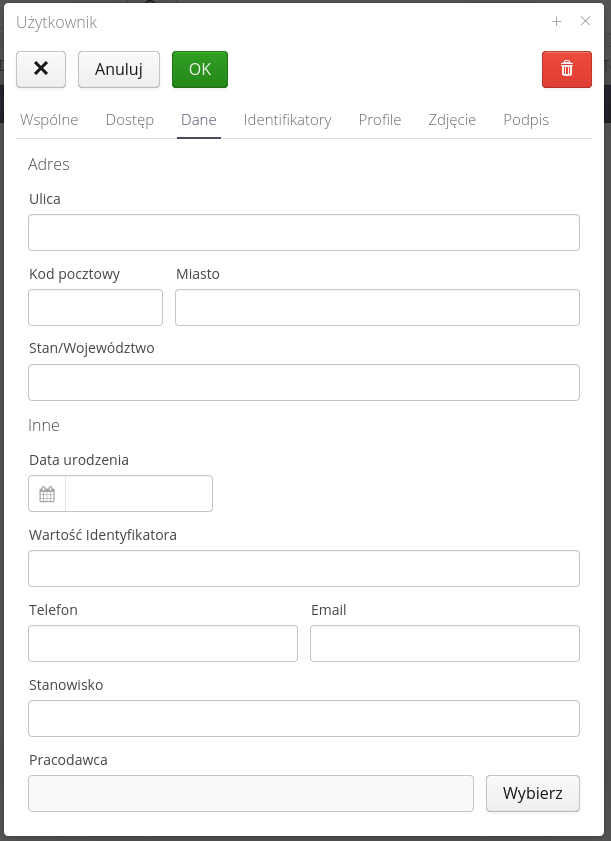
The user’s data regarding his contact address, email address, the employer with whom he is employed.
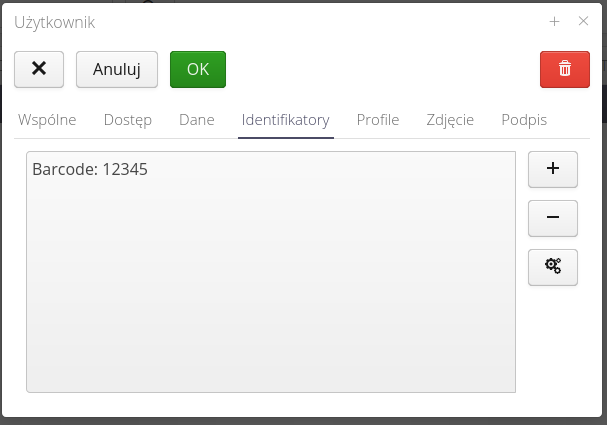
A list of identifiers in the form of 2D, RFID codes used to identify a particular user. Used in attendance checking modules or others requiring user identification. They can also be used for offline login to mobile applications.
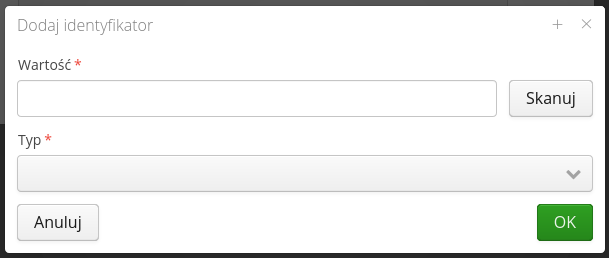
Adding an ID requires information about its value, type. You can use the RFID/barcode scanning capability of the AMAGE Shell application in this window.
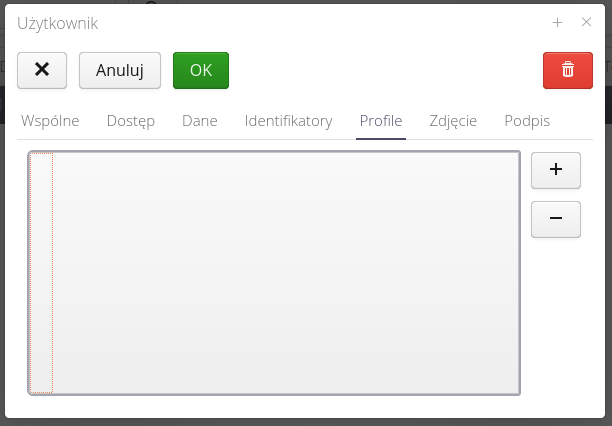
Access profiles allow you to specify a list of profiles that a user has. Profiles are added from the list.
| Access profiles add up (they are additive), i.e. a user’s permissions are the sum of the permissions resulting from the access profiles. By default, a user (ignoring the Super-Administrator flag) does not have access to any area in the system. Through access profiles, he gets access to particular areas and actions (add/delete, etc.). |
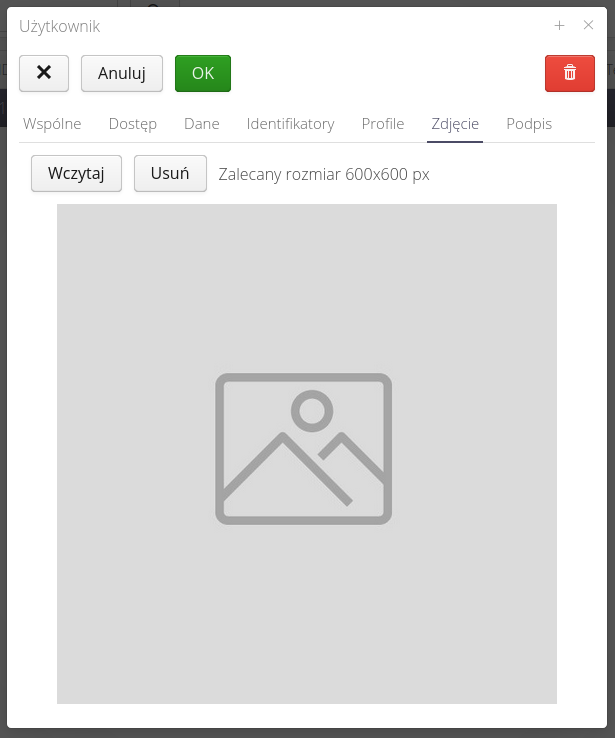
Ability to upload a photo for the user. It will be used in modules where, for example, employee verification is required. On the mobile application after reading the employee’s ID, his photo will appear.
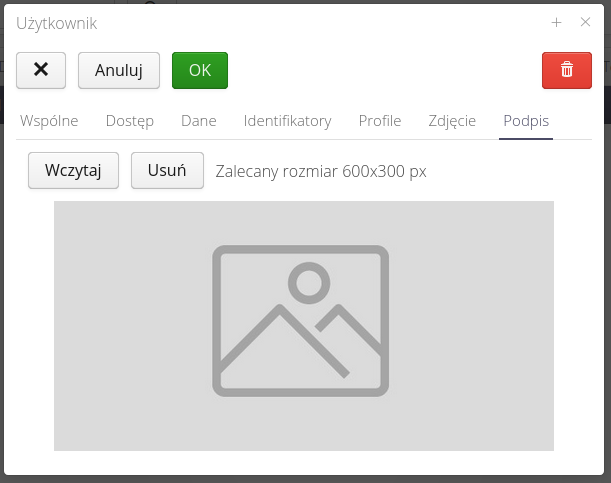
Signature allows you to upload a scan of your signature into the system. It will be used (with the consent of the employee in question) during the execution of inspection procedures, verification or verification of deliveries - where a signature is required. In such a case (if the user has given his consent) his signature will be used in the generation of documents instead of the one entered manually.
User activation/deactivation
In addition to all the options for defining access, permissions and system sections, a user in the system has an active access flag to the system. This is the basic data checked at the beginning of the login process. If the user is inactive, he WILL NOT BE ABLE to log in to the system regardless of other permissions.
We change the user activity flag either through dedicated buttons available in the user list or through the context menu.
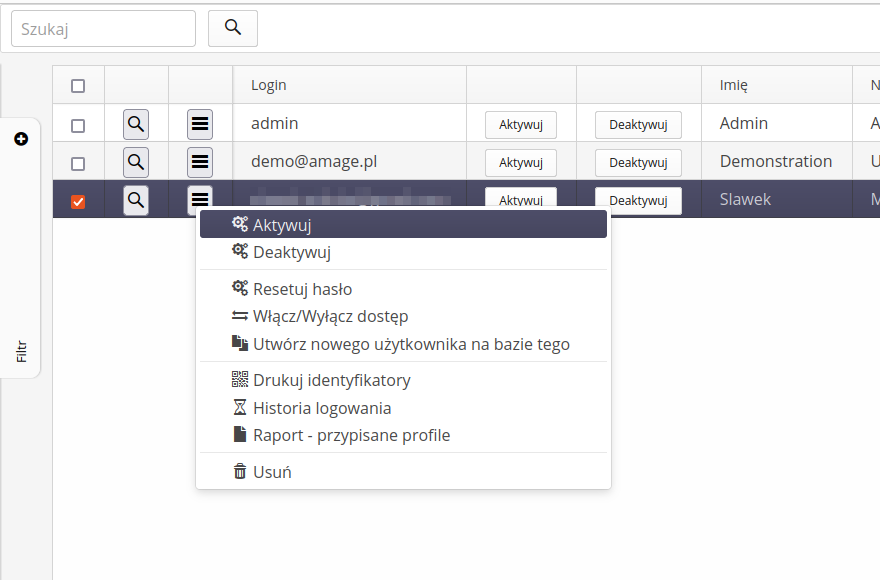
| By default, the user created has the access flag ACTIVE |
Email/print invitations
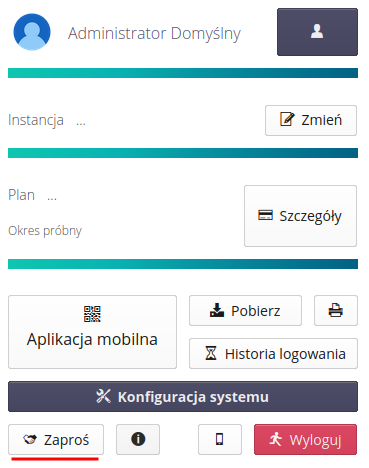
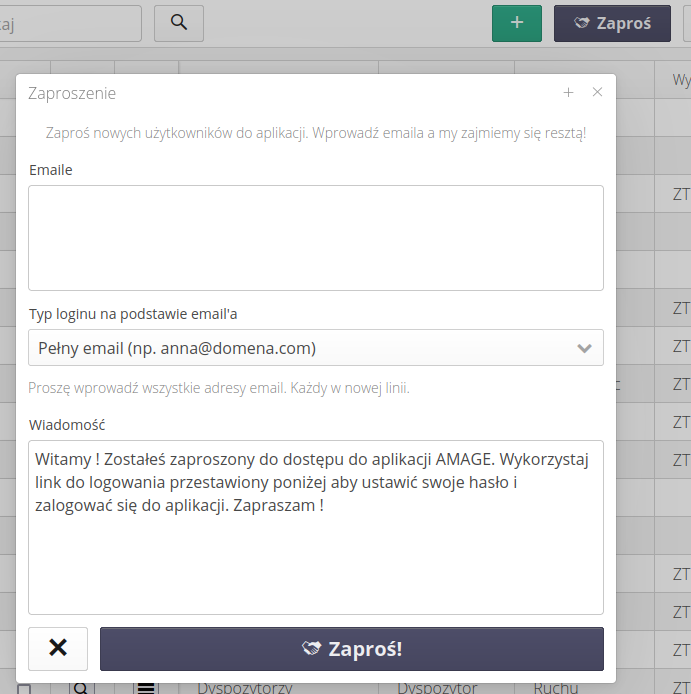
Using the 'Invite' button, you can send email invitations to join the system. The system will automatically create users and send an invitation to them to activate their accounts and set their passwords.
| In this way, we only create local users, i.e. those who authorize themselves with a local password. We will not add users to external authorization systems in this way. |
After activating the action, a window is displayed in which we can enter a list of email addresses (each in a new line) to which the invitation will be sent.
Next, we can specify how to create user logins. It can be a login that is only the name of a given email address or the whole email address. We choose this using the option available there.
We also have the ability to modify/extend the invitation to the system. Of course, texts with links to log in and reset your password will be added to the text of the invitation.
| Only a user with system administrator rights can send an invitation. This allows you to control the users you create. |
If an invitation for external users is created by a person with system administrator rights, you can indicate in the invitation form which rights the user should have. If the invitation is created by a person with user rights, it is not possible to indicate the user’s rights in the invitation form. We select permissions from available access profiles.
What’s more, if a user has super-administrator privileges, the flag for granting the same privileges to invited users is activated.
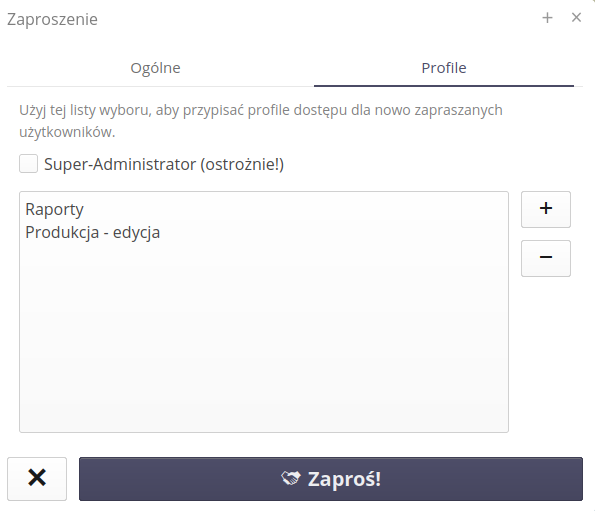
For users who have the right to edit users, an additional tab appears when inviting them, allowing them to define access profiles for users. If the user is a super-administrator, he can also give this flag to newly invited users.
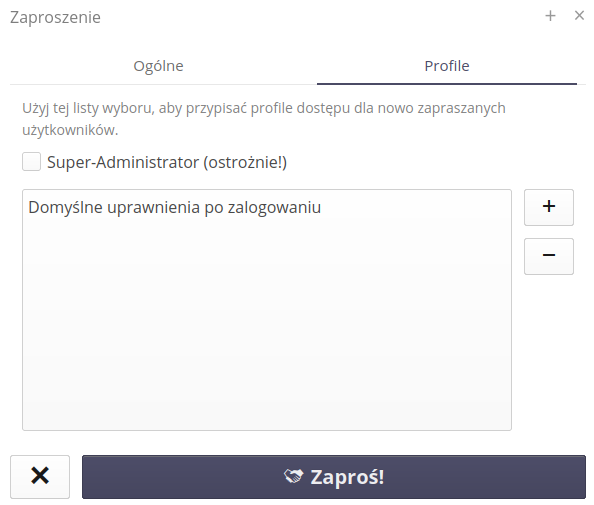
| The access mechanism should be approached with understanding and knowledge of the assigned permissions. Otherwise, new users will receive access beyond their default permissions. |
We can also invite users from the system menu, which has a built-in Invite action at the bottom, which will open the same window as the action from the configuration section.
