Printing labels and reports
Introduction
The AMAGE application has a rich resource of internal report templates and mechanisms that automatically generate labels. However, label templates do not contain all label variants available on the market. Each client has its own possibilities of implementing the system and using its own methods of marking elements and devices. Therefore, the AMAGE application provides the ability to create your own label formats that will be used by the application to generate and print data labels.
This document describes the method of designing labels, required/available data for the client and the method of integration in the AMAGE application.
Software
Jaspersoft Studio software is used to design new label formats. The software is free software for commercial use. The software can be downloaded from the manufacturer’s website:
-
Jaspersoft Studio - http://community.jaspersoft.com/project/jaspersoft-studio
After downloading, installing and running the application, the report/label designer window appears.
Configure label designer report versions
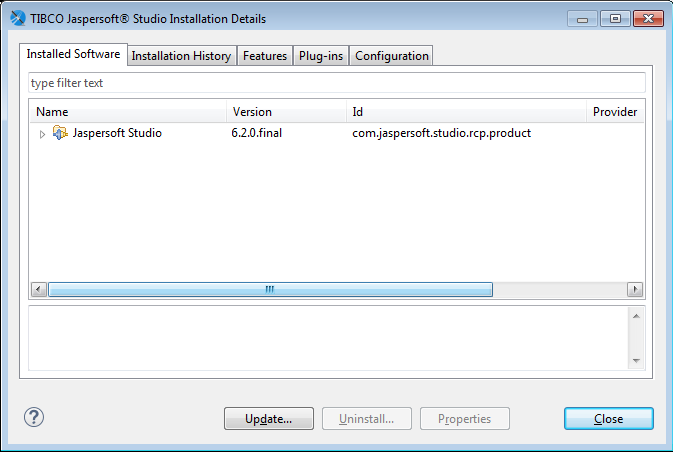
The current version of the AMAGE application uses the report engine version 6.2.0. To find out what version you have after installing the Jaspersoft studio application, go to the program information. Label designer version Figure 1. Depending on the version of the label designer application, select the library version compatible with the AMAGE application.
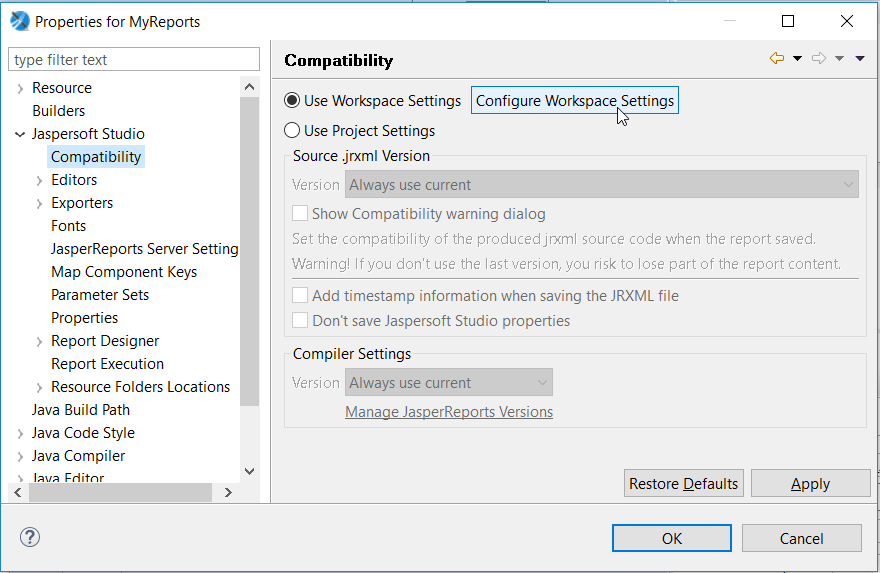
In order to prepare reports in accordance with the version required by the AMAGE application, it is necessary to determine the access path to the report library in accordance with the one used by the AMAGE application. To do this, select Properties from the "Project" tab. In the newly opened window, go to "Configure Workspace Settings" → "Manage Jaspersoft Versions" Fig. 2
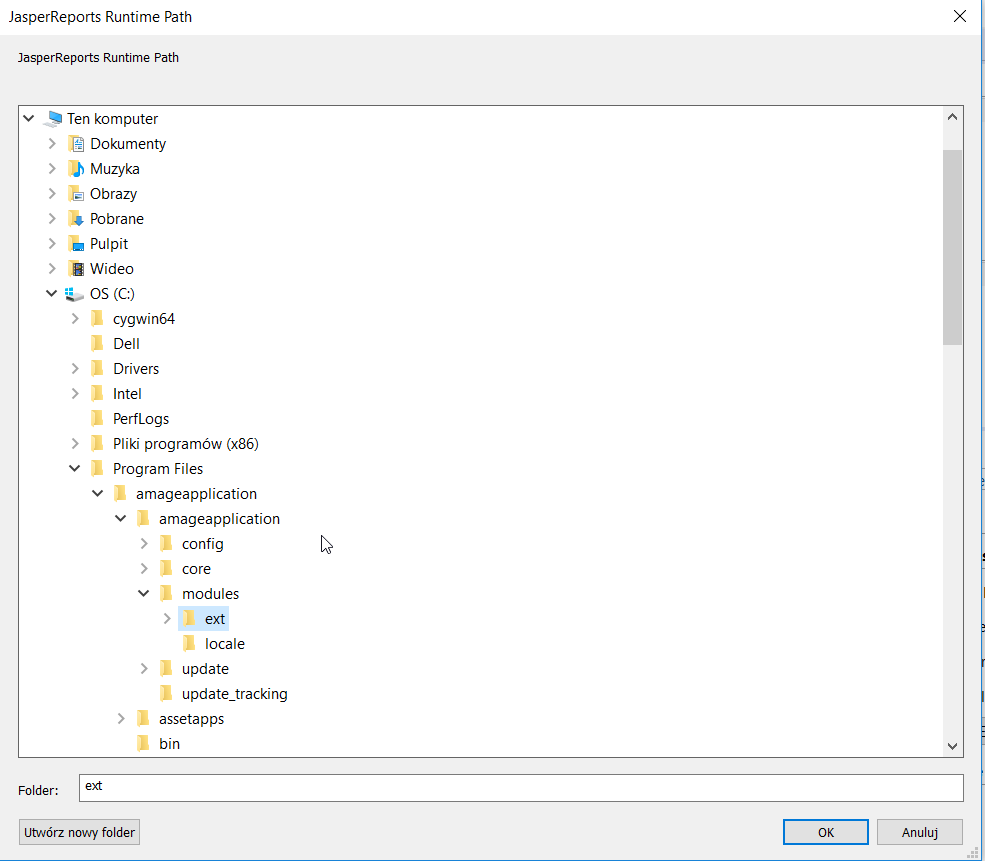
In Manage Jaspersoft Versions, click on "add from path" and then on "Browse". In the file browser window, look for the directory with the AmageSystems application installed. Go to the imageapplication → modules directory. In this directory, select the "ext" directory and press "Ok".
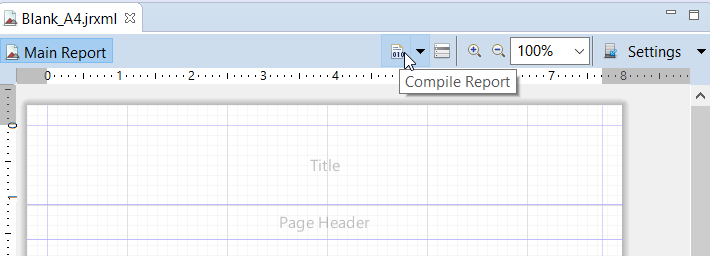
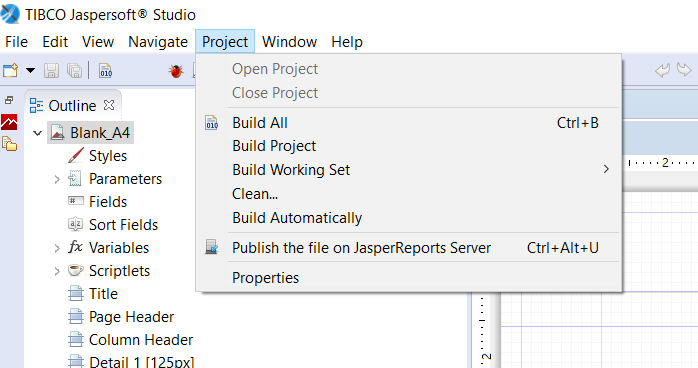
Report/label compilation after setting the report library version is available in the context menu of drawing compilation or in the "Project → build all" tab
Create labels
Printable labels for elements that require identification may have the following parameters:
-
CODE - 1D/2D label code in a simplified form, i.e. containing only the serial number, without the customer number and AMAGE instance, e.g. "0000001"
-
BARCODE – full 1D/2D code for printing as DATAMATRIX code. The code contains the object type, customer number and AMAGE instance number with the sequence number.
-
TYPE – object type. For items, this is the item type, for products, the product type. For locations and element groups, the field is left blank.
-
NAME – name of the object. As selected, this is the name of the location, product, item group, and item.
-
*SERIAL_NUMBER - serial number of the object
-
TEXT1 – additional text specified when generating labels in the AMAGE application
-
TEXT2 – additional text specified when generating labels in the AMAGE application
-
parameter_<parameter name> - any parameter can be downloaded additionally for the Product, Group of Elements and Element. The parameter name is given together with the prefix 'parameter_'
Fields in the label project are marked with FIELD variables and placed in the design area with $F{<field_name>} variables.
For 3x1 and 4x1 labels, the following parameters are available, which depend on the number of the label in the row. The description of the parameter is identical to the description from a single label.
-
CODE1, CODE2, CODE3, CODE4
-
BARCODE1, BARCODE2, BARCODE3, BARCODE4
-
TYPE1, TYPE2, TYPE3, TYPE4
-
NAME1, NAME2, NAME3, NAME4
-
SERIAL_NUMBER1, SERIAL_NUMBER2, SERIAL_NUMBER3, SERIAL_NUMBER4
-
parameter_<parameter name>1/2/3/4
| Only DATAMATRIX codes are used for identification in the AMAGE system. Only such a code will be correctly identified with the element by mobile terminals equipped with AMAGE Mobile/CE series applications. |
Defining parameters
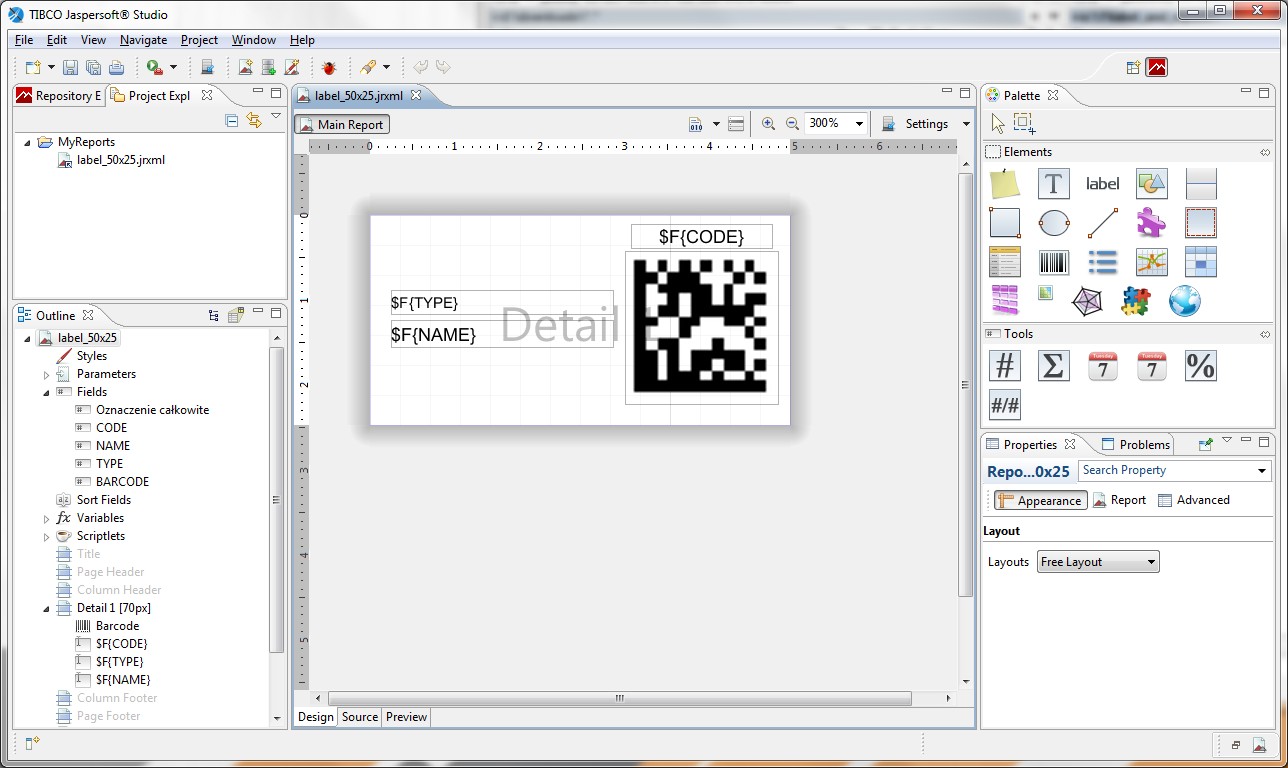
Parameters can be freely edited in Jaspersoft studio. First, create a new field (fields → create field) and give it the parameter name "parameter_parametername". Then you need to select "text field" from the palette and place it on the "detail" area. Now all you have to do is give it the value of Expressions: $F+{parameter_parametername}+ and compile it. The program will convert the jrxml file to a jasper file which is the input file for the application.
Label template
An exemplary label template is shown in Figure 7. This figure contains all the necessary information needed to print a label with all the above-mentioned fields.
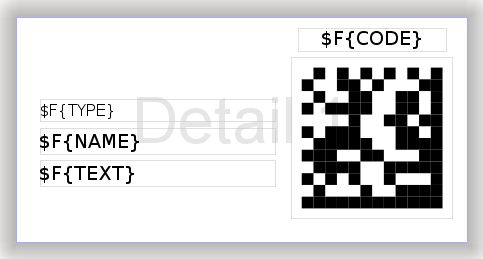
The label template is supplied with this documentation in the form of the file "label_50x25.jrxml". This is a 50mm x 25mm label format with the data provided.
In the label designer, you can open the delivered label project and adapt it to your requirements, including:
-
Changing the size of the label
-
By adding proprietary information, e.g. a logo
-
Changing the arrangement of elements
-
Removing visually unnecessary elements
| The detailed user manual for Jaspersoft Studio goes beyond this manual. Refer to the manufacturer’s documentation. |
When the label design is finished, the original file should be saved for reuse and then select its compilation from the report option (context menu on the report in the project explorer). After compilation - if the whole project is done correctly - a result file of the report is created in *.jasper format. Such a file is an input parameter for the AMAGE application.
Application of labels
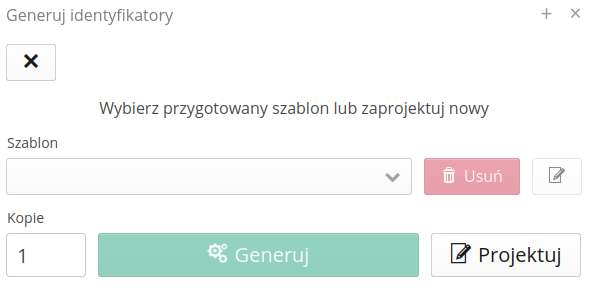
Aby wykorzystać własny projekt etykiet, należy w momencie wyboru formatu etykiety do wydruku (Kreator drukowania identyfikatorów) wybrać Szablon etykiet: „Własna etykieta” oraz we włączonym polu wyboru wybrać zaprojektowany plik *.jasper.
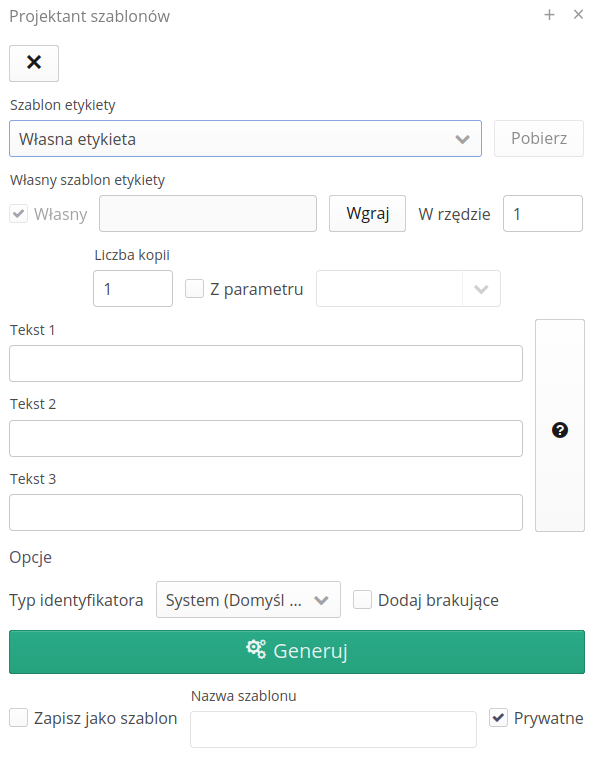
Następnie można przejść do generacji etykiet i ich wydruku. Po zapisaniu projektu jako szablon ("Zapisz jako szablon"), będzie on dostępny w aplikacji AMAGE do wykorzystania w przyszłości. Jeśli zaznaczymy opcję Prywatne, to szablon będzie dostępny tylko dla nas, a jeśli nie zaznaczymy tej opcji, to szablon będzie dostępny dla wszystkich użytkowników aplikacji AMAGE.
|
Creating your own report layouts
The application has its own default templates for all reports built in. A user with the appropriate knowledge can freely modify the appearance of the reports according to their requirements. It is possible to change the appearance of the default report and to change the appearance of individual tabs (configuration) of reports. This allows you to have several views (own, internal, client, etc.) for each report.
Po rozpakowaniu wybranego raportu np. ''ReportProduct.jrxml''. Należy go otworzyć w projektancie raportów. Następnie wystarczy dowolnie go zmodyfikować zgodnie z oczekiwaniami (kolory, wygląd, tabele, obrazy itp.). Po poprawnej modyfikacji raportu należy go skompilować do formatu ''jasper''. Następnie wszystkie raporty tj. główny oraz ewentualnie pomocnicze podraporty w oryginalnych nazwach (WAŻNE!), należy skompresować do pliku ZIP. Ten plik wgrywamy w głównej aplikacji AMAGE do konfiguracji raportu lub konfiguracji zakładki.
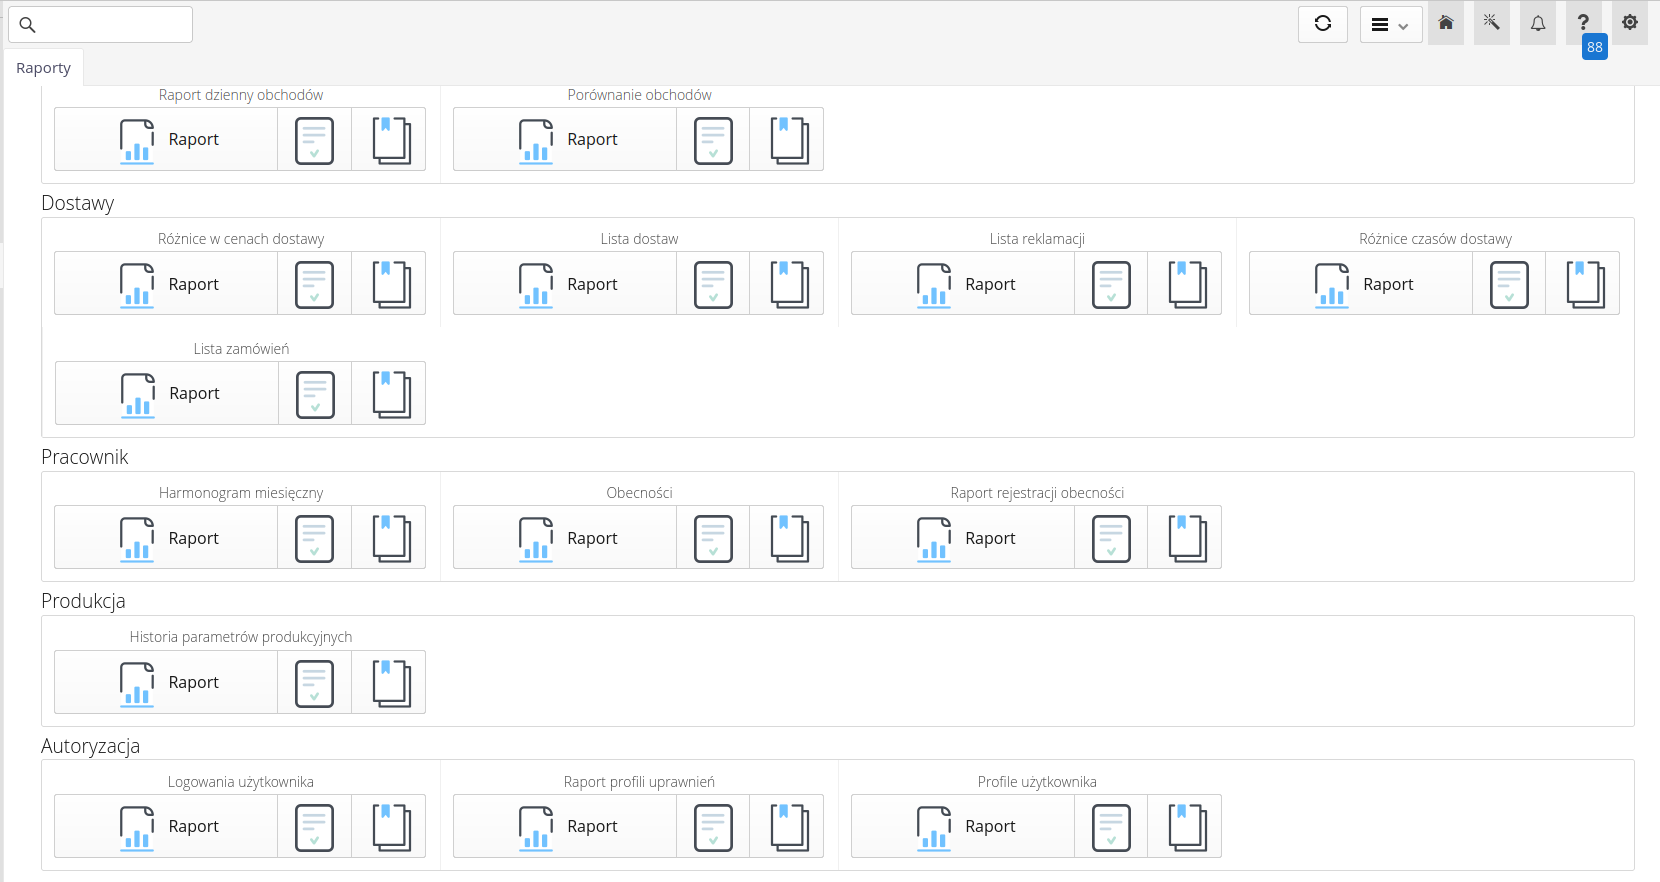
Aby to zrobić, włączamy główną aplikację. Wyświetlamy w eksploratorze listę raportów. Domyślnie wyświetlane są wszystkie raporty, które mają możliwość wyświetlania ich bezpośrednio z eksploratora. Część raportów jest domyślnie niewidoczna, gdyż nie mają możliwości wyświetlania samodzielnego np. raporty wyglądu dokumentu zamówienia - generowany jest tylko w kontekście danego zamówienia.
You can change the appearance of the report in two ways. Global change of the report template - it will always be available in a new look or adding a report tab with a change of look.
Globalną zmianę wyglądu raportu wykonujemy, przez edycję konfiguracji raportu i wyświetlenie jego właściwości. W tym oknie możemy zaznaczyć nadpisywanie wyglądu raportu oraz wybrać opracowany przez nas zestaw wyglądu w postaci pliku ZIP (patrz wyżej jego opracowanie). Od tego momentu wszystkie raporty generowane z tego typu raportu będą miały zaprojektowany przez nas wygląd.

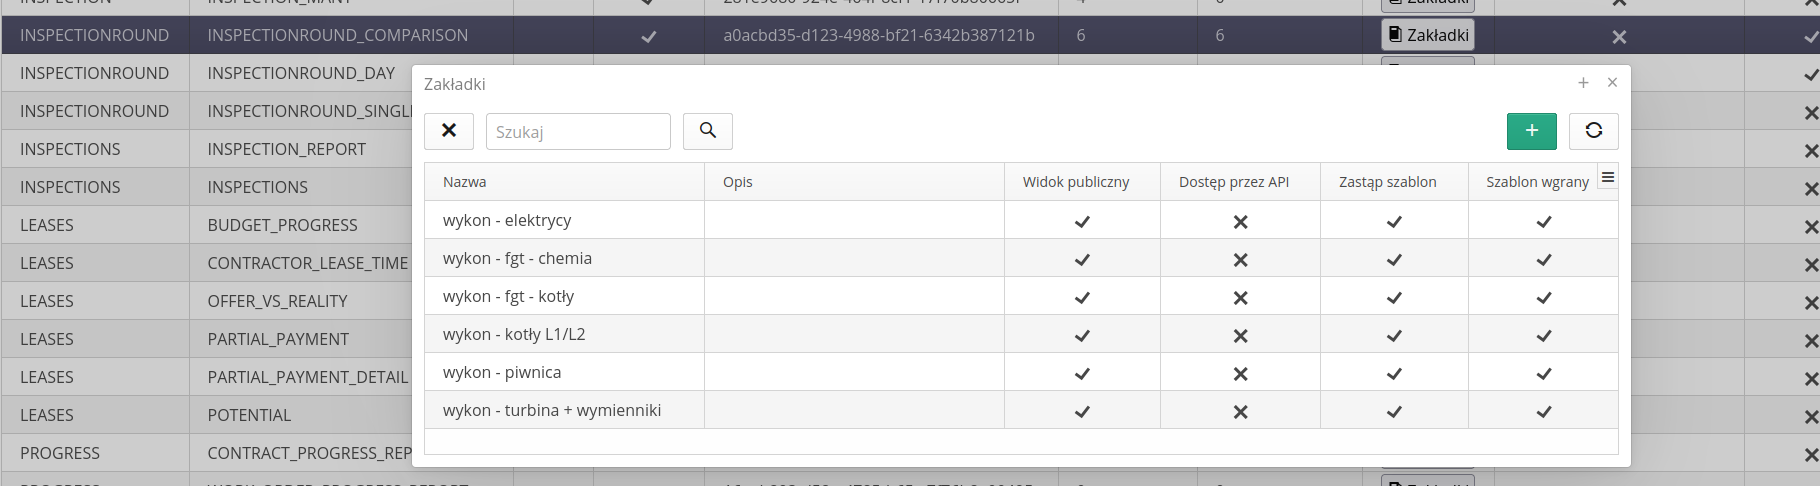
Jeśli chcemy posiadać kilka wyglądów raportu i/lub dodatkowo określać parametry raportu z panelu filtrów możemy utworzyć zakładkę raportu. Okno dodawania/edycji takiej zakładki ma możliwość definicji wyglądu dodatkowego tak jak dla globalnego raportu. Jedyną zmianą jest możliwość określenia czy plik ZIP z nowym wyglądem szablonu będzie zapisywany w bazie danych (dostępny dla wszystkich użytkowników), czy będzie odniesieniem do pliku lokalnego na systemie plików.
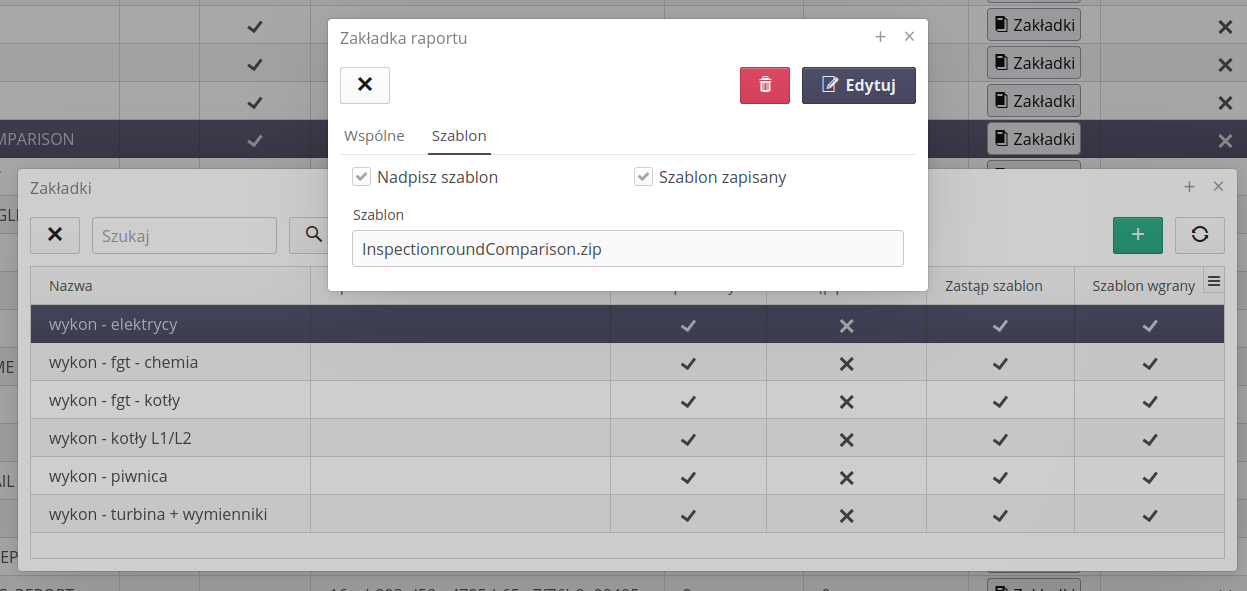
| The files in the ZIP archive must have the exact same name as the original file. The application recognizes report files to be replaced just by their name. The ZIP file can already have any name. |
Szablon wyglądu raportu możemy też zmodyfikować w podglądzie raportu. W podglądzie raportu przechodzimy do zakładki Projekt i tam wgrywamy plik ZIP z wyglądem raportu. Po wgraniu pliku ZIP możemy zobaczyć podgląd raportu z nowym wyglądem. W przypadku, gdy raport posiada wiele zakładek, należy każdą z nich zmodyfikować osobno.
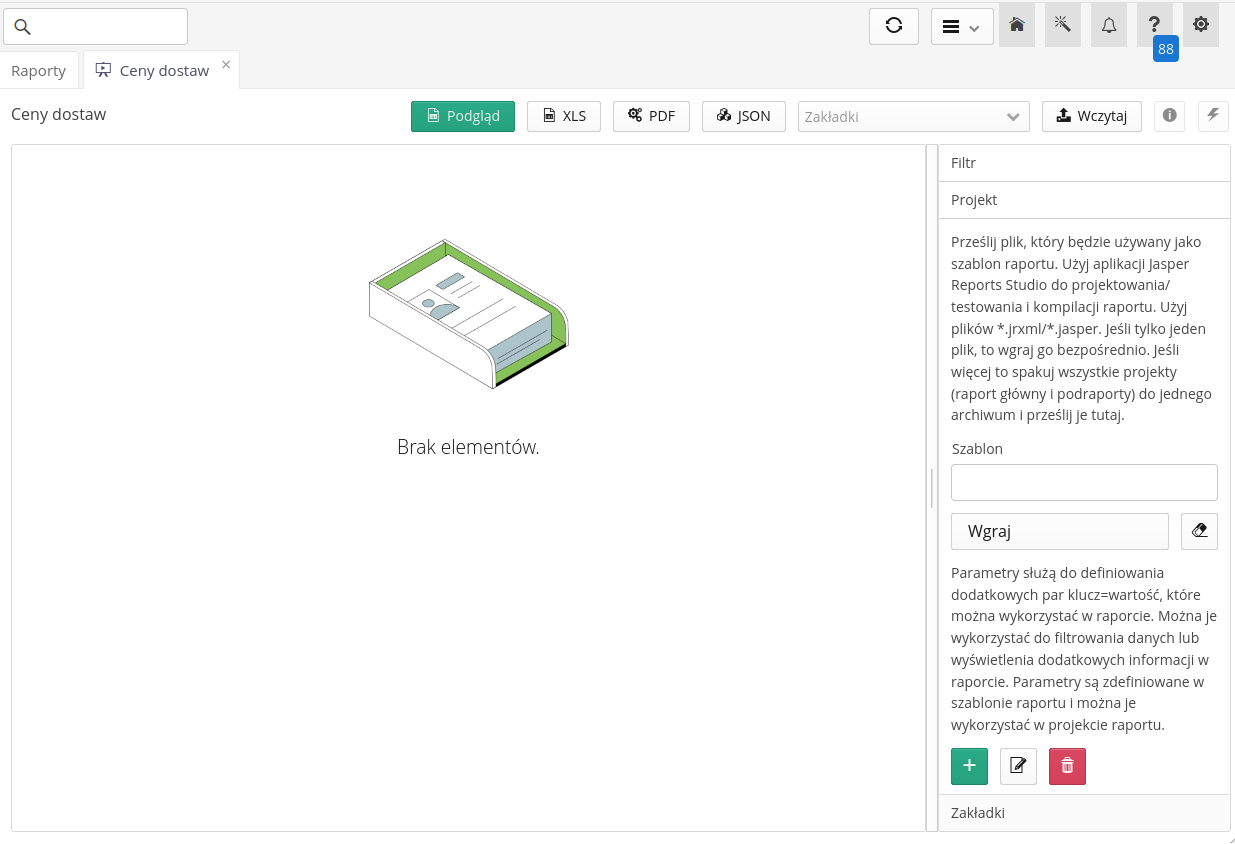
| W przypadku projektanta, gdy dołączymy zamiast pliku ZIP pojedynczy plik *.jasper lub *.jrxml, to aplikacja przyjmie ten plik, jako główny wygląd raportu. Nie ma w tym przypadku możliwości dołączenia podraportów, ale upraszcza to proces wgrywania raportu. |
Generating reports on the server
Aplikacja AMAGE posiada możliwość generowania raportów na serwerze. W tym przypadku raporty są generowane w tle i nie wymagają interakcji użytkownika. Raporty mogą być generowane na podstawie danych z bazy danych lub z innych źródeł danych. Zobacz definicję zdarzeń automatycznych Automatyzacja - generator raportów, aby dowiedzieć się więcej o generowaniu raportów na serwerze.
Compatibility/Reporting
Due to changes in the system API or available libraries, in the case of errors in the generation of reports generated/prepared for older versions of the system, the following functions in the reports should be checked/changed:
-
No Base64 image decoding function Was:
new java.io.StringBufferInputStream( new org.w3c.tools.codec.Base64Decoder($V{logo}).processString()-
Należy zmienić na:
new ByteArrayInputStream(java.util.Base64.getDecoder().decode($V{logo})))
-
-
images (e.g. captions) in report fields/variables should be of type
java.io.InputStreaminstead ofjava.awt.Image(orjava.awt.BufferedImage)
| Howto powstało na bazie wersji systemu 1.29.0.0 (08.2025) oraz przedstawia funkcje, które mogą nie być dostępne w Twoim systemie. Zapytaj AMAGE o udostępnienie tej funkcjonalności. |
| Ze względu na ciągły rozwój systemu niektóre ekrany lub pliki konfiguracji mogą wyglądać nieznacznie inaczej, ale zachowają nadal pełną funkcjonalność tutaj opisaną. Nie wpływa to na zasadnicze funkcje opisywane w tym dokumencie. |